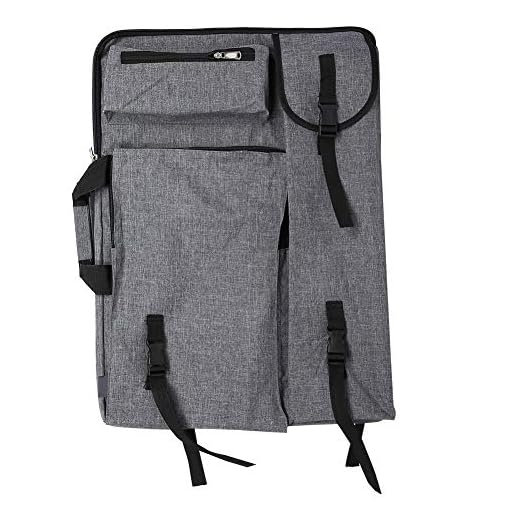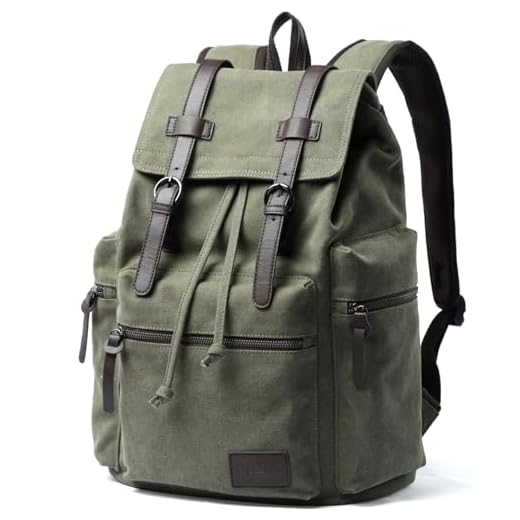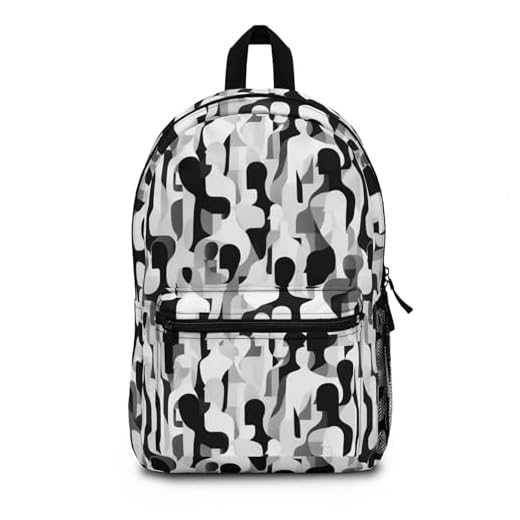

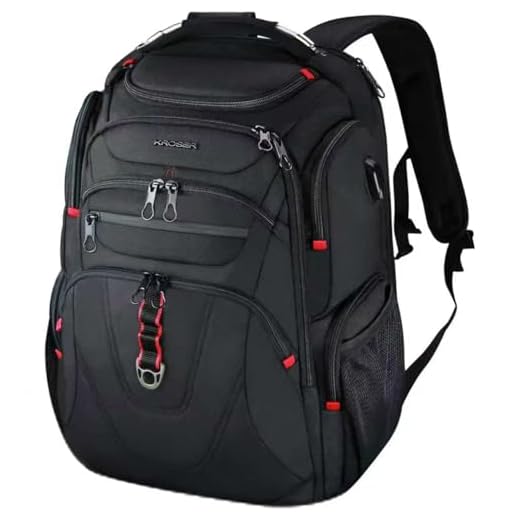
Use an HB for construction lines, switch to 2B for contours and 4B for deep shading; work on A4 (210×297 mm) and set the main body roughly 220 mm tall × 147 mm wide (height:width ≈ 3:2) to get balanced proportions.
Phase 1 – layout: lightly mark a vertical rectangle 220×147 mm centered 30 mm from the sheet top; round the upper corners with a 25 mm radius; divide the height into thirds to place pockets and seams (top flap at 1/6 height, main pocket center at 2/3 height). Spend 6–8 minutes on this stage and keep pressure soft.
Phase 2 – pockets and openings: add a front pouch 120×90 mm positioned 40 mm above the bottom edge; place a horizontal zipper 6 mm from the pouch top, indicate the pull as a 6 mm circle with a 10 mm tab. For side pouches, use 60 mm diameter semicircles with seams 3 mm in from the edge.
Phase 3 – straps and handle: draw two tapered shoulder straps ~30 mm wide at the top, narrowing to 22 mm at the midpoint; attach them 20 mm from each outer seam and set the outward angle at ~15° from vertical. Top carry handle: 100 mm long loop, 12 mm wide, placed centrally above the rounded top by 8 mm.
Phase 4 – seams, details, and hardware: indicate seam lines 4 mm inside edges with dashed strokes; use 0.3 mm line weight for stitch guides and 0.7–1.0 mm for outer contours. Represent buckles as rectangles 18×12 mm with 2 mm bars; add reinforcement patches 25×18 mm under strap anchors.
Shading and finishing: apply cross-hatching at 45° for midtones with 3–4 mm spacing, tighten to 1–2 mm for deep shadow under flaps and pocket lips; blend with a soft stump size 2 for smooth transitions and lift highlights with a kneaded eraser. Fixative: spray from 25–30 cm in two thin passes. For digital archiving scan at 300 dpi (line art) or 600 dpi (for fine texture), save as PNG or TIFF; increase contrast +10–15% if lines appear washed out.
Determine correct pack proportions and front/back view guides
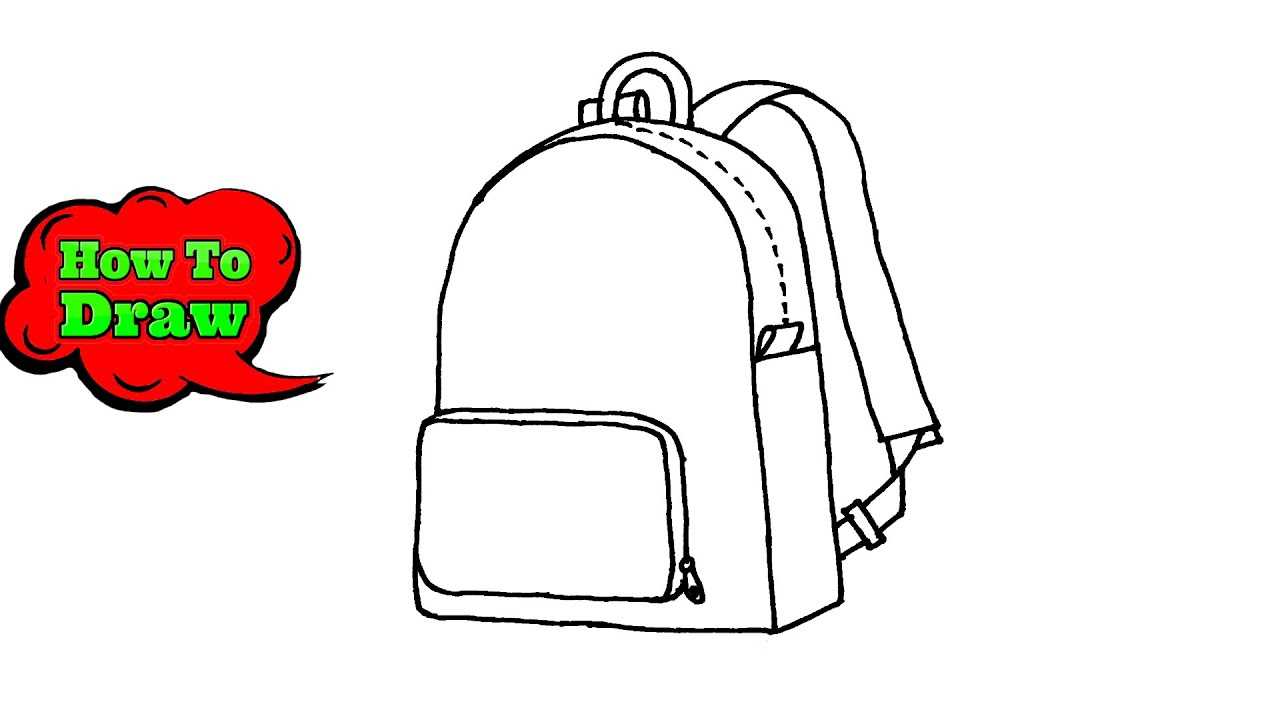
Recommendation: set the main compartment height to 45% of the wearer’s torso length; use 40–55% for adults and 30–40% for children.
Width of the body should be 30–45% of shoulder breadth. External pocket widths: 60–80% of the main width. Depth (thickness) should run 15–25% of the width for a visually balanced silhouette.
Vertical placement: position the top edge at the C7 vertebra or 1–2 cm below the neck base; set the bottom edge near the iliac crest or approximately 3–6 cm above the waistline to avoid sagging and to align with natural hip movement.
Strap geometry: anchor points spaced at 20–30% of the bag width. Shoulder straps curve inward at an angle of 15–25° toward the neck. Strap webbing widths: 30–50 mm for light loads, 50–80 mm for heavier loads; pad thickness 8–20 mm depending on intended comfort.
Hip belt placement: center the belt on the iliac crest; pad width 80–120 mm; contour the belt with a rear taper of 10–15% toward the midline to sit flush against hips.
Front-view guide: begin with a vertical centerline and divide total height into thirds for pocket and zipper placement. Place the main opening offset 5–10° for water runoff. Mirror seam lines across the centerline; pocket lip heights should step down by 8–12% of total height to avoid visual stacking.
Rear-view guide: illustrate the spine channel as a shallow groove 5–10% of the body width centered on the vertical axis. Taper the shoulder area by 10–20% from top to bottom. Show strap attachment reinforcements as triangular plates sized 12–18% of the bag width to indicate load transfer points.
Perspective and proportion checks: compress depth by 30–40% in three-quarter views; maintain the vertical centerline as a reference for foreshortening. For balance testing with asymmetric loads consult best weight for offset umbrella.
Block the pack’s primary silhouette using basic geometric shapes
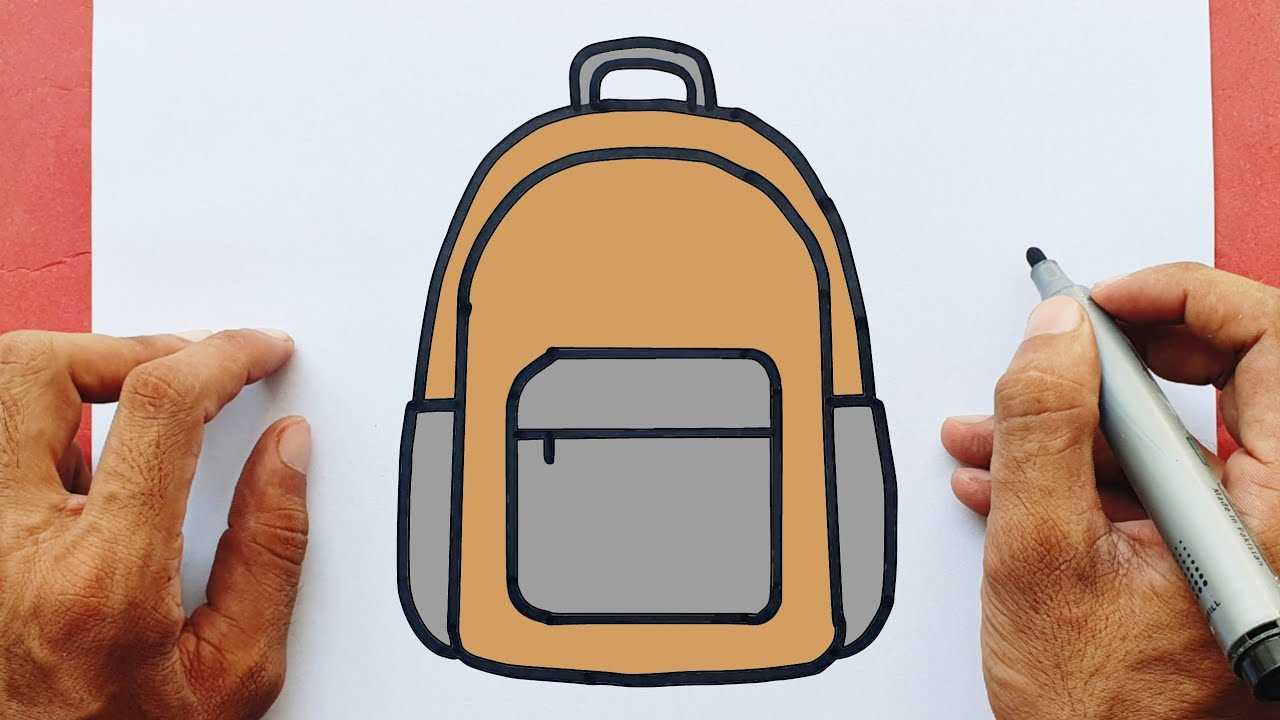
Use a single rounded vertical rectangle for the main body: choose total height H and set width W = 0.625·H for a slim model or W = 0.83·H for a squat day model.
- Mark a vertical centerline of length H. Place three horizontal guide lines at 0.15·H (bottom clearance), 0.55·H (mid compartment), and 0.85·H (top access).
- Main shell: draw a rounded rectangle centered on the centerline, total size H × W, corner radius ≈ 0.08·H. Bottom edge can be slightly flattened with a shallow trapezoid depth 0.06·H for structure.
- Top closure: add a semicircular arc whose radius = 0.5·W and vertical depth = 0.18·H, aligned so its base sits at the 0.85·H guide.
- Front pocket: insert an ellipse width = 0.9·W and height = 0.25·H; center it horizontally and position its top at 0.35·H above the bottom edge (about the 0.4·H mark overall).
- Side pockets: use vertical ovals or thin cylinders width = 0.25·W and height = 0.4·H. Place their inner edges 0.05·W from the main shell side and their bottom at 0.15·H above the base.
- Shoulder straps: draw two tapered rectangles anchored under the top arc and attaching to the lower third. Strap length from top anchor to attachment ≈ 0.6·H; width at shoulder ≈ 0.12·W tapering to 0.07·W at the lower attachment.
- Compression straps and seam lines: add thin rectangles across the shell at the 0.45·H and 0.65·H guides; stitch lines follow the rounded rectangle inset by 0.03·W to indicate panel joins.
- Use simple primitives: rounded rectangles for panels, ellipses for pockets, arcs for flaps, trapezoids for the base, and tapered rectangles for straps.
- Keep construction lines light and proportional: measure everything relative to H so variations scale cleanly across sizes.
- When refining, soften corner radii for canvas/leather materials and sharpen angles for molded or technical versions.
Refine silhouettes after blocking: erase overlapping guides, adjust curvature to reflect material stiffness, and test alternate W-to-H ratios if the profile needs to read slimmer or wider.
Accurate shoulder straps, top carry handle and attachment points
Place shoulder straps so inner edges sit 18–22% of total pack width from the centerline; outer edges should terminate 6–10% inside the side seams to prevent visual crowding and ensure even load appearance.
For a 45 cm-tall day pack use webbing 4.5–6 cm wide; for trekking models use 6–10 cm. Taper the upper section by 10–20% and widen toward the padded area; indicate foam thickness with a 6–12 mm inner contour and a 2–3 mm gap to represent stitching channel.
Mount upper attachment points on the rear panel 20–30% down from the top seam; render a reinforced rectangular stitch box 25–35 mm wide by 10–18 mm high, using either an X-box pattern or double-rectangle for realism. Position lower strap anchors 15–25% up from the bottom seam and align them vertically with hip-belt anchors to suggest correct load transfer.
Center the top carry handle on the longitudinal axis, 6–12 mm below the top seam; make it folded webbing 3–5 mm thick and 6–12 mm wide, with visible end tacks and a 20–30 mm long reinforcement stitch. For a grab-loop show a slight sag of 2–4 mm to imply flexible material.
Size hardware relative to strap width: D-rings at 60–90% of strap width, tri-glide sliders at 40–60% and placed 12–30% down from the upper mount. Add accessory daisy chains or lash-tabs spaced every 30–40 mm vertically along the external face for realistic attachment points.
In three-quarter perspective compress strap widths by 6–12% toward the vanishing axis; use thinner internal lines for stitch rows (visual weight ~0.3–0.5 mm) and thicker outer contours (0.6–1.0 mm). Apply short parallel hatch strokes where foam meets fabric to suggest depth without full tonal fills.
Maintain left/right mirror symmetry unless depicting an adjusted strap; offset a single strap 8–12% of strap width to imply user movement. Add subtle wear indicators: 1–2 mm fray marks at webbing ends and faint stitch-run fading near high-stress anchors to increase believability.
For an unrelated cleaning reference when illustrating attached pouches or pet-care accessories consult how to clean a cat with fleas.
Add pockets, zippers and flap closures with placement tips
Place a horizontal zippered pocket centered at 33–40% up from the base, occupying 60–70% of the front panel width; set the zipper 2–3 cm below the panel curve so the opening follows the silhouette and remains accessible when worn. For symmetry, mirror smaller pockets left/right at 20–25% from the centerline; avoid overlapping strap anchor points by maintaining a 30–40 mm clearance from those anchors.
Pocket types, dimensions and spacing
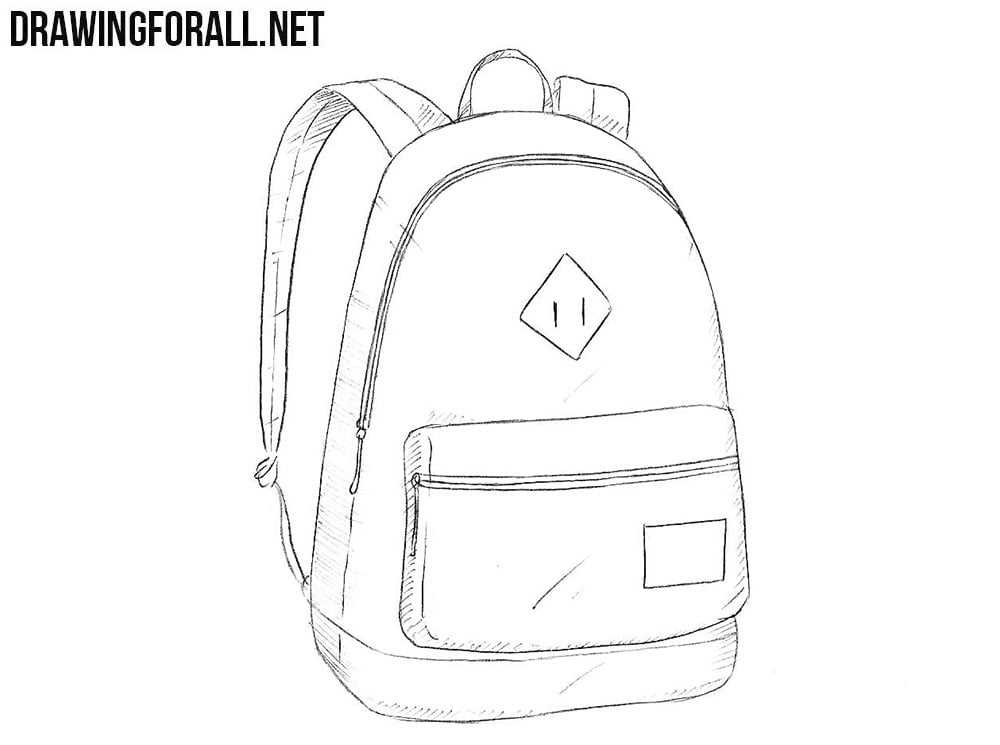
Flat slip pocket: 9×15 cm for phone, 1 cm top hem and 10–12 cm insertion depth. Gusseted pocket: depth 4–6 cm, width 12–18 cm for sunglasses or compact chargers, gusset taper 5 mm per side to reduce bulk. Side bottle pocket: 8–10 cm diameter with 10–12 cm elastic top; place 10–12 cm above base for stability. Internal organizer panel: one 9×15 cm phone slot + three 2×14 cm pen slots with 5 mm stitch spacing between slots. Maintain 15–25 mm vertical spacing between stacked pockets to prevent crowding and allow reinforcement seams.
Zippers, sliders and flap mechanics
Use coil zippers for curved openings and molded tooth zippers for heavy-use horizontal pockets. Zipper lengths: 14–18 cm for small pockets, 22–30 cm for medium front pockets, 40–50 cm for full access main panel. Position zipper stops 5–8 mm from ends and add a 20–30 mm pull loop for glove use. For weather resistance, choose water-resistant zippers with a 6–8 mm tape overlap and cover them with a 10–15 mm rain flap stitched 5 mm away from tape edge.
Flap closures: allow 12–18 mm overlap beyond the pocket edge; a 15–25° downward curve on the flap sheds water effectively on rounded fronts. Fastening options: center magnetic snap at 35–40 mm from flap tip for quick access, or dual side snap points spaced 40–60 mm apart for load security. Reinforce flap attachment with a 20–25 mm box stitch and add a 3–4 mm topstitch line 6–8 mm from edge for clean finishing.
Ergonomic placements: angle diagonal pockets 15–25° toward the dominant hand for easier reach; avoid locating heavy-usage pockets in the top 20% of the silhouette to prevent shoulder interference. For layout references and packing solutions, see best luggage sets for flying.
Define seams, stitching and hardware details for realism
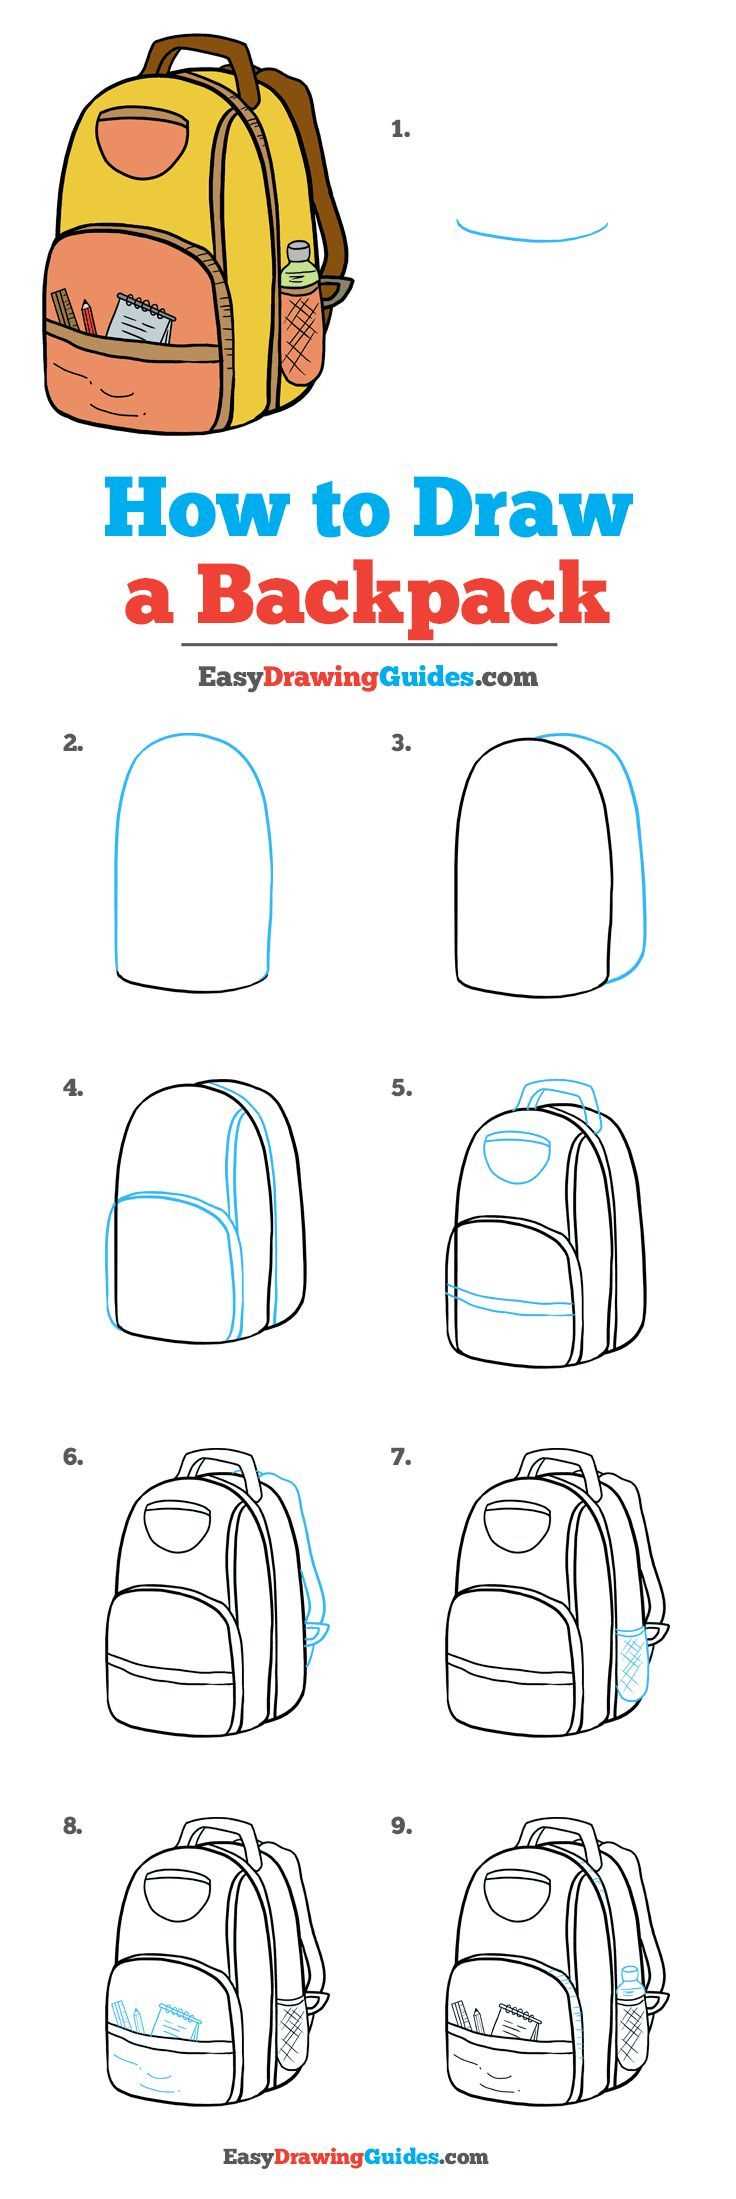
Place the primary stitch line 3–6 mm inside the panel edge: use 5–8 mm for heavy canvas/cordura and 3–4 mm for thin nylon or lightweight fabric.
Render machine stitch length as short dashed marks: 1.5–2.5 mm dashes with equal gaps for medium thread; for heavy thread increase dashes to 3–4 mm and reduce gaps to half the dash length.
Indicate topstitching with paired parallel lines. For single topstitch set lines 6–8 mm apart; for double-needle seams use 4–6 mm separation and mirror the dash pattern on both lines.
Mark reinforcement bartacks at load points with tight cross-hatching or a solid short rectangle about 2–3 mm high; place them where panels terminate, zipper ends and pocket corners.
Differentiate seam constructions visually: flat-felled seams = double parallel stitch lines plus a folded-edge groove; welt seams = narrow raised ridge with a single stitch on the outer face; serged edges = tiny zigzag texture along the cut edge with soft shadowing.
Show seam allowance on exposed flaps by drawing a faint interior guideline 2–3 mm from the raw edge and a subtle crosshatch to suggest folded fabric and thickness.
Portray metal hardware with a concentrated specular band (small bright white streak) and a slightly darker rim shadow. For small rings and rivets add a tiny inner highlight offset from the top-left to imply a curved surface.
Different finishes require distinct treatments: brushed metal = fine directional micro-strokes following curvature; matte plastic = wide soft highlights with low contrast; brass = warm midtones with subdued highlights and a faint orange cast.
Zippers: for visible-tooth zips draw alternating tiny rectangles spaced 1–2 mm; show the slider as a trapezoid with a thin slot and a short pull tab. Coil zips = single raised ridge on the tape with stitching lines along both edges.
Rivets and snaps = small circles with a centered highlight and an outer rim shadow. Scale rivet diameter to overall size: 3 mm for small pockets up to 6 mm for main strap anchors.
Thread coloration and wear: choose thread 1–2 tones lighter or darker than fabric for visibility; depict frayed ends with a few irregular short strokes and apply tiny smudges along lower seam lines for natural dirt accumulation.
Adjust line weight for depth: make outer panel contours the heaviest lines, stitch dashes ~30% lighter, and shadowed seam edges slightly thicker and darker than stitch marks to separate material overlap.
Verify proportions against the main silhouette: typical stitch spacing on a medium pack falls in the 2.5–4 mm range between stitch centers; scale all seam and hardware measurements proportionally if the overall size changes.
Render shadows, highlights and fabric texture by material type
Paint core shadows on a separate Multiply layer with a soft round brush at 20–40% opacity using a desaturated hue 25–40% darker than the base fabric; keep a mid-gray neutral (R:110–130) for monochrome studies.
For contact shadows (where parts meet or sit on a surface) use a hard round brush at 40–60% opacity, 2–6 px for fine seams or 8–20 px for larger joins, then Gaussian blur 1–3 px to soften. Preserve a separate layer for ambient occlusion under all elements and lower its opacity to 20–45% after placement.
| Material | Shadow layer / brush | Highlight method | Texture overlay & scale | Edge hardness / contrast | Color shift (shadow → highlight) |
|---|---|---|---|---|---|
| Nylon / Cordura (tactical) | Multiply, soft round, 20–35% opacity; add 1–2 thin strokes with hard brush at seams | Small speculars with Overlay/Screen, 15–40% opacity; streaks with 1–3 px hard brush | Subtle noise layer (2–4% opacity) + tiny woven tile (50–150 px scale) | Medium hard edges at folds; low global contrast | Cooler shadows (−5 to −20 blue), neutral warm highlights (+5 to +10 red) |
| Canvas / Duck | Overlay + Multiply stack, textured brush 30–50% opacity; deeper occlusion in creases | Soft broad highlights with low-opacity Screen (10–25%), add narrow speculars for waxed variants | High-frequency cloth texture (tile 100–300 px) at 30–60% opacity; vertical fiber noise | Soft edges on large planes, harder at stitched seams | Neutral-cool shadows, slightly warm highlights (+8 red) |
| Leather (smooth) | Multiply 25–45% with medium-hard brush; add subtle color dodge for deep gloss spots | Sharp, small highlights with Screen/Linear Dodge at 40–70% on a new layer; feather 1–3 px | Very low grain overlay (1–3%); scratch/noise maps at large scale (400–800 px) for aged look | Hard edges on creases and near hardware; high local contrast | Warmer shadows (+5 red) and bright neutral highlights |
| Suede / Alcantara | Soft Multiply, 15–30% opacity with textured suede brush; smudge along nap direction | Diffuse, low-intensity highlights with Overlay at 8–20%; highlight direction follows nap | Directional fuzz layer: grain with directional blur, 10–30% opacity, scale 200–500 px | Very soft edges with gradual tonal shifts | Cooler shadows, muted warm highlights |
| Quilted / Padded | Multiply + inner shadow (layer style) for pocket hollows; brush 25–45% with 5–12 px blur | Soft ridge highlights on stitches with Screen at 20–45%; tiny crisp edge highlights on quilting seams | Stitch bump map and subtle fabric noise (5–15%); padding falloff using radial gradient | High contrast along seams, soft on pad faces | Neutral shadows, slightly brighter highlights |
| Mesh & Breathable Fabrics | Multiply low opacity (10–25%); use pattern overlay for mesh holes to catch shadow variation | Tiny specular dots with Screen at 10–30% to simulate light through fibers | Repeating mesh tile (scale matched to mesh size) blended with Overlay at 30–60% | Hard edges where mesh meets solid materials | Shadows desaturated, highlights slightly cool |
| Waxed / Oiled Canvas | Multiply plus subtle dodge/burn banding; darker, localized shadows near folds | Broad soft highlights with Screen and small glossy spots with Linear Dodge | Large-scale weave + occasional darker streaks to imply wax pooling, 20–50% opacity | Mixed: soft faces, hard creases | Shadows cooler, highlights slightly yellowed |
For stitching and seams, place a thin dark line (2–4 px) beneath the seam and a faint highlight (1 px) above on a separate layer; blur the dark line 0.5–1 px and set highlight to Overlay at 30–50% to simulate thread depth.
Use a dodge/burn layer set to Soft Light at low opacity (5–15%) for incremental contrast control; avoid painting pure whites or blacks – keep highlight peaks below 95% luminosity and shadows above 5% to retain printable gradation.
Add final uniform grain: 1–3% monochrome noise at 200–400 px scale on a top layer set to Overlay or Soft Light, then reduce to 10–30% opacity so texture unifies without overpowering material details.


