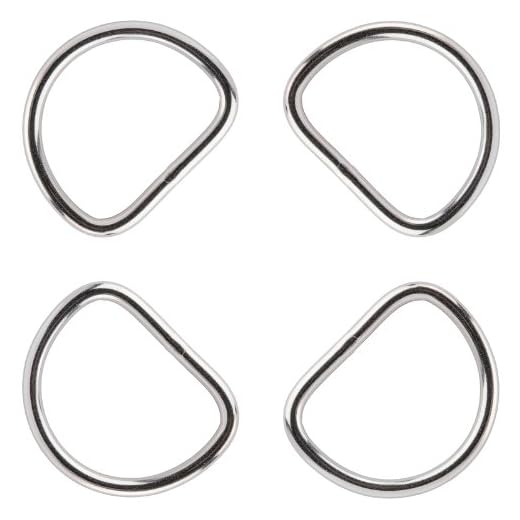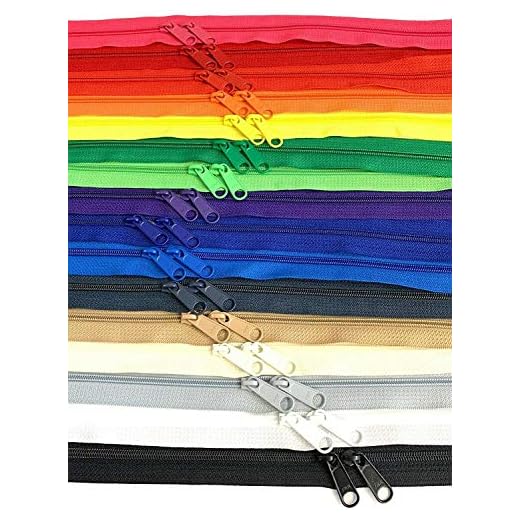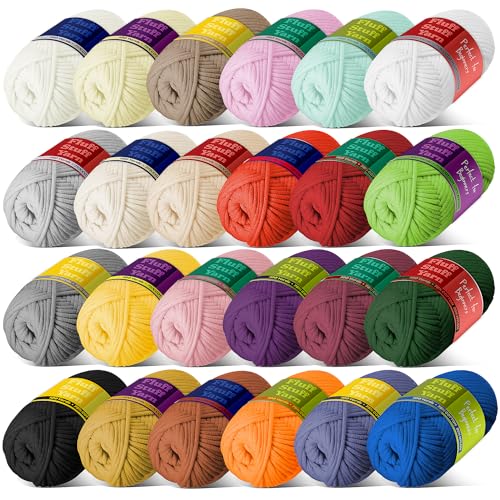


Materials: approx. 300–400 m of worsted cotton (or 200–250 m bulky yarn for a thicker fabric), a 5.0 mm aluminum hook (switch to 6.5–8.0 mm for bulky yarn), 200 g/m² canvas for lining, two metal D-rings, two adjustable straps (each 120 cm long), one zipper 25 cm or a cord 150 cm for a draw closure. Expected time: 6–10 hours for an intermediate maker, 12–20 hours for a beginner.
Quick build plan: work a rectangular base ~30×12 cm by chaining ~40 (adjust to your gauge) and making ~16 rows of single-loop stitch; join short edges with a slip seam. Pick up stitches around the base and work 40 rounds for the body to reach ~40 cm height; for a tapered top decrease four stitches every 6th round until desired opening size. Make two straps 5 cm wide and 120 cm long, or create shorter reinforced straps with D-rings for adjustability. Reinforce strap attachment points with a 4–6 cm canvas patch and extra rows of tight stitching.
Practical tips: aim for a gauge of ~14 sts × 16 rows = 10 cm; if fabric is too loose, go down one hook size; if too stiff, go up one size. Use a tight tension and backing fabric to increase load capacity. Finish with a lining sewn to the inner seam, install the zipper or cord before final top rounds, and launder on a gentle cycle at 30°C, reshape while damp and dry flat to keep shape.
Choose yarn weight, hook size, and hardware for a durable bag
Use mercerized cotton or a cotton/nylon blend in worsted weight (Category 4) with a hook 1–2 sizes smaller than the yarn label suggests (typical: 4.0–4.5 mm for single-strand worsted) to produce a firm, abrasion-resistant fabric ready for daily wear.
Yarn and hook pairing
Recommended fiber choices: mercerized cotton (better abrasion resistance), cotton/nylon blends (adds strength and slight give), polyester-core nylon (for straps or heavy-load areas). For normal carry loads pick worsted (#4). For heavier loads either use bulky (#5) yarn (6.0–8.0 mm hook) or hold two strands of worsted together and use a 4.5–5.5 mm hook. For extremely stiff bases use cord-style materials (T-shirt yarn, macramé cord, twisted nylon cord) with 8–12 mm hooks.
Aim for tight loops: choose the smallest hook that still lets you work comfortably so the fabric has low stretch and close stitch definition. Target a dense gauge roughly equivalent to 16–20 stitches per 10 cm in a compact single-loop pattern; adjust hook size to hit that density.
Hardware, reinforcement, and finishing
Zippers: choose YKK or equivalent heavy-duty zippers – size #5 for medium loads, #8 or #10 metal teeth for high load points; waterproof coil (AquaGuard) where weather resistance is needed. Strap attachments: use metal D-rings and tri-glide sliders sized to match webbing width (1″ / 25 mm or 1.5″ / 38 mm). Use swivel hooks (1″–1.25″) for removable straps. Prefer brass, stainless, or zinc-alloy plated finishes over plastic for longevity.
Reinforcement: add a cut-to-fit base insert (3–5 mm plastic canvas, 2–4 mm polyethylene sheet or a thin MDF with rounded edges) inside a sewn pocket to keep shape under load. Anchor strap points to a 3–4 oz veg-tanned leather patch (~1.2–1.6 mm thick) or heavy-duty canvas, sew with bonded nylon or upholstery polyester thread (Tex 70–92 or bonded nylon #69) and back with rivets if metal hardware is used. Use 5–7 mm solid rivets and matching washers for strap terminals; pre-punch holes and set with a rivet setter.
Needles & glue: for hand finishing use heavy-duty needles (leather/boat needles); for permanent bonding apply contact cement (Barge) or textile adhesive at leather-to-fabric joins before stitching. For repairs or hardware replacement consult specialist services such as best luggage repair honolulu.
Determine gauge and scale the pattern to fit target capacity and dimensions
Work and block a 10 x 10 cm (4 x 4 in) swatch in the stitch pattern you will use; count stitches and rows across the blocked square and record stitches/cm and rows/cm.
Formulas to keep handy: stitches_per_cm = stitches_count / 10; stitches_per_in = stitches_per_cm × 2.54; rows_per_cm = rows_count / 10; rows_per_in = rows_per_cm × 2.54. Target stitch count = target_width_cm × stitches_per_cm. Target row count = target_height_cm × rows_per_cm.
Fabric elasticity adjustment: for dense, non-stretch stitches use +0% allowance; for medium-density stitches add +5% to the target stitch count; for open/lacy stitches add +10–15%. Add 5–10 mm to each external dimension if the finished piece will be lined or receive a rigid base.
When scaling an existing pattern panel: new_sts = round(pattern_sts × target_width_cm / pattern_width_cm) then convert to nearest multiple of the stitch repeat. Example: pattern panel = 48 sts for 25 cm; target width = 30 cm → 48 × 30 / 25 = 57.6 → round to 58; if repeat = 4, adjust to 56 or 60 depending on symmetry and pocket placement.
Seam and finishing allowances: add 0.5 cm (2–3 rows) per seam edge for whipstitch seams, 0.8–1.0 cm if sewing through thick fabric or inserting topstitching. For strap anchor points or hardware reinforcement add a square patch 4–6 cm larger than the hardware plate and increase local rows by 10–15%.
| Target capacity | Example outer dims (H×W×D cm) | Volume L (calc) | Stitches across at 3 st/in (1.18 st/cm) | Stitches across at 4 st/in (1.57 st/cm) | Stitches across at 5 st/in (1.97 st/cm) |
|---|---|---|---|---|---|
| 10 L | 28 × 20 × 18 | 10.1 | 20 cm × 1.18 = 24 | 20 × 1.57 = 31 | 20 × 1.97 = 39 |
| 15 L | 33 × 22 × 21 | 15.3 | 22 × 1.18 = 26 | 22 × 1.57 = 35 | 22 × 1.97 = 43 |
| 20 L | 38 × 26 × 20 | 19.8 | 26 × 1.18 = 31 | 26 × 1.57 = 41 | 26 × 1.97 = 51 |
Volume check: cubic_cm = H_cm × W_cm × D_cm; liters = cubic_cm / 1000. Convert desired liters to practical dimensions by choosing one dimension to prioritize (height or width) and solving for the remaining dimension(s).
Final verification: make a small mock panel with calculated stitch and row counts and assemble a prototype without finishing hardware; confirm capacity and fit, then adjust stitch counts by ±1–3% if prototype shows unexpected stretch or stiffness.
Reinforced flat base using dense stitches and strategic increases
Use single crochet (sc) or tight half‑double crochet (hdc), worked with a hook 0.5–1.0 mm smaller than the walls, to produce a compact foundation that resists sagging.
Circular base increase formula
Magic ring start: R1 = 6 sc in ring. R2 = inc in each st → 12. R3 = (1 sc, inc) ×6 → 18. R4 = (2 sc, inc) ×6 → 24. R5 = (3 sc, inc) ×6 → 30. Continue adding one more single crochet between increases each round; increases per round remain 6 (or equal to your initial ring count) and must be spaced evenly to keep the piece flat. Avoid placing two increases adjacent in any round.
To compress the fabric and add firmness, on the last flat round work a round of slip stitches or single crochets using the smaller hook, pulling each stitch slightly tighter than previous rounds.
Oval base and lengthwise expansion
Make a foundation chain equal to the desired inner length (minus seam allowance), join with a short row of sc on the opposite end to form an oval: work 1 sc in each chain across, 3 sc in the last chain, continue down the opposite side of the chain, 3 sc in the starting chain. For each expansion round, add increases only in the two curved end groups (place increases evenly inside those 3‑st corners), then work straight sc on the long sides. Repeat rounds until required width is reached.
Double‑layer base: make two identical bases and whipstitch them together with mattress stitch, inserting a rigid insert (cut plastic canvas or thin Peltex) between layers before closing. Cut the insert 1–2 mm smaller than the stitched base to prevent bulging at the seam.
Single‑piece reinforced seam: after completing the flat base, fold the first 1–2 rounds upward and work the first side round through both thicknesses (insert hook through both base and folded row) to form a boxed, stable seam that bonds base and body without gaps.
Edge finishing and extra rigidity: 1) Work 1–2 rounds of reverse single crochet (crab stitch) or slip stitch around the perimeter with a smaller hook to tighten the edge. 2) Add a row of nylon/ upholstery thread topstitching through both layers for load‑bearing reinforcement. 3) Optional: line the interior with a sewn fabric panel, hand‑stitching the lining to the inner stitches to distribute weight across the base.
Assemble panels and attach padded straps for load-bearing support
Use a 1.5 cm seam allowance and join panels with a flat mattress stitch; pin every 2–3 cm and maintain 2.5–3 mm stitch length. Add a secondary row of straight stitches 5 mm from the primary seam with bonded nylon thread size 40 (tensile ≥ 30 lb) to create a load-bearing seam.
Insert 20–25 mm polyester webbing inside the seam channel before closing side seams to distribute loads into the structure rather than the fabric alone. Topstitch 4–5 mm from each edge of the webbing; spacing between topstitch rows should be 6–8 mm. Where straps meet the body, reinforce with a 25×25 mm box-X pattern using 6–8 dense zigzag passes or a bartack machine if available.
Construct padded shoulder straps using closed-cell foam 6–10 mm thick, cut 40–50 mm wide for standard adult carry. Sandwich foam between outer panel and lining, leaving 2–3 mm seam allowance; stitch along both long edges, then trim foam flush with inner seam. Fit 20–25 mm tri-glide sliders and 20–25 mm D-rings for adjustability and sternum-strap hardware.
Anchor upper strap ends centered 6–8 cm apart at the top edge and sew lower ends 3–4 cm above the base seam for proper load path. For high-load applications add metal rivets (6 mm) at anchor points and overlay with 8–10 straight machine stitches through rivet heads and webbing. Create horizontal webbing channels across the rear panel at 10–12 cm intervals to transfer weight to the base and secure each channel end with bar-tacks.
Install a removable 2–3 mm polyethylene backsheet between lining and outer for rigidity and test assembly with expected payload: hang 1.5× intended working load for 1 hour; acceptable seam stretch ≤ 5 mm. For materials coverage or storage protection consider external options such as best personal umbrella insurance policy.
Finish with lining, secure closures, and water-resistant treatment
Use a separate cotton canvas lining (8–10 oz / 270–340 g/m²) or 190–420 denier nylon taffeta; cut each lining panel 1/4 in (6 mm) smaller on all edges than outer panels so the lining stays recessed and invisible at the seams.
Lining: materials, cutting, and attachment
- Interfacing: apply fusible woven interfacing 3–6 oz (80–170 g/m²) to lining pieces for shape retention; for heavy outer textiles choose 6 oz interfacing.
- Seam allowances: use 3/8–1/2 in (10–12 mm) for main seams and 1/4 in (6 mm) for internal pockets; trim corners to reduce bulk and clip curves every 6–8 mm.
- Sewing machine settings: heavy fabrics – 90/14 or 100/16 needle, bonded polyester thread Tex 69, stitch length 3.0–3.5 mm; use a walking foot and a tape top-loading bobbin if available.
- Attach lining to opening: hand-stitch the lining to the top hem with ladder stitch (invisible mattress stitch) allowing a 5–8 mm tuck so the outer edge overlaps the lining and prevents fraying.
- Pockets: add a 1/2 in (12 mm) bar tack or double topstitch at pocket stress points; for zipper pockets use boxed backing patch (2 layers of 8 oz canvas) under zipper tape.
Closures and hardware: reinforcement and installation
- Zippers: choose coil or molded nylon zippers for corrosion resistance; cut zipper 1–2 cm longer than mouth and fold the extra under. Reinforce zipper tape with 1–2 layers of 3–6 oz interfacing and topstitch 2–3 mm from tape at 3.5–4.0 mm stitch length.
- Magnetic snaps and rivets: reinforce with 2–3 cm leather or heavy canvas washers on both sides; use 8–10 mm diameter washers for small snaps, 12–15 mm for heavy-duty closures. Pre-punch holes with a 3–4 mm punch for snaps, 5–6 mm for rivets.
- Grommets and eyelets: for strap pass-throughs use grommets with 6–8 mm inner diameter; set with a hand grommet tool and a rubber mallet, adding a 2–3 mm reinforcement patch beneath the hole.
- Stitch reinforcement: sew bartacks or box-X stitches at all strap anchor points using bonded nylon thread; recommended bar tack length 12–15 mm with 6–8 passes per stitch.
- Rivets and D-rings: place rivets 6–8 mm from raw edge and clinch with a setter; choose stainless or brass hardware for outdoor use.
Lubricate zippers with a silicone zipper lubricant or beeswax bar; apply sparingly to teeth and run zipper open/closed 5–10 times to distribute and test smoothness.
- Seam sealing: for synthetic linings and outer fabric use a urethane seam sealer (Gear Aid Seam Grip WP or equivalent). Apply a 2–3 mm bead inside seams, spread with a small brush, allow 12–24 hours cure at 15–25°C.
- DWR and waterproofing: select treatment by fiber content–
- Natural fibers (cotton, wool): use beeswax-based rub (Otter Wax or similar). Apply heat gently with a hairdryer on low; buff excess and cure 12–24 hours. Test a scrap to avoid scorching.
- Synthetics (nylon, polyester): use silicone- or fluoropolymer-based spray (Nikwax Tech Spray, Granger’s, or Scotchgard Heavy Duty). Apply 2 even coats from 20–30 cm, wait 10–15 minutes between coats, dry 12–24 hours.
- Reapplication schedule: after 6–12 washes or every 6 months of regular outdoor use, re-treat with 1 light coat.
Final reinforcement checklist before use:
- All internal seams sealed or taped; no raw edges exposed inside lining.
- Closures backed with leather/canvas washers and stitched or riveted.
- Strap anchors sewn with box-X and bar tacks; hardware seated with washers.
- Zippers lubricated; moving parts operate smoothly.
- Waterproofing tested on scrap and then applied; cured per product instructions.
For an unrelated troubleshooting reference for compressed-air tools, see how to troubleshoot and repair an air compressor pressure switch.


