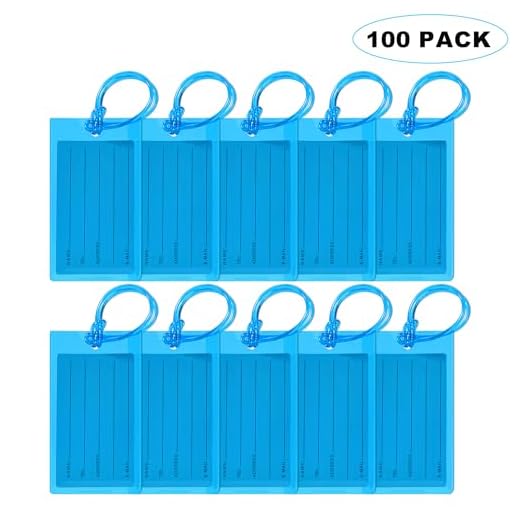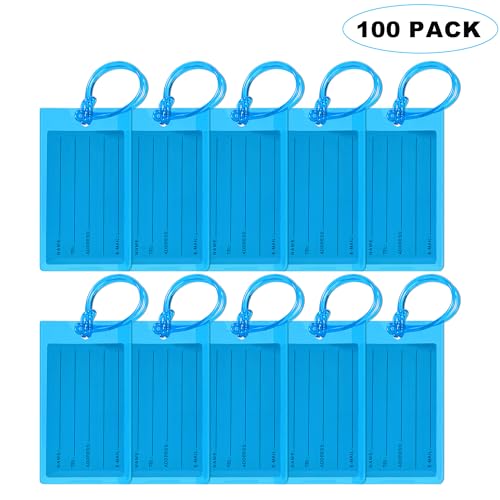


Begin with a sturdy piece of cardboard or paper, ideally around 3 inches by 6 inches in size, for optimal durability. Choose a color or design that stands out, ensuring easy visibility amongst other belongings.
Next, use a ruler and a craft knife to create clean edges. Measure and mark the desired dimensions clearly, then cut along the marked lines for precision. This foundational step guarantees your creation will hold up during travel.
Once you’ve shaped your identifier, turn it over to begin the assembly. You can create a slot at the top or use adhesive to attach a loop for easy attachment to your bags. Consider using a decorative ribbon or string to personalize it further, adding flair while enhancing visibility.
Lastly, don’t forget to write down your name, contact information, and any other relevant details on the front of your crafted piece. Use a permanent marker to ensure the text remains legible throughout your travels, providing peace of mind and reducing the chances of loss.
Selecting the Right Materials for Your Travel Identifier
Opt for durable, water-resistant paper for sturdiness. This ensures longevity even in varied environments. Consider laminated options for added protection against spills or moisture.
Types of Materials
- Cardstock: Thick and rigid, ideal for sturdy identifiers.
- Plastic: Flexible and waterproof, offering durability in different climates.
- Fabric: If creativity is desired, use printable fabric for a unique touch.
Additional Features
- Writeable Surface: Ensure the material allows for easy writing.
- Attachment Mechanism: Choose options that enable easy attachment to bags.
- Color and Design: Bright colors or distinct patterns aid in easy recognition.
Each material has distinct attributes. Assess needs based on travel frequency and climate exposure to select the best fit.
Measuring and Cutting the Template Accurately
For precise creation, utilize a clear ruler and a sharp utility knife or scissors. Begin by measuring the template dimensions carefully, ensuring they match your desired size exactly.
Steps for Measurement
Lay the template flat on a sturdy cutting surface. Use the ruler to mark all necessary lines and corners distinctly. A light pencil mark helps guide the cutting process without leaving permanent marks on your material.
Executing the Cutting
When you are ready to proceed with the trimming, follow the marked lines meticulously. If using scissors, apply even pressure to avoid jagged edges. For a neater finish, consider making multiple light passes with a utility knife rather than one heavy cut.
After trimming, double-check the measurements before moving on to assembly. An accurate template ensures the components fit together seamlessly. For those interested in how to organize travel gear effectively, check out the best bag for work and gym.
Creating Decorative Elements for Your Travel Identifier
Incorporate unique flair with embellishments that reflect your personality. Consider using stickers, washi tape, or rubber stamps for a playful touch. Choose bright colors and patterns to make your identifier stand out on the carousel.
Utilizing Mixed Media
Combine various materials such as fabric, paper, and metallic accents. Attach small charms or beads to enhance texture. This approach creates a multi-dimensional effect, making your identifier visually captivating.
Adding Personal Touches
Include your favorite quotes or images that represent your travels. Handwritten messages or printed photographs can be adhered securely, adding depth. Personalization not only makes identification effortless but also sparks joy when seen.
Folding Techniques for a Professional Finish
Begin with precise crease lines. Utilize a bone folder or a similar tool to create sharp, clean edges, ensuring the finished piece has a polished look. Position the materials on a flat surface, aligning the edges meticulously before applying pressure along the designated lines to achieve crisp folds.
Achieving Symmetry
For an aesthetically pleasing final product, focus on symmetry during the process. Measure twice before making any indentations. Utilize a ruler and a pencil to lightly mark where each fold should occur. This ensures that both sides align perfectly, enhancing the overall design.
Layering Techniques
Incorporate layering for added depth. Once the primary structure is folded, consider a second layer for decorative effects. Adhere it carefully with double-sided tape or strong adhesive. Take care to align the edges for a seamless appearance, avoiding any visible overlap that could disrupt the flow of the design.
Attaching the Tag Securely to Your Travel Gear
Utilize strong adhesive options like double-sided tape or a hot glue gun for a firm attachment. Additionally, applying reinforced yarn or string to create a loop is advisable. Ensure that any knots are tight and secure to prevent accidental detachment during transit.
Recommended Attachment Methods
| Method | Description | Durability |
|---|---|---|
| Double-Sided Tape | Use high-tack tape for a strong hold without bulk. | Moderate |
| Hot Glue | Provides a lasting bond; cautions against heat exposure. | High |
| Yarn/String Loop | Create a loop for easy attachment to handles or straps. | Very High |
For additional protection, consider covering the attachment with clear tape or a laminating sheet. This shields the attachment point from moisture and wear, ensuring longevity.
For those considering practical appliance options, check out this guide on are there any problems with beko freezers for insights.
Personalizing Your Bag Identifier for Easy Recognition
Add unique elements that reflect your personality or style. Use bright colors, patterns, or custom prints to ensure your identifier stands out. Consider incorporating your name or initials in a stylish font for a personal touch that enhances visibility.
Utilizing Stickers and Stencils
Apply stickers or use stencils to decorate your identifier. Choose designs that are easily recognizable, facilitating quick identification while maintaining a fun aesthetic. Ensure that any adhesive used is durable enough to withstand travel conditions.
Incorporating Functional Features
Consider adding a small pocket or slot for a business card or contact information. This addition not only personalizes the identifier but also provides practical assistance in case of loss. Additionally, attaching a colorful ribbon or charm can enhance visibility.
For access to quality supplies for your project, check out the best luggage shops melbourne.


