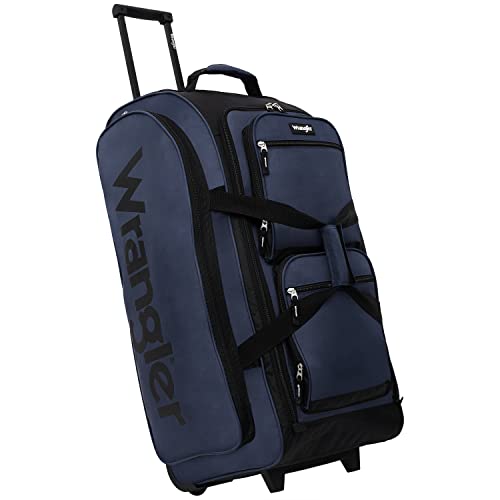
For a smooth transition back to your travel adventures, keeping your carry-on in top condition is vital. If you notice that your suitcase has trouble rolling or seems off balance, new mobility aids are likely required. Follow these precise instructions to rejuvenate your travel companion’s functionality.
Begin by locating the appropriate size and type of replacement rollers. Many models specify compatible parts in their user manual or online resources. It’s essential to choose durable replacements to avoid future issues. After securing the replacements, lay the suitcase on its side for easy access.
Use a screwdriver or an appropriate tool to remove the damaged castors. Usually, they are secured with screws that can be taken out with a simple twist. Once detached, check for any debris or damage in the mounting area. This preparation ensures a proper fit for the new set.
Next, attach the new components by aligning them with the designated holes. Tighten them firmly to prevent any wobbling during use. Once installed, stand the suitcase back upright and give it a gentle test roll. If all goes well, your piece is now ready to accompany you on your next journey!
Steps for Changing Castors on Your Travel Case
Begin by gathering the necessary tools: a screwdriver, replacement castors, and possibly a wrench for securing nuts. Ensure you have suitable castors that fit your bag model.
Turn your travel case upside down for easy access to the existing castors. Identify how they are attached–usually via screws or a plate. Remove screws with the screwdriver carefully without damaging the surrounding material.
Once screws are out, gently pull the old castors off. If they are stuck, slightly wiggle them or use a flat tool to assist in removing them. Make sure to collect all components, including any washers or nuts that may come off with the castors.
Align the new castors with the holes present on the base. If they require screws, insert them into the corresponding holes and tighten securely. Using a wrench, if applicable, can provide better leverage.
After installation, flip the case back to its upright position and test the new castors by rolling the case on different surfaces. Ensure they move smoothly and securely.
| Tool | Purpose |
|---|---|
| Screwdriver | To remove and attach castors |
| Wrench | For securing nuts on some models |
| Replacement Castors | To replace the old or damaged ones |
Dispose of the old castors responsibly, and keep an eye on their performance over time to ensure continued smooth operation.
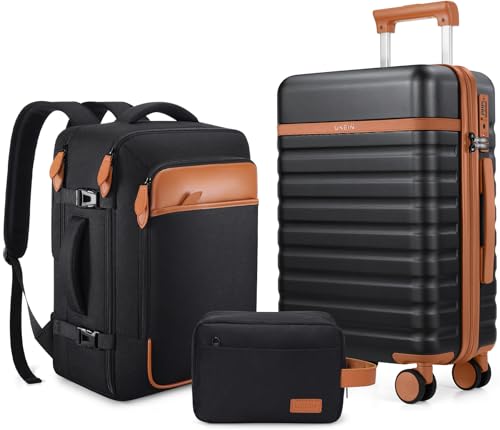
Identifying the Right Replacement Wheels for Your Murano Luggage
Begin by assessing the existing dimensions and characteristics of your suitcase’s current rollers. Measure the diameter and width accurately to ensure proper fitment. Additionally, note the attachment style, as some designs may use a screw, while others might utilize a snap-in mechanism.
When sourcing new components, prioritize quality. Durable materials like polyurethane or rubber tend to offer better longevity and smoother gliding. Always consider the weight capacity; heavier bags will require sturdier, reinforced models.
Checking Compatibility
Cross-reference the brand specifications or model numbers with available options online or at local stores. Many retailers provide guides detailing whether specific items match your travel gear. Utilize online forums or communities; often, users share experiences that can guide your decision-making process.
Ordering and Installation Tips
Once you’ve identified a suitable replacement, order extra components if possible. Having spares can be beneficial for future needs. During installation, ensure all tools required are ready, and follow manufacturer instructions carefully. Keeping a steady hand while securing attachments will prevent future mishaps.
For those interested in related travel necessities, check out this best sturdy umbrella stroller.
Tools Required for Wheel Replacement on Murano Luggage
Gather the following tools before starting your task for optimal results:
- Screwdriver Set: A Phillips and flathead screwdriver are necessary for removing existing components.
- Replacement Wheels: Ensure they match the specifications for seamless installation.
- Socket Wrench: Use this for loosening nuts that may secure the attachments.
- Pliers: Helpful for gripping and twisting stubborn screws or nuts.
- Measuring Tape: For confirming sizes and ensuring new components fit correctly.
- Lubricant: Apply on axles or bearings to enhance mobility once installed.
- Protective Gear: Safety glasses and gloves protect against sharp edges during the procedure.
Preparation Steps
- Clear your workspace to prevent any loss of small parts.
- Place your item upside down to facilitate access.
- Organize your tools for quick retrieval during the process.
Ensure all tools are in good condition before commencing to avoid interruptions. This preparation will make the process smoother and more efficient.
Step-by-Step Guide to Removing Old Wheels from Your Luggage
Begin by placing the case upside down on a soft surface to prevent any scratches. Ensure the area is well-lit for visibility.
Use a screwdriver to unscrew the bolts holding each caster in place. Typically, these fasteners are located at the base of the wheel housing. Keep the screws in a safe location for later use.
Gently pull the old casters away from their mountings. If they resist, check for any additional screws or clips securing them. Ensure to avoid excessive force to prevent damage.
Inspect the mounting area for any debris or damage that may need addressing before installing new components. Clean the area to ensure a stable fit for the new items.
For further information on protein-rich options, visit which nut butter has the most protein.
Proper Installation of New Rollers on Your Travel Case
Begin with aligning the new components accurately with the attachment points. Ensure that each fitting is level and ready for secure fastening. Insert screws or bolts into the designated holes without over-tightening to prevent damage to the plastic or metal housing.
After inserting the fasteners, check for any misalignment or wobbling. Adjust accordingly so that each unit sits evenly against the body of the case.
Utilize a screwdriver or wrench to firmly secure the fasteners. Conduct a final check by gently pulling and pushing the new parts to confirm they are firmly attached. Avoid excessive force initially to allow for any needed adjustments.
Once installed, test the travel case on a flat surface to observe functionality. Listen for any unusual sounds that may indicate improper installation. Address any issues immediately.
Finally, perform a visual inspection to ensure that all parts are seated well and that there are no gaps or visible deformities. Properly installed rollers will enhance mobility and extend the life of your bag.
Tips for Maintaining Your Murano Luggage Wheels After Replacement
Regular cleaning prevents dirt and debris buildup. Wipe the new components with a damp cloth after each trip, focusing on any grooves or joints where particles accumulate. This practice extends the lifespan of the rollers.
Lubrication
Apply a silicone-based lubricant periodically to reduce friction. A small amount in the moving parts can enhance performance and minimize wear. Avoid grease, as it attracts dust and grime.
Inspection
Frequently check the integrity of the attached hardware. Ensure that screws and bolts are tightened adequately. Look for any signs of damage or wear that could lead to issues while in transit.
Consider storing your gear in a cool, dry place and away from extreme temperatures to prevent damage. For an active lifestyle, look into the best infant hiking backpack to complement your travel needs.