

Utilizing a well-designed saddlebag can significantly enhance your cycling experience. Opt for a model that easily attaches to the rear of your seat. Ensure it meets your capacity requirements while keeping the profile low to avoid disrupting aerodynamics. Consider weight distribution carefully; placing heavier items closer to the bike’s center contributes to stability during rides.
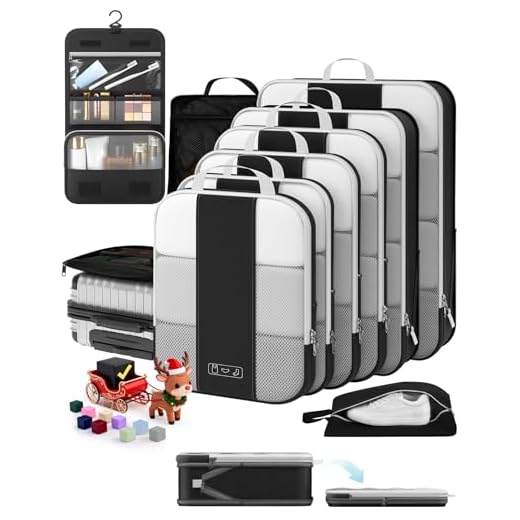
When selecting items for transport, prioritize essentials. Tools for repairs, a first-aid kit, and hydration systems should be accessible. Lightweight clothing is preferable–pack items that can be layered for various weather conditions. Utilize compression bags to minimize bulk and maximize available space, making it easier to manage your gear.
Applying a systematic approach to loading will optimize your setup. Position frequently used items on top or near the opening of your compartment. Strive for a balanced load across both sides of the bike to maintain control, especially on long ascents or descents. Regularly check straps and closures to prevent any loss during your ride.
How to Secure Belongings on a Performance Bicycle
Utilize a frame bag for a low center of gravity. This minimizes swaying and keeps the ride stable. Choose a bag that secures tightly to the bike’s frame, avoiding excess movement during rides.
Add a saddle pack for personal items. These attach beneath the seat, freeing up space while being aerodynamic. Opt for waterproof materials to protect contents from rain or splashes.
Utilizing Panniers for Extended Trips
Install rear or front racks designed for performance cycles, then attach lightweight panniers. Distributing weight evenly between the front and rear enhances stability, making long rides more manageable.
Ensure panniers are streamlined and snug to prevent drag. Look for models that are specifically made for high-speed riding and check that attachment systems are secure.
Consider Lightweight Alternatives
Invest in compression bags for clothing, which reduce bulk and can be slipped into available spaces on the bike. These also help keep gear organized, making retrieval straightforward during stops.
Use a hydration system that integrates with the bike frame. Bottles mounted in secure cages are preferable, maintaining hydration without compromising speed or handling.
Selecting the Right Bike Rack for Your Needs
Consider the type of mounting when choosing a bike rack. Options include seat post racks, rear racks, and frame-mounted carriers. Each has distinct advantages based on your cycle’s design and intended load capacity.
Weight Limits
Assess the maximum weight capacity of the rack. Ensure it aligns with the combined weight of your items and the rack itself. Typically, rear racks support more than seat post models.
Compatibility
Check compatibility with your cycle’s frame. Some racks are universal, while others are specific to certain designs. Verify whether additional adapters are necessary.
- Seat Post Racks: Ideal for lightweight needs; easy to install.
- Rear Racks: Better for heavier loads; suitable for long distances.
- Frame-Mounted Options: Offer stability; may require more installation effort.
Research material quality as well. Aluminum racks are lightweight and resistant to rust, while steel provides durability but may add extra weight. Evaluate how these materials affect handling and portability.
Finally, consider additional features like integrated lights or reflective elements. These can enhance visibility and safety during rides, especially in low-light conditions.
Choosing the Best Panniers for Cycling
Select panniers with a waterproof design to protect gear from rain and splashes, enhancing usability in various weather conditions. Look for options made from durable materials like nylon or polyester that resist wear and tear over time.
Capacity matters. A common range for capacity is between 20 to 30 liters per pannier. Assess your needs based on typical distances and items taken along. Consider features like expandable sections for flexibility, granting room for extra essentials without compromising structure.
Weight is a key factor. Choose lightweight models to maintain speed and agility. Aim for panniers that weigh around 600-800 grams per piece to strike a good balance between sturdiness and manageability.
Attachment systems should be easy to use and reliable. Look for quick-release mechanisms that allow for efficient loading and unloading, while still ensuring stability during rides. Many brands offer adjustable hooks or clips that fit various rack sizes.
| Feature | Recommendation |
|---|---|
| Water Resistance | Waterproof or water-resistant fabric |
| Durability | Nylon or polyester materials |
| Capacity | 20-30 liters per piece |
| Weight | 600-800 grams each |
| Attachment Mechanism | Quick-release systems, adjustable hooks |
Reflect on visibility. Bright colors or reflective elements can improve safety during night rides. Opt for designs that enhance visibility without compromising aesthetics.
Lastly, accessibility features such as external pockets can streamline access to items needed during rides. Consider what you’ll require frequently–snacks, tools, or maps–and choose accordingly.
Packing Techniques for Maximizing Space
Roll clothing instead of folding to save space and reduce creases. This method allows items to fit snugly together and utilize every inch of available area.
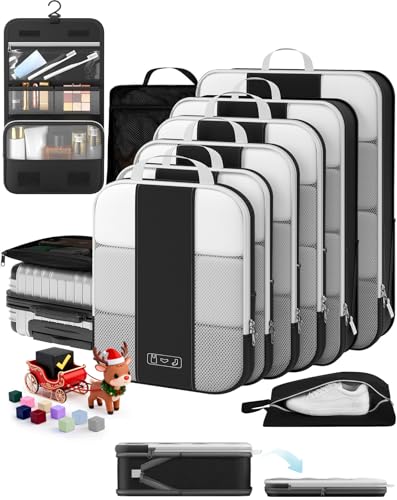
Use packing cubes to compartmentalize gear. These help organize belongings and can be easily positioned within panniers or racks, making retrieval more straightforward.
Compressible bags are ideal for minimizing bulk. For instance, reusable vacuum storage bags can eliminate excess air, allowing for more compact packing of soft items.
Choose multi-functional items. A waterproof jacket that doubles as a pillow or a sleeping bag that can also serve as a cushioned seat can significantly reduce the number of necessary objects.
Prioritize weight distribution. Place heavier items at the bottom and towards the center of your setup to enhance stability during transport, balancing the load effectively.
Take advantage of exterior straps and hooks on your setup. These can secure items like a sleeping mat or a tent, freeing up internal space for more valuable gear.
Utilize every nook and cranny by stuffing small items, such as socks or toiletries, inside shoes or larger containers. This tactic maximizes the overall capacity of your arrangement.
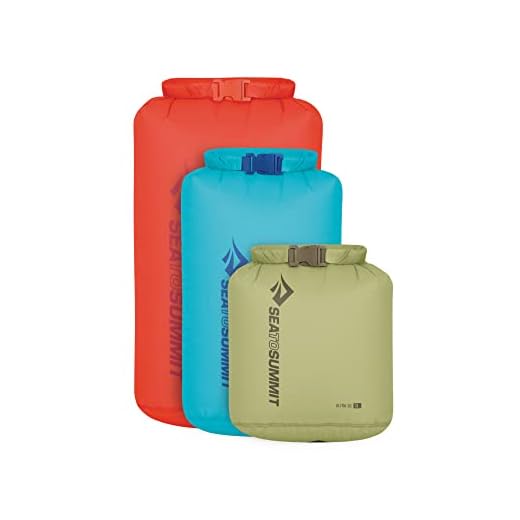
Incorporate dry bags for sensitive items. They not only protect from moisture but can also be compressed to fit into tight spaces, ensuring everything remains dry and organized.
Balancing Weight Distribution for Stability
Prioritize even weight allocation across the frame and saddle to enhance control. Position heavier items low and close to the center, preventing excessive sway. Utilizing a rear rack with panniers can stabilize the load; allocate heavier items towards the bottom and front of the panniers for better handling.
Front vs. Rear Loads
For an optimal setup, avoid front-loading alone as it can lead to steering issues. If using front bags, maintain a lighter load compared to the rear. Balance the setup by ensuring that weight is distributed within a range of 40% in the front and 60% in the rear, enhancing stability and maneuverability.
Dynamic Adjustments
Monitor the balance while riding, adjusting as necessary. Reassess positioning after every stop or adjustment during trips, noting changes in handling or comfort. Lightweight adjustments, such as redistributing items or shifting their positions, can significantly influence stability on different terrain.
Safety Tips for Transporting Gear on Your Bicycle
Secure each item tightly to prevent shifting while riding. Use high-quality straps or buckles and check them regularly during longer trips.
Visibility is Key
Attach reflectors or lights to your setup. During low-light conditions, ensure your presence is clear to other road users. Bright colors for bags enhance visibility, aiding safety on busy routes.
Weight Management
Place heavier items low and closer to the center of the frame. This lowers the center of gravity, enhancing stability. Distribute weight evenly across both sides to avoid imbalance that could lead to loss of control.
For added peace of mind while on the road, consider using a security camera system. For insights on such technology, visit are digital watchdog cameras crappy.
Maintaining Comfort During Long Rides with Luggage
Use padded shorts and a quality chamois cream to reduce friction and enhance comfort over extended distances. Regular breaks every 10-15 miles allow for stretching and hydration, which keeps muscles from tightening.
Ensure your clothing is lightweight and moisture-wicking to regulate temperature effectively. Layering is key–start with a base layer, add an insulating layer for cooler weather, and finish with a breathable outer shell if conditions demand.
Adjust the fit of your bicycle to suit your preferences. A commuter-friendly posture can alleviate stress on your back and shoulders. Handlebar height should complement your body’s natural posture to minimize fatigue.
Consider ergonomic grips and a comfortable seat to reduce strain on your hands and pelvis. Experiment with different saddle types to find the optimal fit for your body shape.
Utilize compact packing solutions to maintain a streamlined profile. Bulky items can affect stability and comfort, so focus on lightweight, multi-functional gear.
For convenience on your travels, check out the best walmart tote bag for travel which can complement your cycling setup.
Lastly, remain mindful of hydration. Carry a sufficient supply of fluids and snacks to maintain energy levels and avoid discomfort during your ride.


