
Choose a well-fitting embroidery design suitable for your preferred size. Common dimensions are typically around 3 inches by 5 inches, ensuring a comfortable fit for personalization.
Select durable, high-quality fabric that withstands wear and tear during travel. Cotton blends or canvas are excellent options, providing both sturdiness and aesthetic appeal.
Prepare your embroidery machine with the chosen thread colors that mirror your style. Opt for contrasting shades to enhance visibility and add a personal touch to your unique creation.
Prior to stitching, set up a backing that supports your fabric, ensuring a clean and polished finish. Tear-away or cut-away stabilizers work well to provide stability throughout the process.
Incorporate a slot for your identification card or contact details by designing a pocket within the embroidery pattern. This feature adds functionality, making retrieval simple while ensuring essential information is securely enclosed.
Finish with a protective coating or sealant if desired, providing an extra layer of durability against the elements and everyday use. This step enhances longevity, keeping your personalized accessory looking pristine.
Steps for Creating an In-the-Hoop Identification Label
Begin with a quality stabilizer, ideally medium-weight, to support the stitching process. Secure fabric layers in the embroidery hoop, ensuring the arrangement is flat and even for easier stitching.
Choose a design that fits your specifications. Look for templates that include built-in pockets or allow for easy insertion of identification cards. Select vibrant colors that contrast with the base material for visibility.
Utilize your embroidery machine to stitch the outline first. This allows you to check alignment before proceeding to add details. Pay attention to the thread tension, as this can affect the final appearance.
Incorporate decorative elements as desired, including embroidery or applique. Each embellishment should complement the overall design while maintaining functionality.
Once finished, carefully unhoop the piece and trim any excess stabilizer, ensuring the edges are clean. If needed, seal edges with a zigzag stitch to prevent fraying.
For durability, consider pairing your creation with robust bags. Explore options in this link for best luggage for rugged travel.
Selecting the Right Materials for Your Travel Identifier
Opt for durable fabrics such as cotton canvas or synthetic blends for longevity and resistance to wear. These materials withstand travel conditions without losing shape or color.
For a polished look, consider using faux leather or vinyl, which adds elegance and protects against moisture. They are easy to wipe clean and maintain their appearance over time.
Incorporate interfacing for added stiffness, ensuring the identifier maintains its structure. Choosing lightweight alternatives prevents bulkiness while retaining durability.
Utilize strong thread types, such as polyester, to withstand stress during stitching. High-quality fasteners like rivets or snaps enhance functionality while keeping the design intact.
Always select materials with vibrant colors or patterns that can be easily recognized. This helps in quick identification while ensuring personal style.
Here’s a summary of recommended materials:
| Material Type | Properties |
|---|---|
| Cotton Canvas | Durable, breathable, available in various prints |
| Synthetic Blends | Resistant to stains, easy to clean |
| Faux Leather | Elegant appearance, moisture-resistant |
| Vinyl | Wipeable surface, maintains color |
| Interfacing | Adds stiffness, prevents sagging |
| Polyester Thread | Strength and durability for stitching |
| Rivets/Snaps | Enhance durability and functionality |
Creating a Design for Your Identifier
Focus on simplicity and readability for your custom identifier. This will ensure that it is easily recognizable and legible at a glance.
Selecting Fonts
Choose a font that stands out yet remains easy to read. Options such as Arial, Helvetica, or a playful script font add character while maintaining clarity. Limit the use of multiple fonts to avoid visual clutter.
Incorporating Graphics
- Consider using simple icons or motifs that represent your personality or travel preferences, like an airplane or suitcase.
- Ensure graphics do not overshadow the text; balance is key.
Utilize contrasting colors for text and background for enhanced visibility. Dark text on a light background, or vice versa, ensures that the information is easy to see.
Include personal information, like name and contact details, in a clearly defined area. Avoid excessive information to keep the design uncluttered.
Preview your design at actual size to evaluate how well it will print and whether elements like text and graphics are proportionate. Adjust as needed before finalizing.
Setting Up Your Embroidery Machine for the Project
Adjust thread tension to match fabric type being used. Test on scraps to ensure stitches are consistent and neat. Aiming for a balanced appearance is key to achieving a professional outcome.
Select an appropriate stabilizer, considering weight and intended use. For medium-weight materials, a tear-away or cut-away stabilizer often works well, providing necessary support without compromising flexibility.
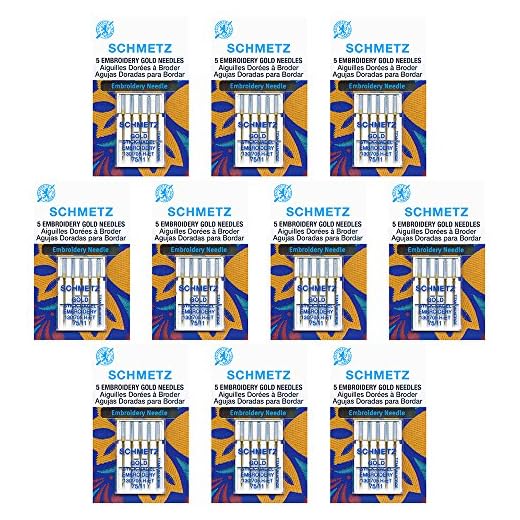
Make sure to select the right needle size. A medium ballpoint needle usually works well for fabric blends, while a universal or sharp needle is better for tightly woven textiles.
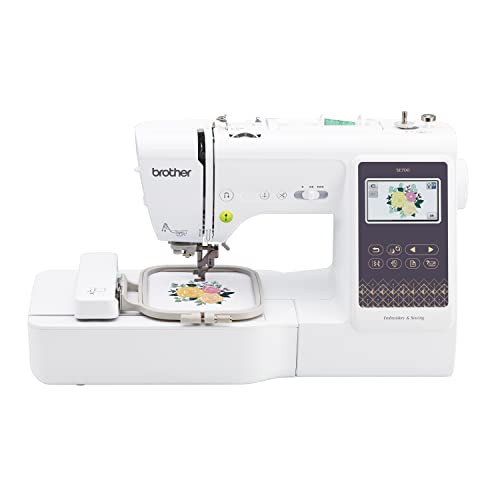
Set your machine to the correct hoop size according to the design dimensions. Load the embroidery file and confirm proper placement with the machine’s alignment features.
After all settings are in place, run a test stitch-out to assess any adjustments needed before starting on the final piece. This ensures reliability and quality in the final embroidery.
Step-by-Step Instructions for Stitching the Tag
Begin by ensuring the embroidery machine is ready. Insert the appropriate stabilizer into the hoop, ensuring a tight fit. Select a design that fits the dimensions of your chosen accessory.
1. Load the design file into your machine.
2. Position the hoop securely to prevent movement during stitching.
Next, thread the machine with the desired thread color. Follow these steps:
- Wind a bobbin with the same thread for consistency.
- Insert the threaded bobbin into the machine.
- Thread the top needle, ensuring no knots or tangles.
Once everything is set, start stitching:
- Begin with the outline stitch. This establishes the shape.
- Pause the machine after the outline completes.
- Place the fabric for the front side under the stitch, aligning it with the outline.
Resume stitching to secure the fabric in place. Watch for any thread breaks and check for even tension throughout.
After completion of the main design, proceed with additional details:
- Stitch any decorative elements or initials if included in the design.
- Keep an eye on color changes. Replace threads as necessary.
Once finished, remove the hoop from the machine. Carefully trim excess fabric, leaving a margin around the edges.
To give it a polished look:
- Cut a backing fabric and place it behind the stitched front.
- Use a zigzag stitch along the edge to secure both pieces together.
Final touches include adding a strap or loop, ensuring durability and style. Your creation is now ready for use! Enjoy your personalized accessory on your travels.
Adding Personalization to Your Luggage Tag
Incorporate unique identifiers by stitching initials or a name directly onto your accessory. Choose contrasting thread colors to make it stand out. Fonts should be easy to read–consider block letters or cursive for a more elegant touch.
Use patches or appliqué elements that reflect personal interests or hobbies. This customization adds character and ensures instant recognition. Patterns can also be integrated; think floral designs or geometric shapes to enhance aesthetic appeal.
For an extra layer of flair, add a decorative border around the edges. Decorative stitching techniques, such as zigzag or scallop, can elevate the overall look. Choose materials that are sturdy and complementary to the main fabric, like leather or faux leather.
Finally, consider including useful information, such as a contact number or email address, discreetly on the back. This adds practicality and helps in case the item is misplaced. After all, customized details not only add personal flair but also enhance functionality.
Consider checking out some tips for getting the best activities for dogs in kennel here. Additionally, if you’re seeking guidance on products, you might want to explore best umbrella stroller baby jogger vue lite for convenient travel with little ones.
Finishing Touches and Assembly Tips
Before sealing the edges, trim excess fabric carefully to ensure a neat finish. Use sharp scissors to achieve clean lines, avoiding fraying. To prevent unraveling, applying a fabric sealant or fray check along the edges can be beneficial.
For assembly, consider using a strong adhesive or sewing the components together for durability. If opting for a glue method, apply a thin layer to avoid seepage. Ensure that all layers align correctly to maintain the aesthetic.
Adding Final Embellishments
Incorporate decorative elements such as ribbons, charms, or embroidery to enhance the visual appeal. If adding a strap, make sure it is securely attached, as this will support the entire piece during travel.
Quality Control
Inspect the finished product for any loose threads or uneven edges. Making small adjustments at this stage will greatly improve the overall presentation and functionality of the item. Ensure any personalized details are legible and securely stitched, giving a polished look to the final creation.


