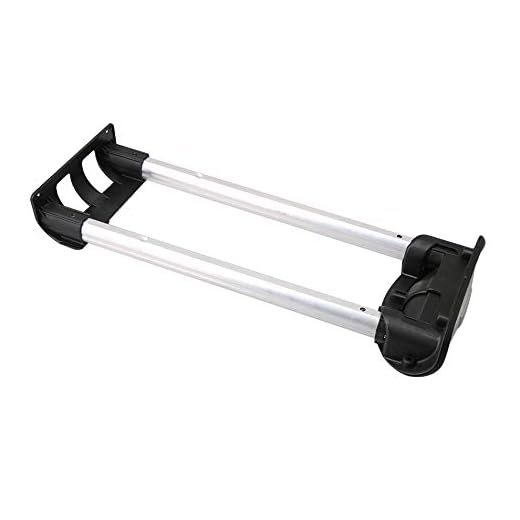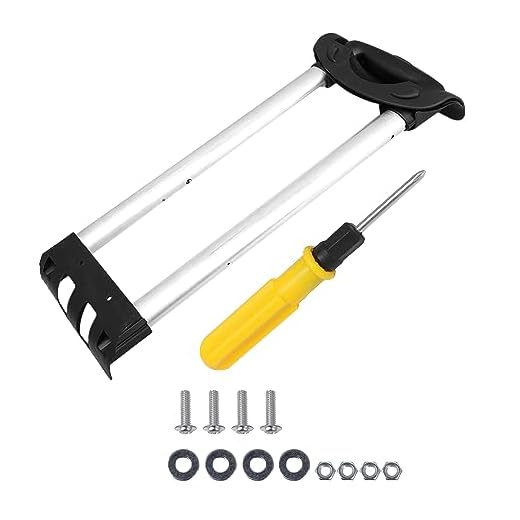


Begin with a simple inspection of the attachment area where the grip meets the frame. Sometimes, accumulated dirt or debris can obstruct smooth movement. Clean this area thoroughly with a soft cloth and a mild soapy solution. Ensure no particles are lodged in the mechanism.
If the issue persists, assess the slider mechanism for any visible damage or misalignment. A small adjustment may allow the slider to function properly again. Use a screwdriver to tighten screws if they appear loose, and check for any parts that may need replacing.
In cases where lubrication is required, opt for a silicone-based lubricant. Avoid oils that can attract dust and grime. Apply sparingly to the moving parts, ensuring it penetrates without excess residue.
After completing these steps, test the grip’s movement again. Consistent issues may indicate a need for professional assistance or part replacement, which can often be handled through manufacturer services or specialized repair shops.
Repairing Handle Extension Issues
Begin with examining the locking mechanism; debris can obstruct its functionality. Carefully clean around the area with a soft cloth, ensuring smooth operation. If the button feels sticky, apply a small amount of silicone lubricant to enhance movement.
Next, check for damage along the rod. Minor bends can be gently straightened using pliers. Wear protective gloves while handling metal components to avoid injury. If the support structure is loose, tighten any screws or bolts using the appropriate tool to ensure stability.
If the extension system is jammed, assess for potential blockages. Inspect inside the casing to identify any foreign objects or misplaced parts. In cases where internal components are broken, replacement may be necessary. Reach out to the manufacturer for compatible parts to avoid compatibility issues.
Lastly, regularly maintain the extension comfort for long-term use. Periodically clean and lubricate moving parts. Store upright when not in use, as this helps maintain the integrity of the extension system.
Identifying the Cause of the Handle Slide
Check for damage in the extendable rod. Bent or broken components can cause instability. Inspect the mechanism that allows the rod to lock in place; dirt or debris can hinder its function.
Analyze the connection points between the rod and the body of the case. Loose fittings may lead to a lack of support, causing unwanted movement. Tighten screws if possible.
Examine for wear on the internal parts of the extending system. Components may have become worn over time, impacting their ability to stay secure.
Assess the alignment of the rod. If misaligned, it may not slide smoothly or lock correctly.
Consider the frequency of use. High usage can reduce the lifespan of the mechanism, leading to potential malfunctions.
Inspect the surrounding area for any obstructions that could interfere with smooth operation. Even small foreign objects can affect the extendability.
Taking these steps will aid in pinpointing the issue and lead to a more effective resolution. Regular maintenance can prevent future complications.
Necessary Tools and Materials for Repair
Gather the following items for a successful repair project:
| Tool/Material | Purpose |
|---|---|
| Screwdriver Set | To remove screws and access internal components. |
| Pliers | For gripping and bending parts as needed. |
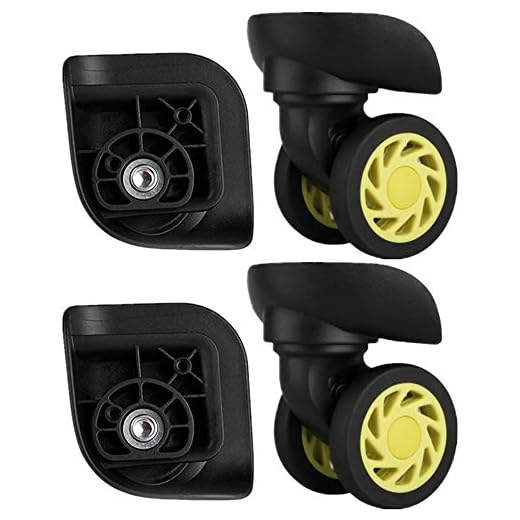
| Replacement Parts | New components like the slider mechanism or locking pieces. |
| Super Glue or Epoxy | To bond parts securely if adhesives are necessary. |
| Cleaning Cloth | For wiping down surfaces and ensuring a clean work area. |
| Measuring Tape | To measure dimensions for fitting any new parts. |
| Flashlight | To illuminate tight or dark spaces during inspection. |
| Protective Gloves | To keep hands clean and safe from sharp edges. |
Having these tools and materials on hand will streamline your repair efforts and improve the overall experience.
Step-by-Step Guide to Properly Secure the Handle
Begin by examining the support mechanism for any visible damage. If the structure appears intact, proceed with these instructions to ensure a stable locking system.
-
Disassemble the mechanism by locating the screws. Use a screwdriver to remove them carefully. Ensure you keep all components together for easy reassembly.
-
Inspect the locking pin and spring within the system. If the pin is bent or corroded, replace it with a new one. Consider using stainless steel parts for durability.
-
Apply a silicone-based lubricant to the moving parts to reduce friction. Avoid oil-based lubricants as they can attract dirt and grime.
-
Reassemble the mechanism by aligning all parts correctly. Tighten screws securely, but do not overtighten as this may damage the components.
-
Test the functionality by pulling the handle up and down. Ensure it locks into place without any wobbling. If it still moves freely, double-check all connections.
-
For added security, consider wrapping the joint area with duct tape for temporary support while traveling.
These steps will help maintain the stability of your external accessory, ensuring it serves you well during travels. If you enjoy outdoor activities, check out the best ski hydration backpack for efficient hydration on the go.
Common Mistakes to Avoid During the Repair
Ensure to avoid over-tightening screws. This can strip threads and cause further issues with the mechanism.
Don’t skip the cleaning process before starting. Dust and debris can obstruct proper assembly and function, leading to unnecessary difficulties.
Neglecting to Inspect Components
- Check all parts for cracks or wear. Replacing damaged pieces beforehand saves time and effort.
- Don’t assume compatibility of replacement parts. Match them with existing components to avoid assembly problems.
Ignoring Adjustment Needs
- Failure to make necessary adjustments after securing may lead to improper operation.
- Test the mechanism multiple times during reassembly to catch issues early.
For additional guidance on building secure structures, visit this link: how to build a garden fence to keep dogs out.
Testing the Handle After Repairs
Once repairs are complete, ensure the gripping mechanism operates smoothly. Pull the component out fully and check for any signs of obstruction or resistance. The release button should engage easily; press it multiple times to verify consistent functionality.
Next, test the stability of the device during extension and retraction. Extend it to its maximum reach, and then retract it. Listen for any unusual sounds, which may indicate faulty assembly. It should return without hesitation.
Perform a durability test by applying gentle pressure as if in use. Simulate the weight it would bear when moving. Any wobbling or instability suggests a need for further adjustments.
Finally, perform an overall inspection to ensure all joints are secure and there are no visible damages. Check the alignment so that it sits evenly with the rest of the piece. Once satisfaction is achieved with each aspect, the repair is deemed complete.
Preventative Measures to Avoid Future Issues
Regular inspection of components is key. Periodically check the telescopic parts for wear, ensuring they move smoothly. Look for any signs of damage or looseness before taking a trip.
Keep the extension mechanism clean and free from debris. Accumulated dust, dirt, or moisture can hinder functionality. A soft cloth can help maintain cleanliness, while a small brush can reach tight spaces.
Storage Practices
Store the bag in a dry environment, protecting it from excessive moisture. This practice keeps materials from degrading over time. Avoid placing heavy objects on top of the luggage during storage to prevent unintentional pressure on the extending mechanism.
Usage Recommendations
Handle the bag with care, avoiding pulling or lifting by the extended part. Use both hands when maneuvering, especially in crowded spaces. If packing the bag, distribute weight evenly to minimize strain on components.


