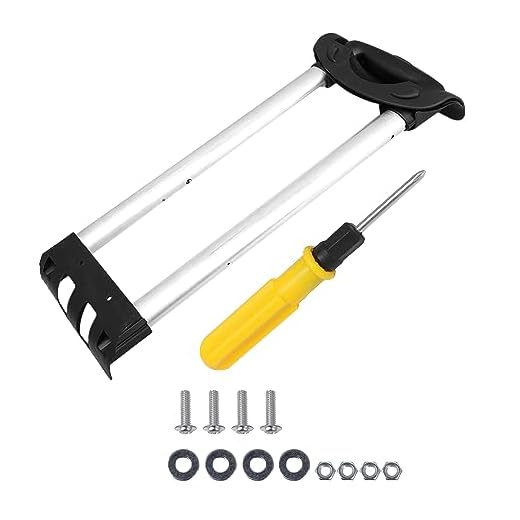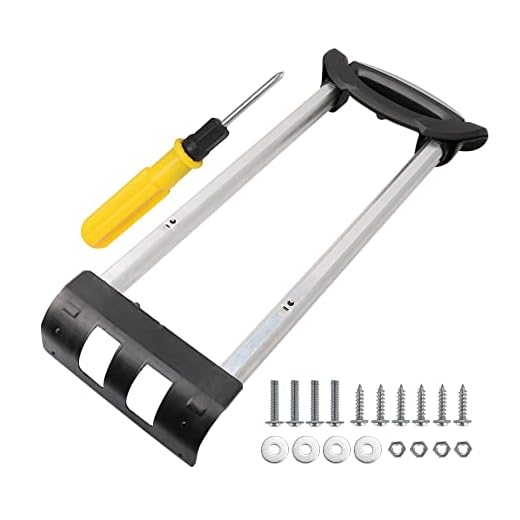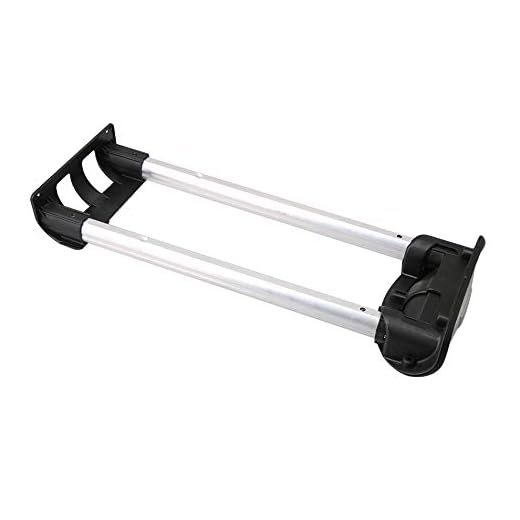


Assess the condition of the grip. Check for fraying, cracks, or detachment. If the grip has become loose, a simple fix can involve reattaching it securely using strong adhesive or sewing it back in place with a needle and thread.
For breaks or cracks in the material, consider using a plastic or fabric repair kit. These kits are designed to bond and mend various types of materials, providing a lasting solution. Follow the instructions carefully for best results.
If the structure has been compromised, replacing the entire grip may be necessary. Many retailers and online stores offer replacement grips that can be installed with basic tools. Make sure to choose a compatible product to ensure proper fit and functionality.
For those who prefer a DIY approach, using duct tape as a temporary measure can provide immediate relief until a more permanent solution is implemented. Wrap the tape around the area effectively to create a secure hold.
Regular maintenance is key to prolonging the life of a bag’s grip. Inspect it frequently and address any signs of wear before they turn into more significant problems. This proactive approach can save time and money in the long run.
Repairing Travel Bag Grip
Examine the joint connection first. If it’s loose or detached, reattach it with strong adhesive or screws, depending on the material. For a protruding or broken segment, consider using duct tape temporarily while you look for permanent solutions.
Tools Required
- Strong adhesive (epoxy or super glue)
- Screwdriver (if screws are applicable)
- Duct tape for temporary fixes
- Replacement parts (if necessary)
Step-by-Step Guide
- Inspect the attachment point for damage.
- Clean the surface thoroughly before applying any adhesive.
- If using screws, tighten them securely without over-torquing.
- Apply duct tape around the broken region for additional support until a more durable fix is made.
- Allow ample time for any glue to set before using the bag again.
Consider replacing the entire grip if the damage persists beyond repair. Many manufacturers offer spare parts, which can restore functionality effectively. Always check the warranty terms for potential coverage on repairs.
Identifying Common Luggage Handle Issues

Inspect for cracks and splits in materials. Plastic handles often develop visible damage due to wear and impact. A simple visual check can reveal problems.
Loose or Wobbly Mechanisms
Examine attachment points. If a grip feels loose, screws may need tightening, or the connection might require a replacement component for stability.
Stuck or Jammed Functions
Evaluate the locking mechanism. Lubrication might be necessary if a release button is unresponsive. Use a suitable oil to restore functionality.
For supporting recovery routines, proper nutrition including which is the best protein powder to gain muscle can enhance overall health and strength, indirectly aiding in dealing with repairs effectively.
Tools and Materials for Handle Repairs
For effective repairs on bag grips, gather the following tools and materials. A set of screwdrivers, including both flathead and Phillips, is essential for accessing screws and components. A pair of pliers can assist in gripping and manipulating small parts. Additionally, a utility knife helps in cutting any worn or broken sections.
Adhesives play a crucial role; consider a strong epoxy or super glue for bonding plastic or metal pieces. If the joint requires flexibility, a rubber adhesive might be more suitable. For reinforcement, a roll of duct tape is handy for temporary fixes during travel.
Protective Gear
Don’t overlook safety while repairing. Safety glasses safeguard against flying debris, and gloves prevent injuries while handling sharp edges or materials. If using chemicals, a mask can also provide protection from fumes.
Replacement Parts
Invest in spare components, such as replacement grips or screws, from online retailers. Research options that match your specific model for seamless integration. For those interested in durability, check out this best waterproof and uv protection on umbrellas guard for similar materials that can withstand various conditions. For style, explore the best mens umbrella black, which offers both functionality and aesthetic appeal.
Step-by-Step Guide for Repairing Retractable Handles
Begin by assessing the damage. Check for any visible breaks, misalignments, or stuck mechanisms. This evaluation will help identify the exact issue requiring attention.
Disassemble the Mechanism
Using a screwdriver, carefully remove screws securing the handle assembly. Keep track of all parts for reassembly. Gently pull apart the sections to expose internal components.
Inspect and Replace Parts
Examine springs, levers, and sliders for wear or breakage. Replace any damaged pieces with suitable replacements found online or at hardware stores. Ensure the new components match the size and model of the original parts.
For springs, consider purchasing an assortment to find the correct tension. Lubricate moving parts with silicone grease to promote smoother operation. Reassemble the handle by aligning all parts properly and securing them with screws.
Test the functionality by extending and retracting multiple times. Make adjustments as necessary to achieve optimal performance. If issues persist, revisit each step to confirm all components are correctly placed and functioning.
When to Consider Professional Repairs or Replacement
Seek expert assistance when damage appears extensive or complex. Signs of wear that compromise structural integrity, such as severe cracks or broken mechanisms, indicate the need for a professional assessment.
Signs That Indicate Professional Help
If a component ceases to operate correctly despite attempted fixes, consult a specialist. Unusual noises during operation or difficulty in extension or retraction often suggest underlying issues that require advanced tools and expertise. Additionally, recurring problems despite multiple attempts at DIY repairs signal the necessity for skilled intervention.
When Replacement Is a Better Option
Consider replacement if repair costs exceed half the price of a new item, or if the model is significantly outdated or lacks compatibility with modern travel needs. Persistent issues not resolved through repairs often indicate that investing in a new item is the more economical choice. Prioritize long-term functionality and reliability when assessing whether to replace.


