

Quick answer: Disposable emery boards, wooden orangewood sticks and blunt-edge clippers are commonly allowed inside cabin baggage. Pointed metal implements, sharp glass or ceramic grooming items and scissors exceeding permitted blade lengths are frequently confiscated at security checkpoints and are better packed in checked baggage.
Measurements and rules: US Transportation Security Administration generally permits scissors with blades shorter than 4 in (≈10 cm) measured from the pivot. Many EU/UK authorities apply a limit near 6 cm (≈2.36 in). Local airport security officers and individual carriers may enforce stricter limits; when tool length or tip sharpness is borderline, place the item in checked baggage.
Pack fragile glass or crystal grooming tools to prevent breakage and expect possible secondary screening or seizure. Consult the departure airport and carrier web pages before travel. For minimal screening delays, prefer disposable emery boards or compact blunt clippers stored in a clear pouch inside carry-on.
Metal manicure tools: rules for US and EU cabin bags
Recommendation: Keep blunt metal manicure implements in cabin baggage when total length is ≤6 cm for EU screening and ≤4 inches (≈10.2 cm) for US screening; sharp-tipped or longer metal grooming tools should travel in checked baggage.
TSA guidance: metal clippers and smooth emery-style implements are generally allowed in carry-on screening. Scissors are permitted only if blade length from pivot to tip is under 4 inches; pointed metal implements (cuticle picks, sharp metal picks) are likely to be confiscated at checkpoint. EU rules (EASA and many national authorities): similar allowance for blunt grooming items, with a stricter common blade-length cutoff around 6 cm for scissors and similar edged objects.
Packing tips: place metal grooming items in a protective sleeve or small case and position them where security officers can inspect without delay. If an implement appears pointed or exceeds the length limits above, move it to checked baggage before departure. Keep a photograph or label showing dimensions when traveling with unusual tools to speed up resolution at screening.
Travel gear note: for trips requiring robust carry solutions or outdoor comfort, consider a best backpack solar panel for device charging and a best beach umbrella for windy conditions for seaside protection.
Glass and ceramic manicure tools in carry‑on vs checked baggage
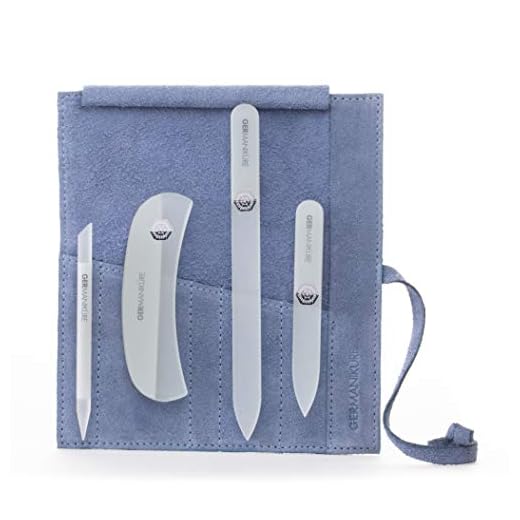
Prefer checked baggage for glass or ceramic manicure tools to reduce risk of breakage and secondary screening; if retained in carry‑on, place inside a rigid protective case and expect discretionary inspection by security staff.
Regulatory position: US Transportation Security Administration permits glass and ceramic manicure implements in carry‑on; EU screening follows similar guidance under EASA frameworks, but national airport authorities and individual officers exercise final control at checkpoints.
Packing for carry‑on: insert the glass or ceramic implement into a hard sleeve or small hard-shell case, pad edges with foam or cloth, seal in a clear toiletry pouch, and position near the top of the bag for quick presentation. Avoid loose placement that could shatter and create secondary hazards.
Packing for checked baggage: wrap the item in clothing, place inside a stiff container or household hard case, and surround with soft items to prevent impact. Checked storage minimizes confiscation risk and removes breakage concern for screening lanes.
Airport variance and practical tip: several high-security hubs may confiscate glass implements at officer discretion, especially if damaged or sharp. For international itineraries that include strict-transfer airports, default to checked baggage to reduce the chance of loss or delay.
Pack manicure tools for faster security screening
Place manicure implements in a clear, resealable plastic pouch in the top-access compartment of a carry bag; align longest items parallel to the bag’s length so X‑ray operators instantly recognise shapes.
Visibility and placement
Use a transparent pouch roughly 20×15 cm (8×6 in) so all items fit flat without overlap. Position the pouch in an external zip or top pocket for immediate removal into a security tray if requested. Keep grooming items separated from electronics (laptops, tablets, power banks) to prevent overlapping dense signatures on scans.
Protection and organisation
Wrap glass or ceramic implements in a soft sleeve or a single layer of bubble wrap, then place inside the clear pouch to protect edges while keeping visibility. For metal implements, tape exposed points with masking tape and secure with a paper band or rubber band to blunt profiles. Foldable metal pieces should be closed and latched before packing. Label the pouch “Grooming kit” on the exterior in block letters to reduce questions during manual checks.
Avoid burying the pouch under clothing cubes or bulky items; keeping it near the top of the bag shortens tray transfers and reduces chances of secondary inspection.
What happens if security confiscates your manicure tool at the checkpoint?
Request a written confiscation receipt from the screening officer immediately.
- Obtain officer identification and checkpoint details: name, badge or ID number, exact time and screening lane. Record the airline and flight number.
- Ask whether the item will be retained for evidence, held for collection, or destroyed; secure a clear timeline and the contact point (lost & found or security office) in writing or via the receipt.
- If the implement is needed for medical or occupational reasons, present supporting documentation (prescription, doctor’s note, professional ID) and ask to speak with a supervisor for discretionary release or alternative handling.
- Photograph the implement and purchase proof before presenting it for screening when possible; retain receipts, serial numbers and original packaging to support any recovery or claim.
- If immediate recovery is necessary, contact the airline desk or airport lost & found without re-entering the secure zone; some airports permit retrieval from a secure property office, others destroy prohibited items on the spot.
Typical outcomes and actions:
- Immediate destruction: many airports dispose of sharp or prohibited implements instantly; obtain a receipt stating destruction for records.
- Temporary retention: some facilities hold confiscated items for 7–30 days; follow up with the airport property office using the receipt reference number.
- Transfer to law enforcement: if treated as evidence, coordinate with the responsible police agency for recovery procedures and timelines; expect formal property-release paperwork.
Steps to recover value or contest a seizure:
- Contact airport lost & found and the screening authority within 7–14 days; provide receipt, ID, boarding pass and proof of ownership.
- Escalate via the screening agency’s complaint channel (for US flights, file with the relevant authority using the incident number on the receipt); include photos and receipts for insurance or reimbursement claims.
- If the item held significant monetary or sentimental value, submit a formal property claim to the airport administration and keep copies of all correspondence.
Practical preparation to reduce loss risk:
- Place small grooming implements in checked baggage or carry alternatives (disposable emery strips) purchased past security.
- For tools used in construction or craft, follow storage and transport guidance specific to compressed-air systems and safety: how to safely use a nail gun with an air compressor.
If recovery attempts fail, use the confiscation receipt to support insurance claims or expense reimbursement through an employer; keep all documentation for at least 90 days. Contact airport customer service for final disposition records if no response is received within the stated retention period.
Use disposable emery boards, folding clippers or battery trimmers instead of metal or glass grooming implements
Opt for single‑use emery boards, compact folding clippers or battery‑powered manicure trimmers; these items meet the majority of US and EU security protocols and greatly reduce seizure risk at checkpoints.
Mechanical replacements and size limits
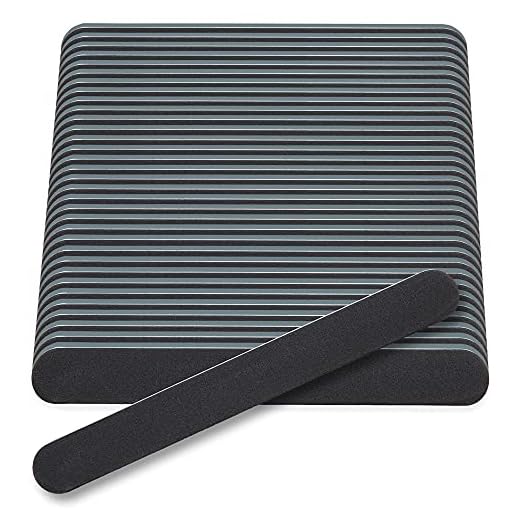
Single‑use emery boards and foam buffing sticks are nonmetallic and widely permitted in cabin carriage. Folding clippers and small scissors with blades shorter than 4 inches (10.2 cm) measured from the pivot align with TSA rules; many European screening points apply blade limits near 6 cm–confirm the departure airport’s published limits before travel.
Battery‑powered trimmers: what regulations to follow
Rechargeable trimmers with lithium‑ion cells up to 100 Wh are allowed in the passenger cabin. Spare lithium batteries must be carried in the cabin with terminals insulated. Batteries between 100–160 Wh require airline approval and are limited to two spares per passenger; batteries above 160 Wh are prohibited on passenger aircraft. For devices using AA/AAA cells, standard alkaline or NiMH cells pose no special airline restrictions, while loose lithium cells follow the above Wh rules.
When in doubt, purchase disposable emery boards or a travel‑sized clipper at an airport shop after security or rely on hotel salon services to avoid carrying sharper or breakable tools onboard.


