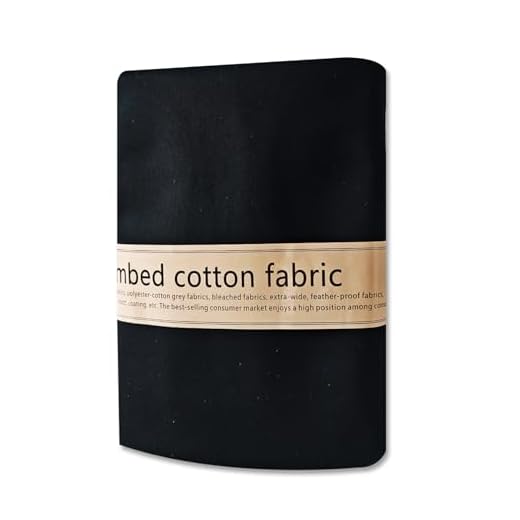


Begin with choosing the right fabric. Opt for sturdy materials like canvas or denim, ensuring durability and longevity. Pre-wash the fabric to prevent future shrinkage or color bleeding, which could affect your design.
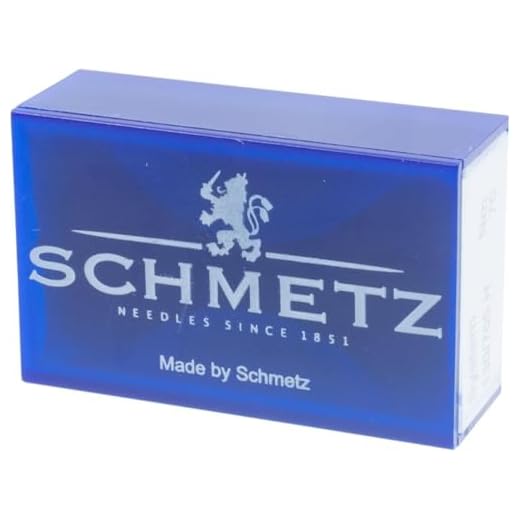
Next, select a vibrant thread color that stands out against the chosen base. Cotton or polyester threads are excellent choices, providing both strength and color retention. Prepare needles suitable for thick fabrics, such as heavy-duty or leather needles, to facilitate smoother stitching.
Outline your design on paper first. This will serve as a guide during the stitching process. Transfer the design onto the fabric using fabric chalk or a disappearing ink pen, ensuring precise placement before you begin.
Utilize a hoop to keep the fabric taut while working. This will help maintain even tension on your stitches, resulting in a cleaner and more professional appearance. Choose simple stitch patterns to start, gradually incorporating more complex techniques as you gain confidence.
Finally, consider adding embellishments like patches or beads for added flair. These accents can enhance the overall look of your item, making it uniquely yours. Post-completion, care for the stitched area with appropriate cleaning methods to preserve your creative work.
Designing Your Custom Piece
Select a motif or pattern suited to the fabric. Consider contrasting thread colors that will stand out against the background. Pre-design on paper can help visualize the final look. Mark the area of application clearly before commencing.
Preparation is Key
Wash and iron the chosen fabric to eliminate dirt and wrinkles. Choose an appropriate stabilizer for enhanced support. If possible, test stitches on a scrap piece to adjust tension and ensure compatibility with thread and fabric.
Stitching Techniques
Utilize various techniques like satin stitch, backstitch, or cross-stitch for added texture. Layering different techniques can create depth. Regularly check your work to avoid pulling or uneven stitching, ensuring a polished finish.
Choosing the Right Materials for Your Project
Select a sturdy fabric, such as canvas or denim, for lasting durability. These materials withstand heavy use, making them ideal for a functional accessory.
- Fabric: Opt for natural fibers like cotton or linen for better breathability, or synthetic options for weather resistance.
- Thread: Use polyester thread for strength and colorfastness; it resists fraying and fading.
- Stabilizer: Choose appropriate stabilizers like cut-away or tear-away to support detailed stitching.
- Embroidery Hoop: A medium-sized round hoop keeps fabric taut, facilitating easier needlework.
Ensure that the thread color contrasts well with your chosen material to highlight the design. If you’re planning on using this item for outdoor activities, you might want to explore options like the best hiking photography backpack for inspiration on how to incorporate functional design elements.
For embellishments, consider using patches or decorative buttons; these not only enhance aesthetics but can also cover up imperfections during assembly.
Lastly, for any unique add-ons or specialty items, researching local artisans can reveal treasures, such as those found at a new vintage wine shop, which might inspire creative themes or color palettes for your project.
Designing Your Embroidery Pattern
Begin with selecting a theme that resonates with your personal style. Consider your interests, such as floral motifs, geometric shapes, or textual designs. Using software or graph paper, sketch your ideas so you can visualize the final product.
Color Palette Selection
Choose a cohesive color scheme. Limit yourself to 3-5 colors to maintain a unified look. This not only simplifies the stitching process but also enhances the aesthetic appeal. Test combinations through small samplers to see how the hues work together.
Size and Placement
Determine the dimensions of your design based on the size of the surface. Keep in mind the space available on the item. Opt for a central design or place elements off-center for a modern touch. Ensure the scale complements the overall appearance without overwhelming the material.
Preparing the Messenger Bag for Embroidery
Ensure the selected carrier is clean and wrinkle-free. Wash and dry according to the material guidelines before starting. If the fabric is prone to shrinking, consider pre-shrinking it to avoid distortions.
Examine the area where the design will be placed. If using a patterned or textured surface, choose a design that contrasts well to maintain visibility. Use a water-soluble fabric marker or chalk to outline the desired embroidery location, ensuring alignment and centering are precise.
Stabilization is key; use a backing that suits the thickness of the material. For lightweight fabrics, a tear-away stabilizer is ideal. Heavier materials may require a cut-away stabilizer for better support. Ensure the stabilizer is larger than the area to be stitched to prevent shifting.
Secure the fabric in an embroidery hoop or frame to prevent movement during stitching. Ensure it is taut but not stretched, as this could distort the design.
| Material Type | Recommended Stabilizer |
|---|---|
| Cotton Canvas | Tear-away |
| Nylon | Cut-away |
| Denim | Cut-away |
| Polyester | Water-soluble |
Check the tension settings on the machine before beginning to ensure smooth stitching. Select thread colors that complement the base fabric and enhance the overall aesthetic. Organize threads and needles to avoid disruptions during the process.
Techniques for Stitches and Thread Selection
Opt for a combination of satin and backstitch techniques to achieve a polished finish. Satin stitches provide dense coverage and a lustrous shine, ideal for solid areas or intricate designs. Backstitch works well for outlines or lettering, offering precision and clarity.
Thread Types
Select polyester or rayon threads for their durability and vibrant colors. Polyester resists fading and fraying, making it suitable for everyday items. Rayon offers a sheen that enhances visual appeal, perfect for decorative accents. Consider the weight of the thread; a medium weight (40 wt) strikes a balance between visibility and manageability.
Color Coordination
Choose a color palette that complements the fabric of your item. Use contrasting shades for outlines to define shapes clearly. Tone-on-tone threading can create subtle effects, while multispectral blends add depth. Test colors on scraps before committing to ensure the desired effect matches your vision.
Finishing Touches and Care Instructions
To achieve a polished look, carefully trim any excess threads from the embroidery, ensuring a clean finish. Use sharp scissors for precision and avoid cutting the fabric itself. Consider applying a fabric glue or fray check to the edges of the threads to prevent future unraveling.
Adding Personalization
Consider adding a name tag or a small charm to enhance the individuality of your creation. Secure the tag with a few stitches or glue it on if using a lightweight material. This detail not only personalizes but also elevates the aesthetic appeal.
Cleaning and Maintenance
To maintain the vibrant appearance and integrity of the fabric, regular gentle cleaning is essential. Hand wash the item in cold water with mild detergent, avoiding harsh chemicals that could damage the threads. Air dry completely, and steer clear of direct sunlight to prevent fading. For tough stains, spot cleaning is advisable; always test cleaners on an inconspicuous area first.


