

For those looking to create a unique accessory, the key lies in precise measurements and template creation. Begin by deciding on the dimensions of your item, considering factors like functionality and style. Use a ruler and pen to sketch out the general shape on pattern paper, ensuring to include seam allowances for finishing edges.
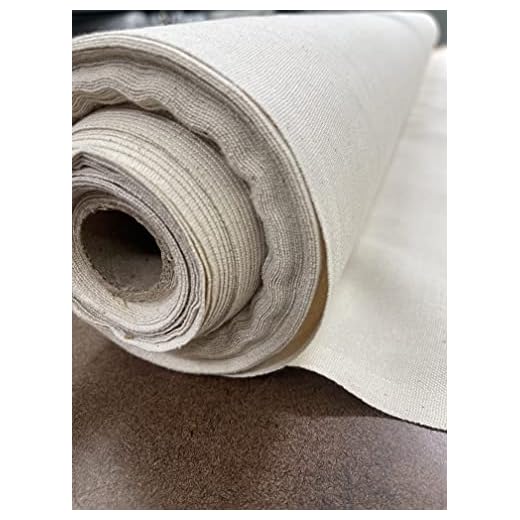
Utilize materials that suit your aesthetic and durability needs. Canvas or denim works well for sturdiness, while lighter fabrics like cotton can provide flexibility. Cut out your shape carefully, ensuring symmetry for an appealing finish. Don’t forget to incorporate pockets or closures based on your design preferences; these elements enhance usability while adding character.
Assemble all pieces using pins to secure them before stitching. This method allows for adjustments as you go. Choose thread that complements your fabric choice. Double-stitching critical seams will ensure longevity, making your crafted item both practical and stylish. Patience and attention to detail will reward you with a tailored piece that reflects your personal flair.
Selecting Materials for Your Messenger Bag
Opt for durable fabrics like canvas or nylon that withstand wear and tear. These materials provide excellent resistance against weather elements, ensuring longevity.
Choosing Lining and Interfacing
Select a soft lining such as polyester or cotton to protect contents and add aesthetic appeal. Integrate interfacing for added structure; consider fusible interfacing for convenience and ease during assembly.
Incorporating Hardware
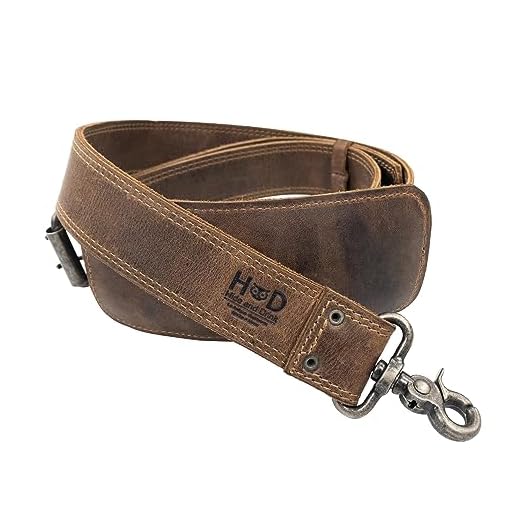
Quality hardware is key for functionality. Metal buckles and magnetic snaps enhance durability compared to plastic counterparts. For straps, choose sturdy webbing or leather that can handle substantial weight.
Additionally, ensure zippers are reliable; opting for heavy-duty zippers guarantees smooth operation and durability.
Finally, consider eco-friendly options such as recycled materials, which also add a unique character to your creation.
Taking Accurate Measurements for Your Design
For precise dimensions, use a flexible measuring tape. Identify key points on your body to capture vital measurements: shoulder width, torso length, and hip circumference.
Start with the shoulder width. Measure from one shoulder seam across to the other, ensuring the tape is straight and snug against the body.
Next, determine torso length. Measure from your shoulder seam down to your desired height for the upper part of the construction. This length affects functionality and style.
For hip circumference, wrap the tape around the fullest part of your hips. Stand relaxed and ensure the tape is level for accuracy.
Remember to add seam allowances. Typically, an extra half-inch to one inch is standard, depending on the complexity of the design.
Document all measurements carefully. A well-organized note will streamline the crafting phase and minimize errors.
Additionally, consider adjusting measurements based on fabric type. Stretchy materials may require different measurements than stiffer fabrics to achieve the desired fit and aesthetic.
Creating a Basic Messenger Bag Template
The foundation for this project begins with accurately outlining the dimensions for your chosen style. Use a large sheet of paper to represent the body of your carry-all. Typically, a rectangular form is preferred, measuring around 16 inches in width and 12 inches in height, but feel free to adjust these figures to fit your desired outcome.
Next, draft the flap that will cover the opening. A trapezoidal shape, about 12 inches wide at the base and 8 inches tall is recommended. Ensure that the angles on either side are even for a balanced look.
For the straps, create a long rectangle, generally measuring 3 inches wide and 30-40 inches long. This will allow for an adjustable fit. Adding a small curve at the ends can enhance comfort during wear.
Don’t forget the internal pocket. This can be a smaller rectangle, around 8 inches wide and 6 inches tall, which can be centered on the inner body for easy access.
After sketching, label each part clearly – body, flap, straps, and pocket. This clarity will aid in the cutting process and assembly. Make sure to review your design, keeping in mind functionality and aesthetics. Consider checking out the best mom backpack for disney for ideas on practicality and style.
Once the template is finalized, cut it out and prepare to transfer the shapes onto your selected materials. It’s beneficial to practice with scrap fabric before working with your main materials.
Also, if you’re considering durability, fabrics like waxed cotton can be an advantageous choice. Check the best waxed canvas backpack for inspiration on robust materials that withstand wear and tear.
This structured approach helps in achieving a precise and functional design, paving the way for a polished end product.
Adding Pockets and Compartments to Your Design
Incorporate functional pockets for organization and style. Assess your needs and determine the number of compartments required before cutting fabric. Consider various pocket types such as:
- Exterior Pockets: Easily accessible for items like phones or keys. Attach them to the front or sides for practicality.
- Interior Pockets: Ideal for keeping small essentials organized. Use different sizes to accommodate various items.
- Zip Pockets: Enhance security for valuables. Integrate zippers into both exterior and interior designs.
For each pocket type, ensure the fabric aligns well with the main body material for a cohesive look. Utilize different or contrasting fabrics to highlight pockets, adding visual interest.
Construction Tips
Follow these guidelines for seamless integration:
- Cut pocket pieces with added seam allowances for easy sewing and finishing.
- Finish edges with zigzag or serger to prevent fraying.
- Sew pockets to the main body before assembling the overall structure for easier attachment.
Test the depth and width of pockets by using mockup materials. Adjust dimensions based on personal preferences and intended usage to ensure functionality.
If this project inspires you to improve your home environment, consider exploring how to contain a dog without a high fence for practical tips.
Finishing Touches: Straps and Closures
Choose sturdy materials like webbing for straps to ensure longevity and comfort. An adjustable design can provide versatility, allowing for different carrying options. Consider using metal or high-strength plastic hardware for increased durability.
Strap Attachment
Integrate strap attachments securely into the construction. Use D-rings or clips sewn into the seams for robust support. Reinforce areas subjected to stress with extra stitching or rivets to enhance security during use.
Closure Options
For closures, evaluate the practicality of various mechanisms such as magnetic snaps, zippers, or buckles. Magnetic snaps offer easy access, while zippers provide additional security against theft. Ensure the closure aligns well with the overall design and facilitates efficient handling.


