Begin with selecting robust materials such as canvas or nylon that can withstand daily wear. Measure the desired length according to your comfort, generally ranging from 45 to 60 inches. Cut two equal pieces to ensure balance.
Utilize a sewing machine for strong seams, using a heavy-duty thread for added resilience. Start with a simple straight stitch, securing the ends effectively to prevent fraying. Consider doubling the fabric for thickness, which enhances durability and comfort during use.
Add adjustable hardware to accommodate various body types. Metal buckles or sliders offer versatility, allowing the user to customize the fit easily. Ensure the attachment points are reinforced for stability, using a box stitch pattern to enhance strength.
Finish with a protective coating to resist moisture and elements. This step prolongs the life of your creation and ensures consistent performance. Your functional carrying solution is now ready for use, combining practicality with style.
Choosing the Right Materials for Straps
Select durable materials such as nylon or polyester for constructing strong and reliable supports. These fabrics offer high tensile strength and resistance to wear, making them ideal for carrying weight without compromising safety.


If comfort is a priority, consider using padded options like neoprene or soft cotton. These provide additional cushioning, reducing pressure on the shoulders during use.
Reinforced webbing can enhance durability. Look for strapping that incorporates a heavier weave or additional stitching to withstand stress over time.
Water-resistant coatings can protect against moisture. If the carry-all will be exposed to the elements, opt for materials treated to resist water penetration.
For eco-conscious choices, explore organic cotton or recycled polyester. These options minimize environmental impact while still maintaining quality and strength.
Finally, don’t overlook the importance of metal or plastic fittings. Select hardware that complements the chosen materials–lightweight aluminum for a sleek look or robust steel for heavy-duty applications.
Measuring Strap Length for Comfort
For optimum comfort, the length of the shoulder or crossbody connector is key. Measure from the top of the shoulder to the opposite hip or desired resting point on the body. This distance typically ranges from 30 to 60 inches, depending on personal preference and body size.
Adjustability
Incorporate adjustable features, such as sliding buckles or loops, allowing the length to be tailored to the user’s needs. This flexibility accommodates various wear styles, from short to long, catering to different situations like casual outings or formal occasions.
Testing for Fit
Before finalizing the length, conduct real-world tests. Wear the setup with the intended load to check for comfort during movement. Ensure the distribution of weight does not lead to strain on the shoulder or back. If discomfort arises, re-evaluate the measurements accordingly.
Cutting and Preparing Fabric for Straps
Select the desired fabric based on comfort and durability. Cut the material into strips according to the measured width, typically between 1.5 to 3 inches, ensuring it suits your needs. For a clean edge, use a rotary cutter or fabric scissors for precision.
Prepare to fold each strip in half lengthwise, ironing along the crease to create a center line. Open the strip again and fold the edges towards the center line, pressing them down to form a neat, folded strap. This not only adds strength but also enhances visual appeal.
Seaming Technique
For added durability, consider sewing along the edges of the folded strip, using a straight stitch or zigzag stitch depending on the fabric type. Reinforce the ends to prevent fraying, particularly if the fabric has a tendency to unravel. Use an appropriate thread that matches the fabric for a seamless finish.
Finishing Touches
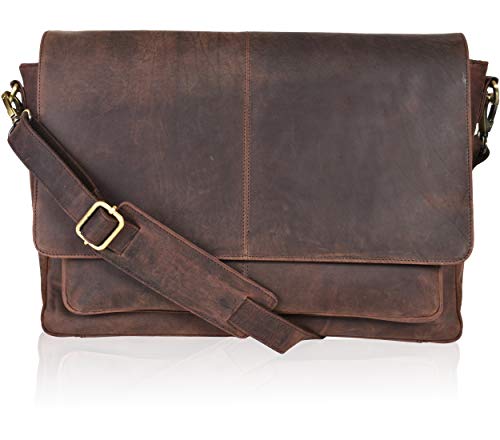
Finally, attach any necessary hardware, such as clips or loops, to the ends of the straps. Experiment with styles and placements to ensure quick adjustments are possible. For an adventurous spirit, check out the best hydration backpack for mountain biking for further inspiration.
Step-by-step sewing techniques for straps
Utilize a sewing machine for robust seams and ensure safety. Begin with a straight stitch, setting a medium stitch length for flexibility and strength.
1. Align the fabric strips neatly, with the right sides facing each other. Pin the strips in place to prevent shifting during sewing.
2. Sew along the length of the fabric, leaving a seam allowance of about 1/4 inch. Maintain a consistent speed for an even stitch.
3. Upon reaching the end, backstitch to secure the seam. Trim excess threads to maintain a clean look.
4. Turn the fabric right-side out. Use a turning tool or a safety pin for assistance if necessary. This creates a finished tube.
5. Press the strap with an iron to remove wrinkles and ensure it lays flat. Be cautious with heat settings based on fabric type.
6. Fold the ends inward about 1/2 inch to prevent fraying, then topstitch around the edges for added durability.
7. For added functionality, consider adding padding or a non-slip grip material to enhance comfort during use.
8. Attach appropriate hardware, such as swivels or rings, aligning them securely to distribute weight evenly.
9. Test the assembly by maneuvering the carrier to assess comfort and stability. Adjust as needed before final use.
10. Finally, finish with an additional layer of stitching at stress points to enhance strength and longevity.
Adding Hardware for Adjustability and Durability
Incorporate adjustable sliders and durable metal clasps to enhance versatility and longevity. The use of heavy-duty hardware will contribute to the overall strength of the carrying mechanism.
Choose a sturdy slider that allows for easy length adjustments. Aim for sliders crafted from robust materials like aluminum or stainless steel, which resist wear and tear over time.
For attachment points, consider using metal D-rings or snap hooks. These elements provide secure connections with the added benefit of easy detachment when necessary.
Prior to installing hardware, ensure that the fabric layer is reinforced at strap connection points to prevent ripping. Stitching multiple times or adding a diagonal stitch pattern can significantly improve strength.
Here’s a quick reference table for hardware options and their benefits:
| Hardware | Material | Benefits |
|---|---|---|
| Adjustable Slider | Aluminum | Lightweight and durable |
| Metal D-Ring | Stainless Steel | Secure and weather-resistant |
| Snap Hook | Brass | Easy to detach and attach |
After securing all components, test for adjustability and stability. This ensures that the hardware functions smoothly and meets comfort requirements during use.
For proper maintenance of hardware, refer to guides such as how to clean a foot scrubber. Keeping these parts free from debris extends their lifespan.
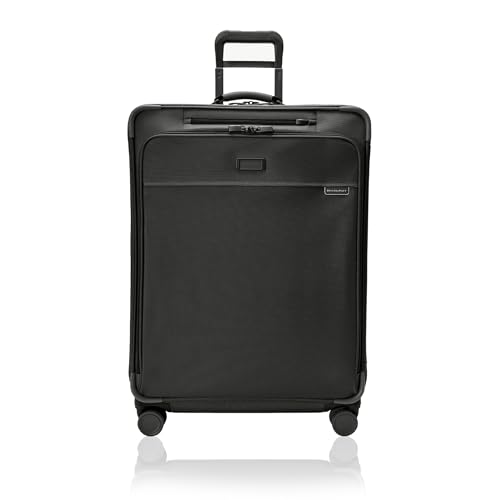
If traveling, consider storing your items securely at facilities like best luggage storage roma termini to prevent unnecessary strain on your gear.
Finalizing and Attaching Straps to the Bag
Ensure proper alignment of the suspension before securing it to the container’s main structure. Start by positioning your long pieces on either side, maintaining equal distance from the edge.
Steps for Attaching
- Lay the container flat, facing upward. Place the strap ends on the desired attachment points.
- Pin or clip the straps in place to avoid shifting during sewing. Double-check the length and adjust if necessary.
- Sew along the edges, ensuring a strong hold. A box stitch pattern can enhance durability.
Finishing Touches
- Inspect the seams for any loose threads or uneven stitching. Trim excess for a clean finish.
- Consider adding reinforcement patches where the fabric meets, enhancing stability and wear resistance.
- After securing all components, perform a stress test by pulling the straps to ensure they hold under tension.
Finally, if adjustable elements are included, double-check their functionality and comfort by trying on the entire assembly. Make any final tweaks to ensure the setup feels secure and balanced.