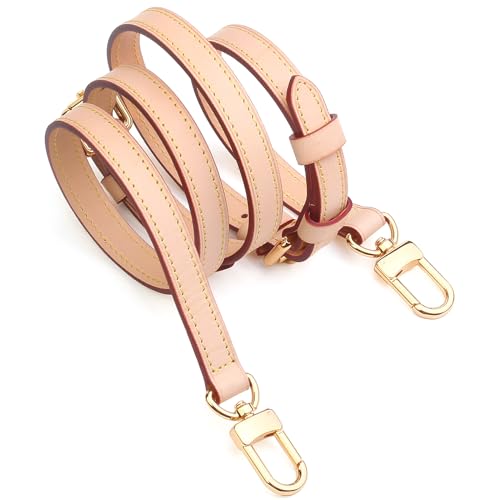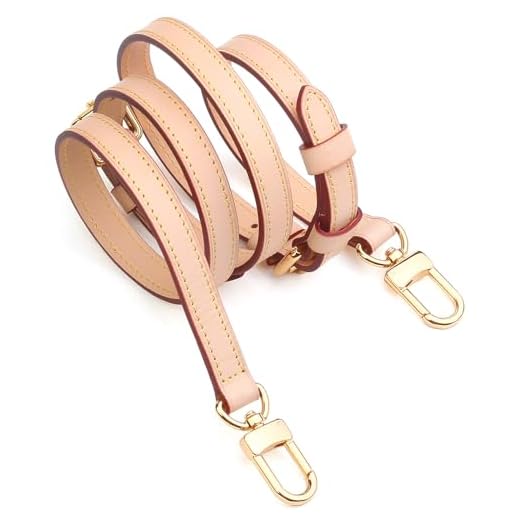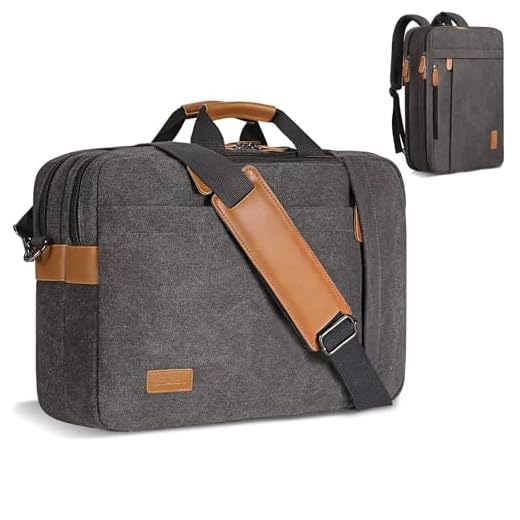

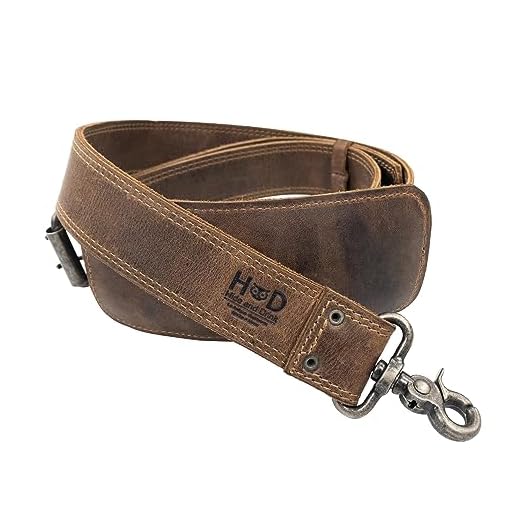
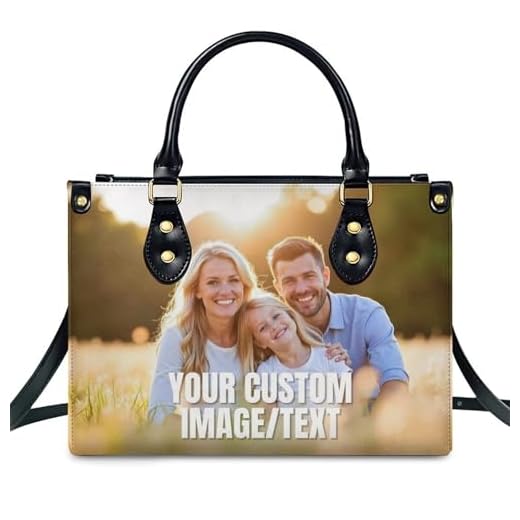
For a seamless transition, replace existing straps with a longer, adjustable one. Choose a material such as durable nylon or leather that complements your bag’s style. Ensure the new strap can withstand the weight of the contents you typically carry.
Focus on attaching the strap securely. Use D-rings or swivel clips for added stability, ensuring they are sewn in a way that disperses weight evenly. This prevents wear and maintains aesthetic appeal. Consider reinforcing the areas of attachment for longevity.
Accessorize by adding pockets or decorative patches to enhance functionality and appearance. Additionally, experimenting with color contrasts or texture combinations can elevate the overall design. This customization allows you to maintain personal style while adapting to practical needs.
Transforming Your Handbag into a Crossbody Carrier
Consider replacing the existing straps of a handbag with a long, adjustable strap. This modification allows for comfortable, hands-free use. Choose a strap that complements the material and color of the handbag for a cohesive look.
To enhance functionality, add a zippered compartment or pouch inside for better organization of smaller items. Use fabric remnants or buy a matching organizational insert to maintain the aesthetic while increasing usability.
If your original handbag isn’t structured, reinforcing the base with a sturdy cardboard or plastic insert can provide shape retention, making it more suitable for an everyday carrier.
For additional flair, embellish with patches, pins, or charms that reflect personal style. This customization not only adds unique character but can also serve as a conversation starter.
Explore options for combining styles effectively, such as pairing with a stylish backpack. For the adventurous traveler, consider checking out the best traveling backpack for men for inspiration on functional chic designs.
Choosing the Right Accessory for Conversion
Select an accessory that has a sturdy structure. Look for options with reinforced stitching or a solid bottom, as this will support added weight and maintain shape after modification.
Material Types
- Leather: Durable and offers a classic look, though it can be heavier.
- Canvas: Lightweight and easy to modify, but might lack formality.
- Synthetic: Often water-resistant, ideal for practical use.
Size & Shape
Opt for a medium-sized model; too small will limit functionality, while oversized versions can be cumbersome. Rectangular shapes generally work best for conversion.
Consider internal organization features. Zippers and pockets contribute to functionality after the transition. Ensure any potential additions, like straps or closures, align well with the original design.
Before making any changes, research tutorials that detail the process, similar to how to inflate tire with air compressor easy steps and pro tips, which can provide helpful insights on modifying and customizing items.
Essential Tools and Materials Needed
Gather the following items before commencing the transformation process:
| Tool/Material | Purpose |
|---|---|
| Measuring Tape | To accurately measure the dimensions of the existing accessory and determine the size adjustments necessary. |
| Fabric Scissors | For cutting straps, lining, or other materials with precision and ensuring a clean edge. |
| Needle and Thread | To securely attach any new components, such as straps or pockets, requiring hand stitching. |
| Sewing Machine | For efficient stitching of larger seams and attaching straps quickly compared to hand sewing. |
| Strap Material | Choose a durable fabric or leather to create a new, comfortable shoulder strap tailored to your design. |
| Fasteners | Use metal clips, D-rings, or magnetic snaps that provide secure closures and easy access. |
| Fabric Glue | In situations where sewing is not feasible, fabric adhesive can bond different materials together. |
| Marking Tool | Chalk or fabric marker to indicate cutting lines and placement of new elements for accuracy. |
| Ruler | To achieve straight line cuts and ensure symmetry in layout and design adjustments. |
| Iron | To press fabric for a polished look, helping to eliminate creases before assembly. |
Having these tools on hand facilitates a smooth modification process, improving both the quality and efficiency of the project.
Step-by-Step Guide to Making the Conversion
Preparation
Clear out the interior, removing all items to avoid obstruction later. Inspect the existing strap; if it’s too thin or unsuited, consider replacing it with a sturdier option. Gather all necessary items before proceeding.
Altering the Strap
Detach the original handle if applicable. Measure the desired strap length, keeping in mind functionality and comfort. Cut a piece of durable fabric or leather accordingly, adding a few extra inches for attaching to the sides. Use a sewing machine or strong adhesive to secure the new strap at both ends. Ensure that it is evenly aligned and firmly attached.
Creating the Flat Design
If the original form is too structured, modify it for a flatter silhouette. This can be achieved by sewing down any protruding sections or adding gussets for additional space. Make sure to reinforce the seams to withstand extra weight.
Final Touches
Inspect all connections for security. Consider adding additional pockets if needed, which can be stitched on or attached using Velcro. If desired, personalize with patches or embellishments. Lastly, check for overall balance and comfort by trying it on.
Finishing Touches and Personalization Options
Add unique details to enhance the overall appearance. Consider affixing eye-catching patches or fabric paint to express personal style. Select colors or designs that resonate with your personality, creating a piece that stands out.
Strap Customization
<p.For strap alterations, choose a material that complements the existing design. Leather or canvas can provide durability and aesthetic appeal. For added comfort, use padding on the shoulder section of the strap. Accessories like clips or chains can add a trendy flair.
Interior Organizational Solutions
<p.To maximize functionality, introduce additional pockets or dividers inside the structure. Sewing in small zippered pouches or slip pockets helps keep items organized and easily accessible. Opt for contrasting fabric for a fun pop of color when opening the flap.
Finally, consider monogramming to add a personal touch. This can be done with embroidery or heat transfer vinyl for a polished finish. Such touches transform an ordinary piece into a cherished accessory.

