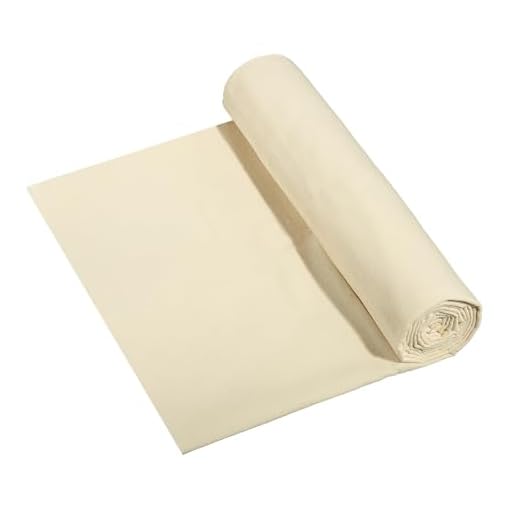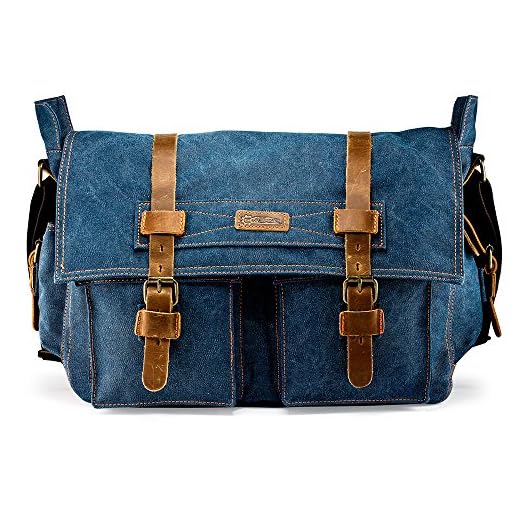


Begin with selecting a sturdy fabric, such as canvas or denim, which offers durability and structure. Opt for a color or pattern that reflects your style and complements your wardrobe. Gather essential materials: thread, a sharp needle, scissors, and a ruler for precise measurements.
Measure the dimensions for the main compartment based on your needs, typically around 12 inches wide by 10 inches tall. Cut two identical fabric pieces for the front and back, ensuring the edges are smooth. Create a flap by cutting a third piece, shaped to your preference, usually around 6 inches deep.
For added functionality, consider incorporating interior pockets for organization. Cut smaller pieces of fabric and securely attach them within the main compartment. Use double-stitched seams for durability, reinforcing areas that will endure frequent use. Lastly, to complete the accessory, attach a comfortable strap that suits your carrying style, adjusting the length as necessary.
Constructing an Apron-Style Carrying Solution
Select durable fabric with a solid weave, such as canvas or denim. Cut the main panel to the desired dimensions, typically 15-17 inches in width and 12-14 inches in height. For the flap, cut a piece measuring 15 inches wide and 10-12 inches high, ensuring it overlaps the main section adequately.
Assembly Process
Create two side panels by cutting two additional strips, approximately 3-4 inches wide and the same height as the main piece. Attach these to the sides with a running stitch, ensuring to reinforce corners for added strength.
For the strap, measure a long strip of fabric, around 3-4 inches wide and 50-60 inches long. Fold it lengthwise, then stitch along the open edge to form a tube. Turn it inside out to hide seams. Attach each end of the strap to the top corners of the main body, making sure to secure tightly with multiple stitches.
Closure and Interior Features
A button or snap fastener can be used for the flap closure. Create a simple pocket by cutting another piece of fabric, approximately 6 inches wide and 8 inches high, attaching it to the inside of the bag with a straight stitch for organization. This could hold small items securely.
| Material | Dimensions |
|---|---|
| Main Panel | 15-17 x 12-14 inches |
| Flap | 15 x 10-12 inches |
| Side Panels | 3-4 x Height of Main Panel |
| Strap | 3-4 x 50-60 inches |
| 6 x 8 inches |
Finalize by trimming excess threads and inspecting for any weak points. The project results in a functional and stylish accessory for everyday use, tailored to personal preferences.
Selecting the Right Materials for Your Carrying Case
Choose sturdy fabric like canvas or denim for durability. These materials can withstand wear and tear, making them ideal for daily use. If you prefer a lighter option, consider ripstop nylon, which offers water resistance and strength.
Interior Linings
For the interior, opt for a softer lining such as cotton or a polyester blend. These fabrics add a pleasant texture and help protect your items from scratches. Ensure that the lining complements the exterior fabric to maintain a cohesive aesthetic.
Straps and Hardware
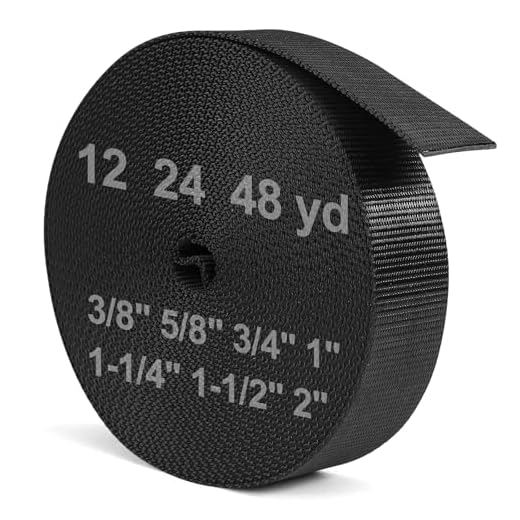
Select strong webbing or thicker fabric for straps to ensure comfort and stability. Reinforce points of attachment with sturdy hardware, such as metal rings or rivets, to secure everything in place properly. Choose a color or finish that matches or contrasts nicely with the outer material.
Incorporate additional features like pockets or compartments using similar or contrasting fabrics, taking care to balance functionality with style. Consider water-resistant coatings for added protection against the elements.
Measuring and Cutting Fabric Pieces Accurately
To ensure precision, utilize a measuring tape and a clear ruler for all dimensions. Begin by determining the necessary sizes for your components, such as the main section, flap, and straps. Record these measurements meticulously to avoid discrepancies.
When placing fabric on a cutting surface, ensure it is flat and wrinkle-free. This promotes accuracy. Use weights or pins to secure the fabric during the cutting process. Mark the measurements using tailor’s chalk or a fabric marker, ensuring visibility while avoiding excessive marks.
Employ sharp fabric scissors for clean cuts. For straight edges, the rotary cutter may yield more uniform results. Always cut slowly and methodically, following your marked lines closely. Consider adding a seam allowance to your measurements, typically 1/4 to 1/2 inch, depending on the desired finish.
After cutting, verify the individual pieces with a quick measurement check to confirm accuracy. This step eliminates potential errors before assembly begins, ensuring seamless construction of your project.
Creating the Bag’s Main Body and Flap Design
Begin with the main panel, cutting a rectangular piece according to the desired dimensions, ensuring ample fabric for seams. For the flap, a slightly larger rectangle will provide a generous fold, typically one-third of the bag’s height. Use a template to maintain uniformity.
For the main piece, consider including compartments or pockets. Mark these clearly on your fabric before cutting to save time later. Use tailor’s chalk to outline these sections.
Designing the Flap
The flap can feature aesthetics such as rounded corners or angled edges to enhance the look. To create a stylish edge, add 1-2 inches to your pattern where the fabric will fold, allowing for clean hems. Consider incorporating a decorative element, like contrasting fabric or stitch patterns, to enhance appearance.
Securing the Shape
After cutting, use basting pins to temporarily hold the layers in place. Ensure that the right sides of the fabric face each other. If using interfacing for added structure, adhere it following the manufacturer’s instructions. This will provide stability and maintain form over time.
Attaching the Strap Securely for Comfort and Durability
Secure the strap using heavy-duty materials, such as webbing or cotton canvas, to ensure longevity. Start by measuring an appropriate length; approximately 40 to 60 inches is often sufficient, depending on personal preference and intended use. Double the fabric for additional strength, then fold and sew the ends to create a reinforced loop.
When connecting the strap to the body, consider using D-rings or O-rings attached to the sides. This method allows for better weight distribution and reduces strain on any single point. Use a box stitch for reinforcement at the attachment points, ensuring the stitches overlap for added security.
A sliding mechanism can also enhance functionality, allowing for easy adjustment of the strap length. Incorporate a slider or adjuster made from durable metal or plastic that can withstand significant tension. Secure these parts in place with bar tacks or multiple rows of stitching.
Incorporate padding within the strap if intended for heavier loads; this can be achieved using foam or additional layers of fabric. Test the comfort and adjust accordingly before completing the assembly. For outdoor adventures, consider features of the best backpack duffel bag for travel as a reference for ergonomic designs.
Finally, periodically check the strap’s integrity and maintenance, especially if it undergoes regular heavy use. Attaching the strap with attention to detail guarantees comfort and durability, making your creation a reliable companion over time. For families, a feature-rich model can be compared to the best summer infant umbrella stroller, prioritizing ease of use and stability.
Adding Pockets and Compartments for Organization
Incorporate pockets strategically to enhance functionality. Consider using a variety of pocket types: a large external pocket for easy access to items like a phone or wallet, and smaller internal compartments for organization of pens and cards. Cut fabric pieces based on the intended pocket size and shape.
For external pockets, attach them to the bag’s front, ensuring they are securely stitched. Use thick fabric or interfacing for added durability, especially if they will carry heavier items. Reinforce the edges of the pockets with extra stitching to prevent fraying and ensure they hold up well under frequent use.
When adding internal compartments, use lightweight fabric to keep the overall weight manageable. Sewing dividers into the main compartment will create subsections, helping to keep items neatly separated. This organization prevents the contents from sliding around and makes it easier to find essentials quickly.
Label the pockets or use contrasting fabric for visibility, making it simpler to locate items. Consider incorporating magnetic snaps or Velcro for closures on pockets, which can add convenience while keeping everything secure. For further insights on home organization, check out this resource: are stoves fridge freezers any good.
Finishing Edges and Making Final Adjustments
Use a zigzag stitch or pinking shears to finish the edges of each piece. This will prevent fraying and ensure longevity. If you prefer a clean finish, consider using bias tape or creating a double-fold hem for a polished look.
Trimming Excess Fabric
Examine your creation and trim any excess fabric that might cause bulk, especially at the seams. This enhances the shape and improves the overall appearance. Be cautious not to cut too close to the stitches.
Inspecting and Adjusting Fit
Your project should be inspected for any uneven areas or puckering. Make small adjustments where necessary by gently tugging on the fabric while stitching to maintain an even tension.
- Check strap lengths to ensure they allow for comfortable carrying.
- Test pockets and compartments to confirm easy access and functionality.
- Make sure closures are secure and align properly to prevent stress on seams.
Once adjustments are complete, press all seams with an iron to create a crisp finish. This final step elevates the overall look and can make a significant difference in the presentation.


