

Begin with a selection of fabrics that you no longer need, such as jeans, shirts, or jackets. Choose materials that are durable and can withstand daily wear. Cut the pieces into desired sizes, ensuring to utilize every part efficiently to minimize waste.
Use a straight edge and fabric scissors for precise cuts. Combine various textures and colors for a unique appearance. For added strength, sew multiple layers together where necessary and reinforce edges with zigzag stitching. Incorporate pockets for organizing smaller items, using remnants from your chosen textiles.
Assemble the pieces with a sewing machine or needle and thread. Opt for sturdy thread to ensure longevity. Pay attention to the design, considering the placement of straps for comfort when wearing on the shoulder or across the body. Attach a closure, such as a button or magnetic snap, to secure belongings safely.
Finally, add personal touches like patches or decorative stitching to enhance the visual appeal. This project not only results in a functional item but also contributes to sustainability by repurposing unused garments.
Selecting Suitable Old Apparel for Your Project
Prioritize durability and texture. Fabrics like denim or canvas provide sturdiness, while softer options like cotton may offer comfort and flexibility. Aim for materials that can withstand wear, as they will enhance the longevity of your design.
Choose items with interesting patterns or colors. These elements add character, allowing your creation to stand out. Larger garments, such as jackets or oversized shirts, often yield more usable fabric, helping in achieving proportional designs.
Assessing Existing Garments
Examine seams and stitching. Ensure they are intact, as damaged areas can complicate construction. Avoid pieces with significant wear and tear that may compromise the overall structure, unless you plan to repurpose them creatively.
Consider the weight of the fabric. Heavier materials offer more support, while lighter fabrics may require reinforcement for shape retention. This balance is crucial for functionality.
Inspiration from Styles
Look for unique design elements, such as pockets or zippers, that can be integrated into your project. These features not only enhance usability but also add an aesthetic flair. Vintage or retro garments often have distinctive traits worth incorporating.
Evaluate the versatility of selected pieces. Ensure that the colors and patterns can harmoniously blend, allowing for a cohesive final product that reflects your vision while utilizing reclaimed textiles effectively.
Required Tools and Materials for Crafting a Messenger Bag
Gathering the right tools and items is vital for this creative endeavor. Here’s a succinct list of what you’ll need:
Tools
Scissors: A sharp pair for cutting fabric efficiently.
Sewing Machine: Facilitates fast stitching; consider a heavy-duty model for thicker materials.
Needles: Use universal needles or specialized ones suitable for denim or canvas.
Pins and Clips: Essential for holding fabric pieces together while working.
Measuring Tape: For precise measurements to ensure proper sizing.
Chalk or Fabric Marker: Useful for marking cutting lines and seam allowances.
Materials
Fabric: Select sturdy textiles like denim, canvas, or corduroy.
Lining Material: Lightweight fabric like cotton can enhance durability and aesthetics.
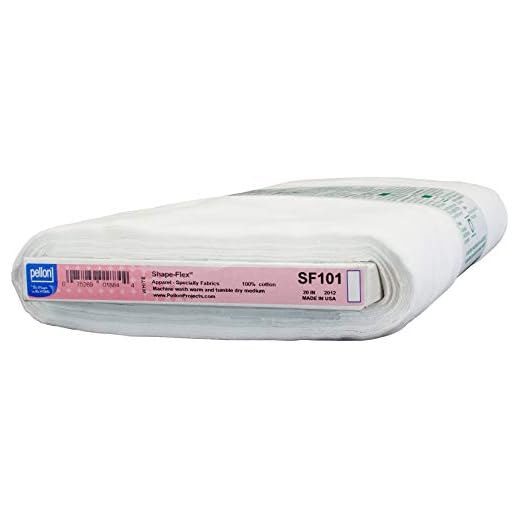
Interface: This adds structure and stability to your creation. Fusible interfacing is recommended.
Strap Material: Choose durable webbing or use fabric to sew your own strap.
Closure: You can opt for zippers, buttons, or Velcro based on design preference.
Accessories: Consider adding pockets or embellishments from other materials to personalize your item.
For more inspiration on creativity, check out a red flower or a pink wine.
Step-by-Step Guide to Cutting and Sewing the Bag
Begin with selecting your fabric pieces based on desired size and design. Cut two equal rectangles for the main body and a few additional smaller pieces for the flap and straps according to your plan.
Cutting the Fabric
Utilize sharp scissors or a rotary cutter for clean edges. Measure carefully to ensure uniformity and mark your cutting lines with a fabric marker. Avoid fabric fraying by using pinking shears or applying a fabric sealant on edges.
Sewing the Components Together
Start sewing with the main body pieces. Align them with the right sides facing each other, pin, and then sew along the edges, leaving the top open. For better durability, use a straight stitch. Repeat this process for the flap, attaching it securely to the top of the body.
To create the straps, fold the long pieces in half lengthwise, stitch along the edge, and turn them inside out for a neat finish. Attach these straps to the body using a square stitch for reinforcement. For added functionality, incorporate pockets by cutting additional fabric pieces and sewing them onto the interior or exterior as desired.
Integrate any additional elements, such as buttons or closures, to secure your creation. Finally, consider distressing or adding decorative stitching for a unique touch. For tips related to crafting and assembly, check the best way to tie lures to umbrella rig or discover options for the best folding umbrella philippines.
Adding Functional Features: Pockets and Straps
Incorporate pockets to enhance the utility of your creation. Opt for different sizes based on intended use: a small pocket for keys and a larger one for notebooks. Repurpose an old shirt pocket for a quick fix. Cut and sew it onto the exterior or interior for easy access.
Strategic Pocket Placement
Consider placement carefully. Exterior pockets offer quick access, while interior pockets provide security. Align them for optimal accessibility with your lifestyle. Use contrasting fabrics to differentiate pocket areas, adding both function and style.
Creating Adjustable Straps
Repurpose fabric strips or an old belt for strap development. Ensure the length allows for comfortable wear across your body. Add adjustable features using hardware like D-rings or sliders to modify strap length as needed. Reinforce attachment points by sewing multiple layers or adding interfacing for durability.
Combining these elements will not only personalize your creation but will also tailor it to your specific daily activities, elevating its overall functionality.
Final Touches: Customizing and Maintaining Your Messenger Creation
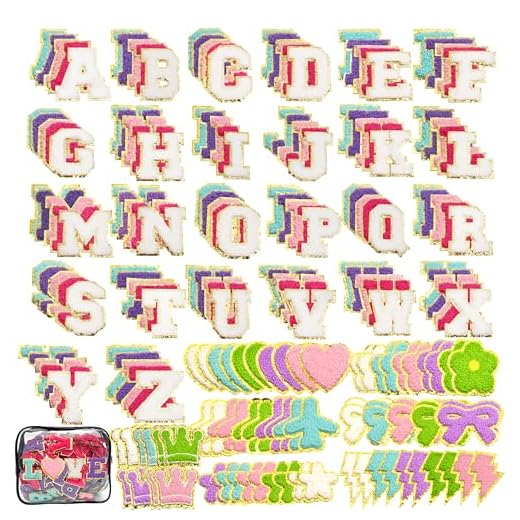
Consider adding patches or embellishments to enhance the aesthetic appeal of your creation. Use fabric paint or embroidery to personalize surfaces. Select designs or motifs that reflect your style or interests.
Secure stitching with a zigzag or decorative stitch to reinforce edges, ensuring durability. Pay attention to the wear of areas subjected to frequent use, like strap attachments or corners, and reinforce them periodically.
- Cleaning: Hand wash using mild detergent or a gentle cycle in the machine. Air dry to maintain shape and prevent shrinkage.
- Stain Removal: Treat stains promptly with appropriate cleaners according to fabric type. Test any cleaning solution on an inconspicuous area first.
- Storage: Keep in a cool, dry place to avoid moisture build-up. Stuff with tissue paper or fabric to retain shape when not in use.
Accessorize with additional elements such as keychains or matching pouches for a coordinated look. Experiment with different strap lengths and styles for practicality while ensuring comfort.
Reflect your personal touch through unique closures or decorative buttons that stand out. Function meets style when you blend practicality with personalized design.
Regularly assess the integrity of hardware components, replacing any worn-out clasps or buckles. Ensure that your creation remains both functional and stylish.
FAQ:
What materials do I need to make a messenger bag from old clothes?
To create a messenger bag from old clothes, you’ll need a few key materials. Start with a pair of old jeans or a heavy cotton shirt, as they provide durability and structure. You’ll also need a pair of scissors, a sewing machine or needle and thread for hand stitching, and some sturdy fabric for the lining if you want added strength. Optional items include decorative patches or buttons to personalize your bag and a strap, which can be made from a belt or leftover fabric that matches your main material.
Can I use any type of old clothing to make the bag?
While many types of clothing can work, it’s best to choose items made from sturdy fabrics like denim or canvas. They hold up well for bags. Avoid lightweight fabrics like t-shirts or sheer materials, as they may not provide the necessary support for a functional messenger bag. Additionally, clothing with interesting patterns or colors can add a unique aesthetic to your finished product.
What is the process for transforming old clothes into a messenger bag?
The process begins with selecting your old clothes and cutting them into the necessary pieces. Start by creating the main body of the bag, which usually includes two large rectangles for the front and back. You may want to cut a smaller rectangle for the flap. Next, sew the pieces together, ensuring to leave an opening for the lining if you choose to add it. After attaching the lining, sew up any openings and attach a strap, which can usually be made from a portion of the original fabric or a repurposed strap from an old bag. Finally, add any decorative elements you want, and your messenger bag is ready to use!
How can I personalize my messenger bag made from old clothes?
Personalizing your messenger bag can be a fun part of the process. You can start by adding patches, either sewn or iron-on, that reflect your personal style or interests. Another option is to use fabric paint to create unique designs or add your initials for a custom touch. You might consider incorporating different textures by sewing on pieces from other clothes like leather or lace. Additionally, you can attach charms or keychains to the zipper or strap for more character. The key is to let your creativity shine and make the bag truly yours.


