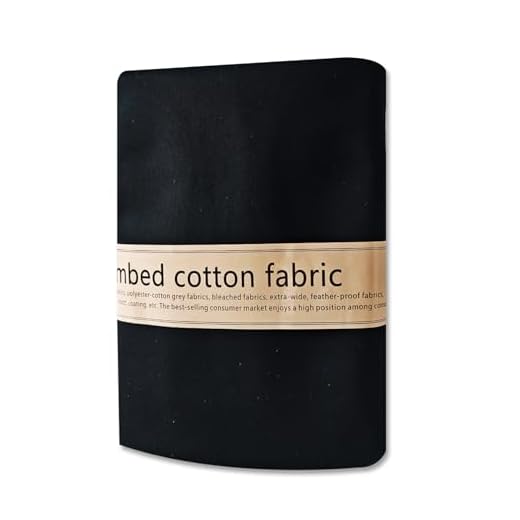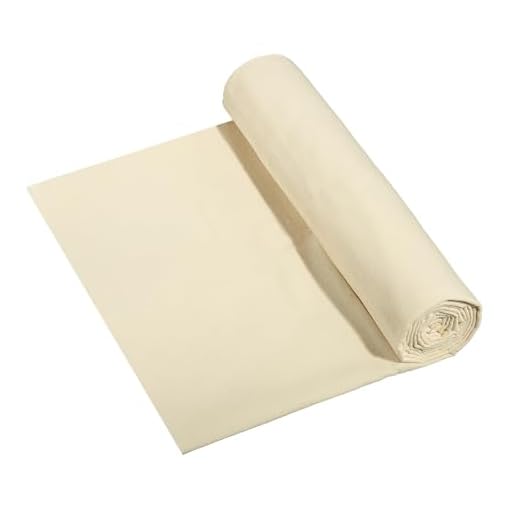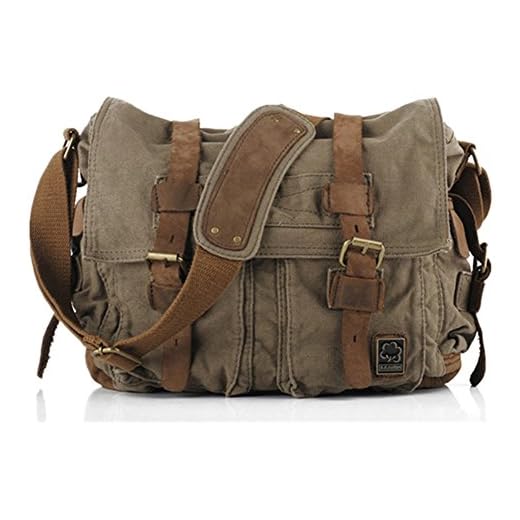


For those seeking a practical and fashionable accessory, creating a small crossbody pouch is an ideal project. Selecting sturdy fabric is essential; options like canvas or denim provide durability and style. Aim for a size that accommodates everyday essentials without becoming cumbersome–approximately 10 inches by 7 inches is a balanced proportion.
Gather necessary materials, including a sewing machine, thread matching the fabric, scissors, pins, and any embellishments you desire. Cutting fabric pieces with precision is crucial. Prepare one front panel, a panel for the back, a flap, and a strap. Consider reinforcing the strap with interfacing for added strength.
Assembly starts with stitching the front and back pieces together, leaving an opening for turning. Next, attach the flap to the top, ensuring it aligns well for a polished finish. Secure the strap on either side, adjusting its length to achieve the desired drop. Following these steps will lead to a trendy accessory tailored to personal style.
Constructing a Compact Carrier
Choose durable fabric such as canvas or denim for the main structure. Cut two pieces measuring approximately 12 inches by 10 inches for the body, and one long strip, around 3 inches wide and 45 inches long, for the strap. Additionally, prepare a small rectangle about 10 inches by 5 inches for the flap.
Assembly Process
Begin with the exterior panels. Place right sides together, aligning edges, and stitch along the sides and bottom, leaving the top open. Reinforce corners for added durability. For the flap, fold the edges inward, press, and stitch to create a clean finish.
Final Touches
Attach the strap by folding it to a preferred length, then sew the ends to the body of the item. Position the flap above the opening, securing it with snaps or Velcro for closure. Inspect all seams for consistency and finish by adding any desired embellishments, such as patches or fabric paint, to personalize your creation.
Choosing the Right Fabric and Materials
Select sturdy materials like canvas, denim, or lightweight upholstery fabric to ensure durability. These fabrics withstand wear and provide an attractive finish.
Opt for a fabric weight between 8 to 12 ounces per yard for a balanced structure. This weight allows for flexibility while maintaining shape.
Consider the following options:
- Canvas: Ideal for outdoor use, water-resistant varieties enhance functionality.
- Denim: Offers a classic look; choose medium-weight for a blend of sturdiness and comfort.
- Polyester or Nylon: Lightweight, water-repellent options suitable for varied weather conditions.
For lining, select a smooth fabric like cotton or polyester to facilitate easy access and protect your belongings.
Incorporate hardware such as durable buckles, clasps, and adjustable straps for added convenience. Ensure these components complement the fabric in color and material for a cohesive design.
Don’t overlook thread choices; use polyester for strength, especially when working with heavy fabrics. Choose a color that blends well with your primary material.
Lastly, gather any embellishments or pockets that match the overall design. Consider zippers, magnetic snaps, or patchwork to enhance aesthetics and functionality.
Taking Accurate Measurements for the Bag
Begin with determining the desired dimensions for the accessory. Measure the width and height based on personal usage and carrying needs. For a compact design, aim for a width range of 8-10 inches and a height of 6-8 inches. Adjust these dimensions according to specific items intended for storage.
Next, focus on the depth of the accessory. A suggested depth is approximately 2-4 inches, allowing sufficient space for essentials without compromising portability. Ensure the proportions maintain visual balance.
Utilize a flexible measuring tape for precise measurements. When measuring, consider the intended internal components, like pockets and straps, which will also influence overall dimensions. It’s advisable to sketch a layout that includes all elements to visualize the overall structure.
| Dimension | Recommended Size (inches) |
|---|---|
| Width | 8 – 10 |
| Height | 6 – 8 |
| Depth | 2 – 4 |
For strap length, consider a comfortable drop that allows the item to sit at waist or hip height, typically between 20-30 inches. Adjust based on personal comfort and style preference.
Double-check measurements to ensure accuracy. Mark dimensions clearly on your fabric for cutting, verifying twice before making any cuts. Precision in measurements directly influences the fit and functionality of the final design.
Cutting the Fabric Pieces for Assembly
Begin by laying out your fabric on a flat and clean surface. Use a rotary cutter or sharp fabric scissors for precise cuts. You will need to cut the following pieces: the main section, a flap, a lining piece, and straps. Ensure you add seam allowances, typically 1/4 to 1/2 inch, depending on the pattern you are following.
For the main section, a rectangle measuring approximately 10×12 inches is standard, but adjust based on desired capacity. The flap usually takes a smaller rectangle, around 10×5 inches. The lining piece can mirror the main section’s dimensions to maintain the structure. Straps should be cut to about 2×20 inches for comfortable over-the-shoulder wear.
Use fabric weights or pins to secure your pattern to the fabric and avoid slipping. Make straight cuts and lift the fabric instead of dragging it to prevent fraying edges. Following these steps will streamline the upcoming assembly process.
To ensure you have a variety of options for your supplies, check out the best luggage store in dubai for quality materials.
Sewing Techniques for Strong Seams
Utilize a straight stitch using a sewing machine for durable joints. This creates a robust hold, particularly important for stress points.
- Reinforce Key Areas: At corners and areas subject to tension, use a backstitch or a double stitch for additional strength.
- Use Appropriate Thread: Opt for high-tensile strength polyester thread, especially for heavier fabrics.
- Stitch Length: Set the machine to a medium stitch length (approximately 2.5 mm). Shorter lengths increase durability, but apply them judiciously to avoid puckering.
- Press Seams: After stitching, press seams open with an iron to enhance the structure and ensure a flat finish.
Finishing Techniques
Employ finishing techniques to prevent fraying. Use a zigzag stitch or serger on raw edges, which significantly increases longevity.
Stabilizers
For thinner materials, implement fusible interfacing to provide extra stability, especially when attaching straps or pockets. This will prevent distortion over time.
Adding Straps and Fasteners for Functionality
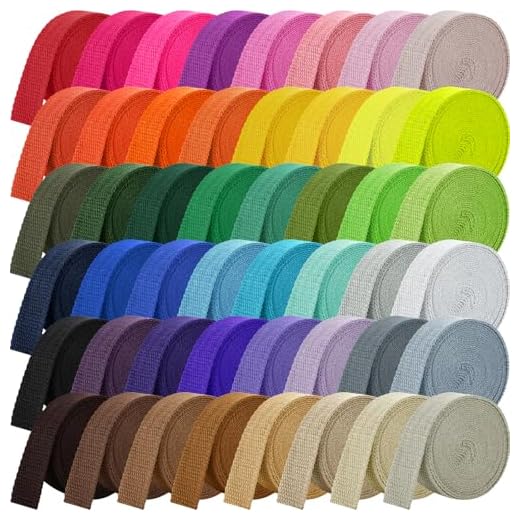
Attach adjustable straps using webbing and slide adjusters to ensure versatility. Cut two lengths of webbing, typically 1.5 to 2 inches wide, according to your desired length. Securely stitch one end of each strap to the sides of the pouch body, preferably using a cross-stitch technique for durability.
Choosing Fasteners
Opt for magnetic snaps or Velcro for easy access. For magnetic snaps, position one half on the flap and the other on the front panel. Ensure precise alignment before securing them in place with fabric adhesive or by sewing around the snap edges. This prevents misalignment during use.
Final Touches
Reinforce the attachment points by adding a square patch of canvas beneath the strap sewing area. This provides extra strength, especially important if carrying heavier items. Consider exploring innovative options like snap hooks, which allow for quick detachability. Explore links for accessories like the best besch umbrella that can complement your creation.
Finishing Touches and Personalizing Your Accessory
Add custom patches or embroidery to enhance uniqueness. Choose motifs that reflect your personality or interests; consider initials or favorite symbols for a personal flair.
Lining can elevate the overall appearance. Opt for a contrasting or patterned fabric to make the interior pop. A pocket inside adds functionality, perfect for keys or small items.
If you prefer a more structured look, use interfacing, which provides additional body and stability. This is particularly beneficial for retaining shape after multiple uses.
To give your piece a polished finish, ensure all raw edges are neatly hemmed. Consider adding decorative stitching as a visual enhancement along seams.
Incorporate hardware elements like custom zippers, buttons, or decorative rivets. Unique fastenings can transform the look while ensuring durability.
Finally, think about your accessory’s maintenance. Consider using a protective spray suitable for the fabric chosen. For outdoor usage, check how to get rid of dog odours in garden fence to keep your piece smelling fresh after exposure to various environments.


