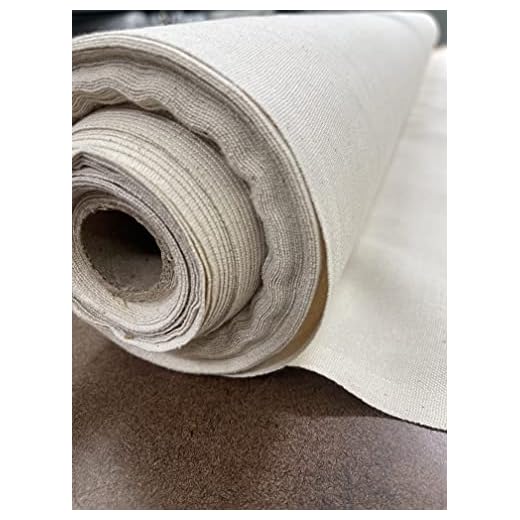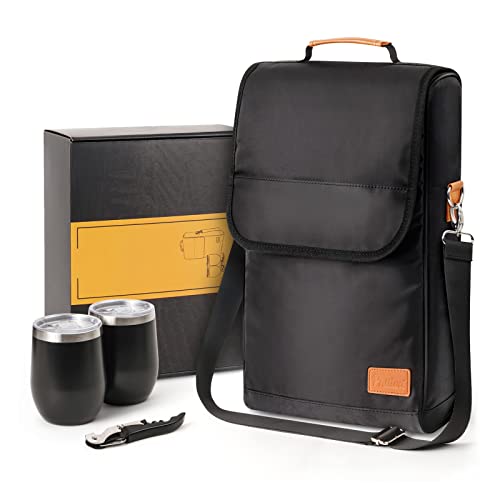


Choose durable fabric, such as canvas or denim, to ensure longevity. Opt for a color that matches your personal style or complements your wardrobe. Pre-wash the fabric to avoid shrinkage later. Measure and cut two rectangular pieces for the main body, ensuring they fit your desired dimensions.
For the closure, select a high-quality zipper that matches the length of the top opening of your fabric panel. Position the zipper along one of the edges of the main pieces, making sure it’s aligned properly. Stitch the zipper into place securely, allowing for smooth operation when opening and closing.
Add a lining for additional structure and aesthetic appeal. Cut lining pieces exactly like the main fabric, then sew them together with the outer fabric, including the zipper compartment. Reinforce seams for extra durability, and consider adding compartments inside to enhance organization.
Finish by attaching adjustable straps using strong webbing. Secure them to the sides of the structure, allowing for comfortable wear across the shoulder. This personalized carrier combines functionality with a fashionable flair.
Creating a Shoulder Carrier with Closure
Select a sturdy fabric, such as canvas or denim, ensuring durability and longevity. Aim for dimensions around 15 inches by 10 inches for the main body. Cut out two rectangular pieces in your selected material.
For the compartment, create a lining using a contrasting fabric, cut roughly the same dimensions as the outer pieces. This lining will provide a polished interior and added strength.
Incorporate a closure mechanism by choosing a suitable zipper length–typically around 12 inches for a comfortable fit. Sew one side of the zipper to the top edge of one outer piece and the lining simultaneously, ensuring alignment for seamless closure.
Attach the second side of the zipper to the other outer fabric piece, mirroring the previous step. When the zipper is closed, the carrier should align evenly at the top.
Construct a shoulder strap by cutting a strip of fabric measuring approximately 3 inches wide and 40 inches long. Fold the edges inward and sew along the length to create a uniform strap. Securely attach the strap to the body, reinforcing with box stitches at each connection point for added support.
Finish the edges of the outer fabric using bias tape, achieving a clean look. Flip the assembly inside out, ensuring that the lining and exterior are seamlessly integrated. Test the functionality of the zipper and adjust as necessary to ensure smooth operation.
Personalize the exterior with embellishments such as patches or fabric paint to enhance aesthetics and express individuality.
Choosing the Right Materials for Your Messenger Bag
Select durable fabric like canvas or nylon for longevity and resistance to wear. Synthetic blends often provide water resistance, making them suitable for various weather conditions.
For a more stylish option, consider leather. It offers a classic look but can be heavier and requires maintenance to preserve its quality.
Choose a sturdy lining material, such as cotton or polyester, to enhance durability. A padded interior adds protection for devices and valuables.
When selecting zippers, opt for high-quality, heavy-duty types to prevent breakage. Metal options tend to be more reliable than plastic.
Additional elements like webbing or straps should also be strong and comfortable. Look for options that can distribute weight evenly to reduce strain during use.
Color and texture are practical and aesthetic considerations. Lighter shades may show dirt easier, while darker hues can conceal stains better.
Step-by-Step Instructions for Constructing the Bag Body
Prepare the main material by cutting it into specific dimensions. For a standard size, aim for approximately 16 inches wide and 12 inches tall. This size provides sufficient space for essentials while maintaining a compact profile.
Creating the Panel Sections
- Cut two rectangles from your main fabric for the front and back panels.
- For the sides, cut two additional pieces, each around 4 inches wide and 12 inches tall.
- Ensure all edges are straight to maintain a clean look; use a rotary cutter for better precision.
Assembling the Body
Begin by sewing the side panels onto the front panel using a straight stitch. Align the edges and use pins to hold them in place during sewing. Repeat this process for the back panel.
Next, add a bottom piece to enhance durability. Cut it to the size of the front and back panels, then attach it using the same straight stitch. This step reinforces the structure and offers a steadier base.
For added functionality, consider integrating internal pockets. Cut smaller rectangles from leftover fabric and sew them onto the interior of the front panel to keep small items organized.
After assembling the main structure, secure the entire body by running a zigzag stitch along the edges to prevent fraying. This technique enhances longevity.
Finally, for anyone needing to organize travel gear, it’s recommended to explore options like the best luggage to prevent bed bugs for additional travel safety.
Remember, having a portable solution to shield against the sun while on the go can complement this project well; check out the best buy car sun umbrella for convenience.
Installing the Zipper: Tips and Techniques
Begin by choosing the correct zipper length based on the opening you intend to create. A zipper that is too long can be trimmed, while a shorter one may need to be replaced. Use a separating zipper for easy access and a smooth transition.
Prepare your fabric by pressing it to eliminate wrinkles. Mark the intended zipper placement clearly on both sides of the fabric using chalk or a fabric marker. Always ensure the markings are aligned to avoid misplacement.
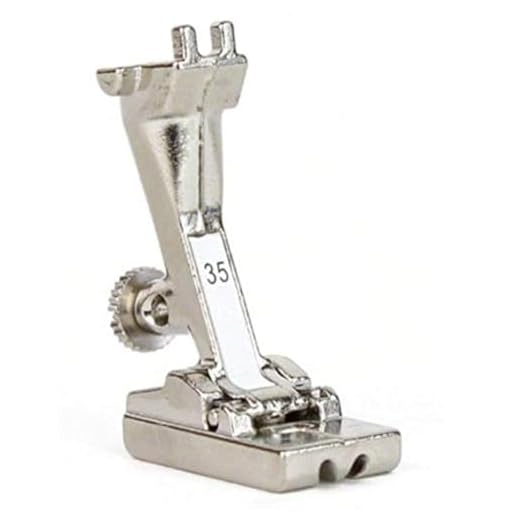
Pin the zipper face down on the fabric’s right side, aligned with the marked line. Use a zipper foot for your sewing machine to accommodate the zipper teeth. Stitch close to the teeth on both sides, ensuring a secure hold without catching the fabric. It’s beneficial to perform a backstitch at the beginning and end to reinforce the stitching.
| Tip | Details |
|---|---|
| Use Basting | Temporarily baste the zipper before final stitching to ensure precision. |
| Test Before Final Sew | Always check the zipper operation before finishing your seams to prevent adjustments later. |
| Fabric Clips | Consider using fabric clips instead of pins for thicker materials, providing better hold without distortion. |
Once sewn, trim any excess fabric around the zipper to minimize bulk and improve aesthetics. To finish, stitch a topstitch along the zipper for added durability and a polished look. This technique helps to secure any loose threads and reinforces the fabric around the opening.
If adding a flap to conceal the zipper, ensure the fabric extends beyond the zipper’s end before cutting the flap material. This allows for proper folding and hiding of the zipper, enhancing both function and style.
Customizing Your Messenger Bag with Pockets and Straps
Incorporate multiple compartments for enhanced organization. Consider adding an exterior pocket for quick access to essentials like keys or smartphones. Interior pockets can be tailored in size to fit various items, such as pens or notebooks. Use contrasting fabric for these pockets to create visual interest, making your accessory stand out.
Straps can significantly influence the overall style and functionality. Opt for adjustable straps to cater to different carrying preferences. A padded strap not only adds comfort but also helps distribute weight evenly. Experiment with various materials like canvas, leather, or nylon to match your design scheme and ensure durability.
Adding decorative elements like stitching patterns can elevate the look. Choose thread colors that complement or contrast with your main fabric. Adding a distinctive closure, such as a magnetic snap or buckle, can provide both security and flair.
Lastly, don’t forget to consider the practical aspects of your design. Make sure all compartments are easily accessible and ergonomic. Tailoring your creation according to specific needs ensures maximum utility, transforming an ordinary carry-all into a bespoke piece that fits your lifestyle.
For inspiration on nutrition while crafting your project, check out which meat has the highest protein.


