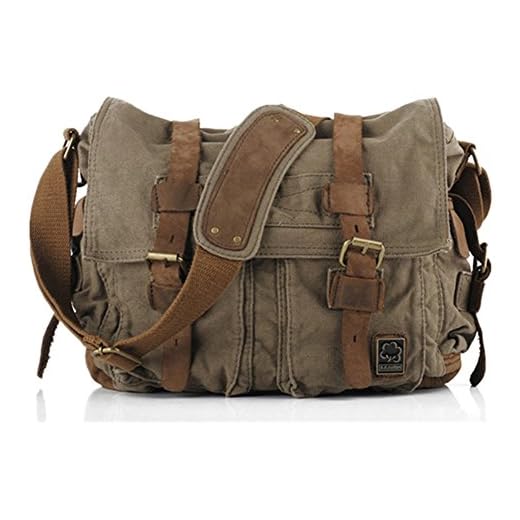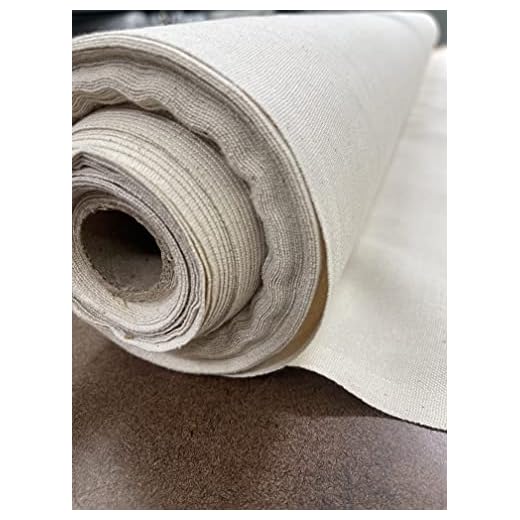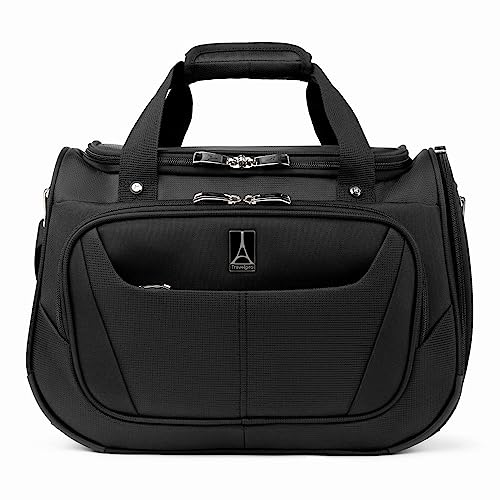


Cut a durable fabric into specific dimensions to form the main structure. Aim for a rectangle measuring approximately 18 inches by 14 inches, ensuring ample space for essentials. Consider reinforcing the edges with sturdy thread to prevent fraying and enhance durability.
Utilize additional pieces for creating a flap that will secure your contents. A rectangular piece of around 18 inches by 7 inches can work well. Attach this flap with a strong stitch at the top of the main body. This design provides easy access while ensuring your items are safe.
For straps, cut two lengths of approximately 40 inches, ensuring comfort while wearing the creation. Attach each end to the side of the main compartment for balance. Using metal rings can add an appealing aesthetic and greater strength to the strap connection.
Prior to final assembly, reinforce all exposed seams for added resilience. Consider adding pockets on the interior for organization, cutting smaller pieces for this purpose, and securely fastening them with stitches. Personalization can enhance the functionality and aesthetic; incorporate embellishments or patches according to your style.
Creating a Stylish Tote Using Sturdy Fabric
Begin by gathering materials: durable textile, sturdy thread, scissors, measuring tape, and a sewing machine. Use a fabric that withstands wear and tear while maintaining flexibility.
Cut two rectangular pieces from the sturdy textile, typically measuring 16×12 inches for a compact size. Add a few extra inches to the height if desired. For the strap, a length of around 40-60 inches ensures comfort when wearing over the shoulder.
Assembling the Components
Position the two rectangular pieces right sides together. Sew along the sides and the bottom edge, leaving the top open. For added strength, consider a double stitch. After sewing, trim excess fabric from the corners before turning the piece right side out.
Attach the strap by folding the ends inward about an inch and placing them inside the top opening of the fabric. Securely stitch in place, ensuring the strap is evenly distributed.
Finishing Touches
To give a polished appearance, fold down the top edge and stitch it, creating a clean finish. Add pockets by cutting smaller rectangles and following the same sewing method. Be creative with colors and patterns for distinctive flair.
Finally, reinforce all seams with a zigzag stitch to prevent fraying, ensuring longevity and a professional finish.
Choosing the Right Material for Your Project
Select a sturdy fabric with a weight of at least 10 oz to ensure durability and longevity for your item. Look for options such as duck or twill; these types offer significant strength and abrasion resistance.
Types of Fabrics
- Plain Weave: Great for versatility, provides a smooth finish, ideal for casual use.
- Duck Cloth: Heavier version with a tight weave, perfect for rugged applications.
- Twill: Features diagonal ribbing, offers a classic look and structure, resistant to wrinkles.
Color and Finish Considerations
Opt for a color that complements your style while considering its function. Dark shades are better for concealing dirt, while lighter tones may brighten your project. Examine coatings, as they can enhance water-resistance and ease of maintenance.
Always assess fabric sources to guarantee sustainability and quality, verifying if they are treated with any harsh chemicals. Ensure compatibility with other components like zippers and straps to maintain cohesion in design and functionality.
Step-by-Step Guide to Cutting and Preparing Canvas Pieces
Measure the Dimensions: Accurately determine the required sizes for each component. Utilize a measuring tape to establish precise lengths and widths. Common parts include the front, back, sides, and flap sections. Document these measurements for efficiency.
Transfer Measurements: Use tailor’s chalk or a fabric marker to outline your dimensions on the material. Ensure that lines are straight and clear. This will assist in achieving clean cuts while helping to avoid errors.
Cut the Pieces: Employ sharp fabric scissors or a rotary cutter for a clean edge. Cut slowly along the marked lines to avoid jagged edges. For extensive projects, consider using a cutting mat to protect surfaces and maintain accuracy.
Prepare the Edges: To prevent fraying, apply a fray check solution to the cut edges. Alternatively, you may use a sewing machine to run a zigzag stitch along the borders. This adds durability and maintains the integrity of the fabric.
Iron the Fabric: Smooth out any wrinkles using an iron on a low setting. Ensure that the surface is flat and easy to work with, as this improves the overall appearance and accuracy during assembly.
Organize Your Pieces: Arrange the cut components in the order they will be assembled. This ensures a streamlined crafting process. Use labels or pins to identify each section clearly.
Finalize Preparation: Double-check all pieces for size and shape. Ensure that you have the correct number of each part before proceeding to assembly. Proper preparation now will save time and effort during construction.
Sewing Techniques for Durable Construction
Utilize a straight stitch for primary seams, ensuring strength and stability under load. For areas subjected to stress, employ a zigzag stitch, which provides elasticity and prevents fraying.
Reinforcement Methods
Add reinforcement at high-stress points, such as strap attachment areas. Use an extra layer of fabric and stitch it securely, forming a box pattern or “X” to distribute weight evenly.
Finishing Techniques
For edges, consider using bias tape or overlocking to prevent unraveling and to enhance durability. Press seams open after stitching, ensuring a neat finish that reduces bulk and increases longevity.
Use strong, high-quality thread to withstand wear. A polyester or nylon thread is recommended for added strength. Adjust the tension on your sewing machine based on the fabric weight for optimal results.
Finally, to capture and document your project effectively, refer to the best digital camera download software for high-quality images.
Adding Functional Features: Pockets and Straps
Integrate practical elements such as pockets and straps to enhance usability. For optimal organization, create various pocket sizes–one for a laptop, another for smaller items like pens and keys. Cut fabric pieces for pockets, ensuring edges are finished to prevent fraying. Position these before sewing the main compartments together.
Pockets Design
Consider a zippered pocket on the exterior for quick access to valuables. Add an internal pocket with a Velcro closure for secure storage. Use contrasting fabrics for visibility inside the main compartment. Ensure all pockets are securely stitched to withstand regular use.
Straps and Adjustments
Opt for adjustable straps to cater to different user preferences. Use durable webbing or thick fabric, reinforcing stress points with double stitching. A padded shoulder strap adds comfort during extended wear. For extra security, consider adding a locking mechanism, similar to a best theft proof backpack, to deter theft.


