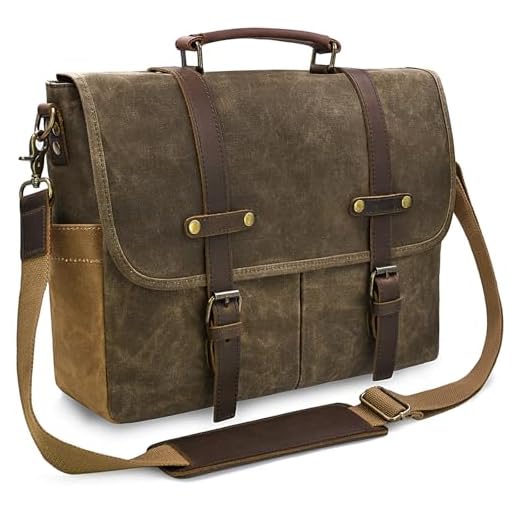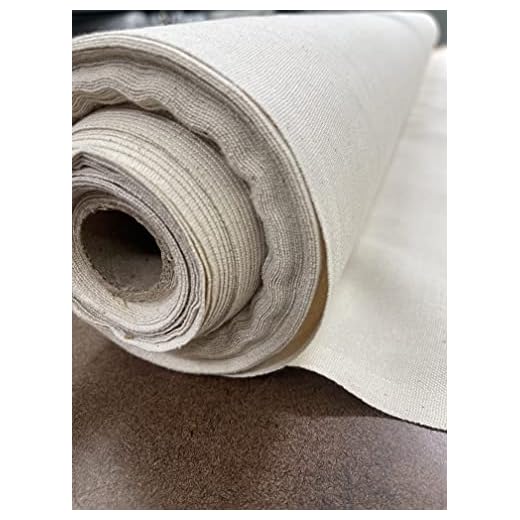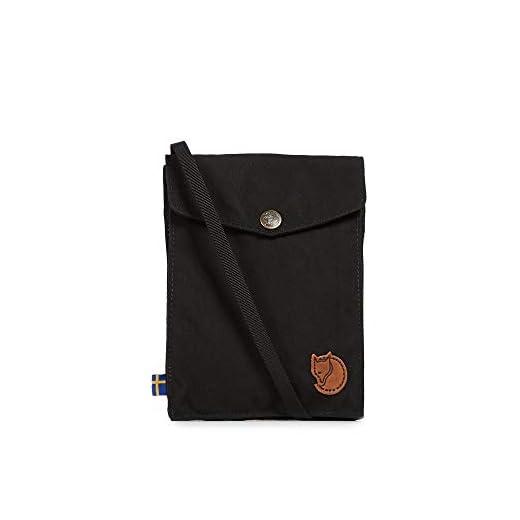


Begin with selecting durable fabric such as canvas or heavy-duty polyester, ensuring it withstands daily use. Measurement is key; decide on the dimensions based on intended capacity. A common size is around 15 inches wide, 12 inches high, and 4 inches deep, providing ample space for essentials.
Next, cut two pieces of the chosen material for the body and a long strip for the strap. The strap should be about 2 to 3 inches wide for comfort and approximately 40 to 50 inches long, allowing for a crossbody option. Reinforcement at the edges can enhance durability.
Assemble the item by sewing the body pieces together, leaving an opening for the interior lining. To add a touch of organization, consider pockets sewn onto the interior or exterior. Choose sturdy thread and a heavy-duty sewing machine setting for best results.
Finishing touches include adding a closure mechanism, such as a magnetic snap or buckle, and optional embellishments like patches or personal designs. Inspect your work for quality assurance, ensuring all seams are secure.
Creating Your Stylish Carrying Solution
Select a fabric that balances durability and aesthetics; options include canvas, denim, or a synthetic blend. Ensure the fabric is robust enough to handle daily wear while remaining lightweight.
For the dimensions, cut pieces measuring approximately 15 inches in height and 20 inches in width for the main compartment. This size accommodates everyday items effectively. For the flap, a dimension of 12 inches by 18 inches works well, providing adequate coverage and style.
Prepare additional components like straps, which should measure about 3 inches in width and lengthwise adjusted to around 40 inches, allowing for comfortable wear crossbody or over the shoulder. Consider adding padding for extra comfort.
Sewing begins with forming the main compartment; use a straight stitch for a sturdy seam. Reinforce areas that may experience more stress, particularly where the straps attach. A zigzag stitch can be useful for finishing edges to prevent fraying.
For an interior pocket, cut a piece measuring 8 inches by 10 inches, fold down the top edge, and sew it onto the lining fabric before assembling the outer shell. This provides convenient access to smaller items.
Assemble the flap by hemming the edges; attach it to the top of the main section using strong stitching. Create a closure mechanism with either Velcro or a snap to keep contents secure.
Finalize by attaching the strap securely to the sides; use double stitching to enhance durability. Adjust length to suit personal preference for wearing style.
Consider personalizing your creation with embellishments like pins or patches, or even applying fabric paint for a unique flair.
Selecting the Right Materials for Your Messenger Bag
Choose durable fabric like canvas or nylon for your creation. These materials resist wear and provide water resistance, making them ideal for everyday use.
Types of Material
- Canvas: A robust option that offers a strong structure and is available in various colors and patterns.
- Nylon: Lightweight and highly water-resistant, it is perfect for outdoor conditions.
- Leather: Stylish with a classic look, though heavier, it requires more maintenance.
- Denim: A tough fabric that adds a casual touch, available in numerous washes.
Other Considerations
- Hardware: Select high-quality zippers, clasps, and buckles to ensure longevity. Metal options often last longer than plastic ones.
- Padding: Incorporate foam or soft lining for added protection of belongings, especially for laptops or tablets.
- Lining: Choose a lining material that enhances durability and complements the outer fabric.
For maintenance, consider researching techniques such as how to clean chainmail scrubber for related materials.
Cutting Fabric Pieces for the Bag Construction
Measure all fabric pieces accurately before cutting. To form the body, cut a main section with dimensions 15 inches wide by 12 inches tall. For the flap, create a piece 15 inches by 5 inches. Ensure to also cut a lining piece identical to the main body dimensions for added durability.
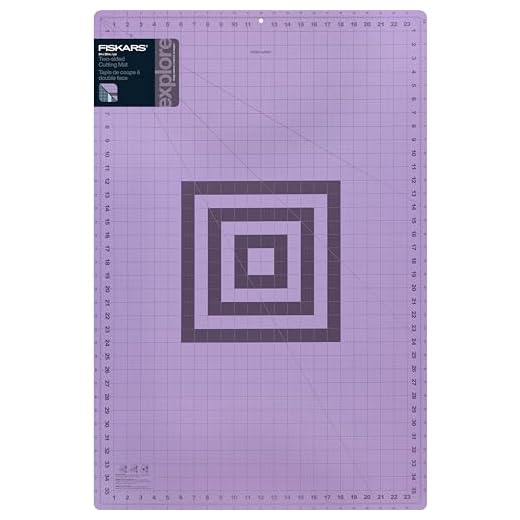
For straps, two long strips of fabric should measure 3 inches in width and 25 inches in length. Using a rotary cutter or sharp fabric scissors will provide clean edges. Always use a cutting mat to protect your surfaces.
Consider the grain of the fabric; align your pattern pieces accordingly for optimal strength. Mark each piece with tailor’s chalk, and include notches where necessary to align seams accurately during assembly.
Finally, cut any additional pockets or decorative elements from leftover fabric, ensuring that all pieces are accounted for before proceeding with construction. This organized method will streamline the sewing process.
Sewing Techniques for Durable Seams and Stitches
For strong seams, employ a straight stitch with a stitch length of 2.5 to 3 mm for woven fabrics. Adjust the tension settings on your machine to avoid puckering, ensuring the fabric feeds evenly. Reinforce critical areas by backstitching at the beginning and end of seams.
Reinforcement Methods
Consider using double stitching on stress points, such as where straps attach. A zigzag stitch can also provide extra durability by allowing the fibers to stretch without breaking.
For the base of the carrier, implement a French seam for a clean finish. This entails enclosing the raw edges within another seam, effectively preventing fraying and adding strength.
Choosing the Right Thread
Opt for polyester or nylon thread, which offers better resilience compared to cotton. A heavier weight thread will withstand wear and tear more effectively. Match the thread color to your fabric for a seamless appearance.
| Stitch Type | Usage | Advantages |
|---|---|---|
| Straight Stitch | Main seams | Strong and straightforward |
| Zigzag Stitch | Flexible seams | Prevents fabric from fraying |
| Double Stitch | Stress points | Increases durability |
| French Seam | Hems and edges | Cleans raw edges, prevents fraying |
Finally, always use high-quality needles appropriate for your fabric type. This prevents snagging and ensures smooth sewing, contributing to the longevity of your creation.
Adding Functional Features like Pockets and Straps
Integrate various pockets to enhance usability. Consider a front pocket for quick access to essentials like a phone or keys. Use a zippered compartment on the back for added security. Ensure these pockets are aligned with seam lines to maintain the bag’s aesthetics.
Designing Pockets
When designing pockets, select the fabric wisely. Reinforce pocket corners for durability and consider using contrasting or matching thread for a polished look. For internal organization, smaller pockets can be added within the main compartment to hold chargers or pens. This prevents items from shifting around during transportation.
Strap Variations
Incorporate adjustable straps to suit different carry styles. Use sturdy webbing or cotton for comfort. A padded section can alleviate weight on the shoulder, enhancing comfort during transport. Consider adding a quick-release mechanism for versatility. If you prefer a more customized approach, detachable straps allow for easy adjustments. For further organization during travels, having compression bags, like those found in best luggage compression bags, can optimize space and help manage contents efficiently.
Finishing Touches: Lining, Closure, and Personalization
Select a lining fabric that complements the outer material while adding durability. Cotton or nylon are popular options, providing a smooth finish. Cut the lining pieces to match the dimensions of the exterior, allowing for an extra inch along the edges for seam allowances. Secure the lining to the inside of the carrier using a straight stitch along the top edge, leaving the bottom unsewn for ease of turning.
Closure Options
For closures, consider magnetic snaps, zippers, or Velcro. Magnetic snaps offer convenience and a clean look. Attach them by sewing one half to the flap and the corresponding half to the corresponding side of the front panel. Zippers provide a secure solution, especially for safeguarding valuables. Sew a zipper pocket into the lining for additional storage or use it as a main closure by incorporating it at the opening. Velcro is straightforward and can be added to flaps for quick access.
Personalizing Your Creation
Add unique touches to make the creation truly yours. Use fabric paint, embroidery, or patches to showcase individuality. Consider custom straps made from contrasting fabrics for an eye-catching effect. Adding an interior pocket with a distinct pattern can also enhance functionality while creating a stylish contrast. Use fold-over techniques to finish edges and maintain a polished appearance.


