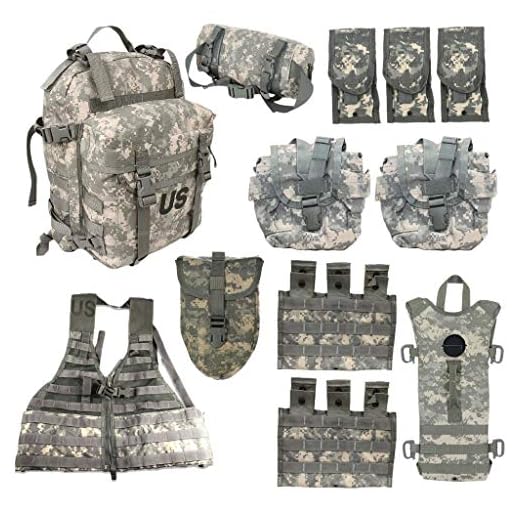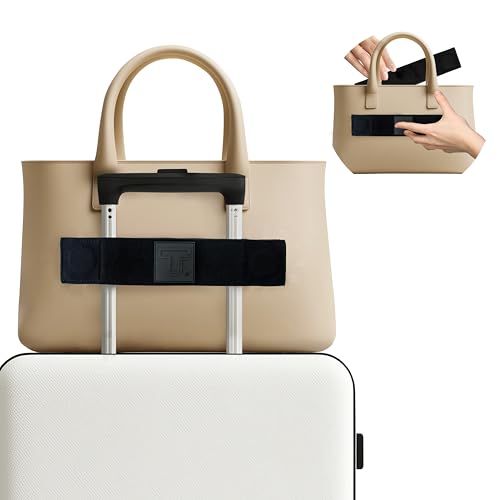

For optimal stability and accessibility, begin by positioning the hip bag at the desired location on the tactical backpack. Ensure that both items are adjusted to a comfortable height and width for your body type.
Next, utilize the existing attachment points on the backpack. Many tactical backpacks come equipped with MOLLE webbing or similar loops, allowing for various securement methods. Feed the straps of the hip bag through these loops, ensuring a tight fit to minimize movement during use.
If the hip bag lacks compatible straps, consider using carabiners or strong clips as alternative connectors. Attach the clips to the ends of the hip bag’s straps and secure them to the loops on the main backpack, doubling back the clips to reinforce stability.
Finally, check that all attachments maintain a low profile to prevent snagging on obstacles, and perform a test run by fully loading your gear. This will provide insight into the overall comfort and functionality of your setup.
Attaching a Hip Bag to a Tactical Rucksack
Secure the accessory by threading the included straps through the designated loops on the tactical rucksack. Make sure to align the buckle points correctly to ensure stability.
- Identify the attachment points on the rucksack; these are often designed for compatibility with various gear.
- Feed the straps from the hip bag through these points; check for a snug fit.
- Adjust the straps to remove any slack, enhancing comfort and usability.
Final Adjustments
Once attached, make sure all connections are tight. Test the setup by gently pulling on the hip bag to confirm it remains securely in place during movement.
Adjust the straps for personal comfort, ensuring the load is balanced and accessible while in use.
Choosing the Right Waist Pack for Your Assault Pack
Select a storage solution that complements your gear. Focus on compactness, accessibility, and durability. Prioritize lightweight materials that resist wear and tear.
Consider the following factors when making your choice:
| Factor | Description |
|---|---|
| Capacity | Choose a model that can hold essential items without adding unnecessary bulk. |
| Attachment Method | Look for features like MOLLE webbing or quick-release systems that ensure a secure fit. |
| Comfort | A padded belt or adjustable straps can enhance comfort during extended use. |
| Weather Resistance | Select a product made from water-resistant materials if you expect exposure to the elements. |
| Color and Camouflage | Choose shades that match or blend with your existing equipment for a unified look. |
For practical applications, consider carrying a best small automatic umbrella for unexpected weather, or a best large black umbrella for broader coverage. This can enhance the practicality of your selected gear.
Step-by-Step Guide to Securely Fastening the Hip Carrier
To ensure stability, begin by positioning the compartment against the main body of the larger storage unit, aligning attachment points found on both items. This creates a solid foundation for further securing methods.
1. Adjust the Straps
Loosen any adjustable connectors on the hip carrier. Slide the straps through the designated loops on the main storage container. Position the connectors so that they are accessible for easy tightening once attached.
2. Secure the Connectors
Firmly pull the straps until snug against the larger unit. Ensure there is no excessive slack, as this could lead to instability during movement. Fasten the connectors tightly to avoid any shifting of the compartment while in use.
Check the integrity of the setup by gently tugging on the carrier. If it appears secure, proceed to adjust the padding for comfort. This ensures optimal performance and ease of access when needed.
Adjusting Straps for a Comfortable Fit
Begin by loosening all the straps on your gear to allow for easy adjustments. Slip the system onto your body and position it comfortably on your hips and back. Make sure the load is balanced; the weight should rest close to your center of gravity.
Next, tighten the shoulder straps by pulling the excess webbing downwards. Ensure that the straps contour to your shoulders without digging in. If you can fit more than two fingers between the strap and your shoulder, the adjustment may be too loose.
Proceed to the hip belt, adjusting it to sit snugly on your pelvis. You want it to bear the majority of the weight. Pull the belt tight; you should feel it secure against your body without causing discomfort. If the belt rides up or shifts, further adjustments are necessary.
Finally, make small tweaks to the sternum strap, if available. This should rest across your chest to stabilize the shoulder straps and prevent excess movement. The fit should allow for comfortable breathing while keeping everything secure. Conduct a final check: lift your arms overhead to ensure nothing shifts dramatically.
Testing Stability and Load Distribution
Assess balance by securing the gear on your body and moving in various directions. Check if weight shifts uncomfortably or causes strain in particular areas. Carry out a walking test, simulating actual movement scenarios to identify any discomfort or instability.
To enhance stability, ensure that the attachment points are evenly spaced and securely fixed. This prevents unwanted movement of the additional storage, contributing to an overall cohesive feel. Balance is key; the distribution of weight should remain consistent whether standing still or in motion.
Analyze load distribution by wearing different weight combinations in each compartment. A practical method is to utilize weights or items representing the anticipated load. Observe how it feels across your torso and hips, identifying any pressure points for potential adjustments. Understanding how added gear affects your center of gravity is crucial for maintaining mobility.
Reassess the fit after testing different configurations. Adjust the straps and hardware to achieve an ideal alignment that aids in maintaining posture and reducing fatigue. This step is vital despite the initial comfort assessment.
For an insightful look into how life can be affected by unexpected events, consult how can a car accident impact your life.
Common Issues and Troubleshooting Tips
Inspect connections for tightness. Loose fittings can cause instability and make carrying uncomfortable.
Check for compatibility between components. Mismatched designs can hinder the securing process.
Adjusting the Load
- Redistribute weight if feeling unbalanced. Ensure heavier items are closer to the back.
- Evaluate strap placement for correct tension. Incorrect adjustments can lead to discomfort.
- Periodically reassess the arrangement during use. Conditions may require repositioning for stability.
Material Wear and Tear
- Regularly inspect fabric and stitching for fraying. Address any signs of damage immediately.
- Clean components after usage in harsh conditions. Dirt and debris can compromise integrity over time.
- Store gear in a dry place. Prolonged exposure to moisture can weaken materials.
Feedback from users can provide insights into persistent issues. Collaborate with others to share solutions and improve techniques.
FAQ:
What materials do I need to attach a waist pack to an assault pack?
To successfully attach a waist pack to an assault pack, you will generally need a few basic materials. These include the waist pack itself, the assault pack, and a suitable method for attachment. Common options for attachment are various types of straps that may come with the waist pack, MOLLE webbing for additional compatibility, or even bungee cords if you need some flexibility in the attachment. It’s also helpful to have a pair of scissors handy, in case you need to adjust any straps, and potentially some additional buckles or clips if you’re customizing the setup further.


