

Method: Roll the sleep kit tight, place inside a roll-top dry sac, compress until diameter is 10–15 cm. Thread one 25 mm strap through the sac’s lash tab and the pack’s lower daisy-chain on the left side, repeat symmetrically on the right. Use 60–80 cm straps with cam buckles; tension until lateral play is under 1 cm when lifting the pack by the shoulder straps.
Placement and weight limits: For external carry keep total mass under 1.5 kg; heavier sleep systems belong inside the main compartment next to the back panel. Mount low (below hipbelt line) to lower center of mass and reduce sway; if placed above the top lid, shift heavier gear lower by 10–15 cm to restore balance. Aim to keep the external load within 8–12 cm of the pack’s centerline to avoid torque during twisting.
Protection and durability: Use a waterproof dry sac rated 3,000–5,000 mm hydrostatic head and add a thin closed-cell foam pad between the sac and the pack base to prevent abrasion. Route straps over the foam, not under, and avoid over-tightening that compresses insulation; for down kits retain loft of at least 30% by keeping compression short-term only.
Redundancy and quick access: Secure dual straps with a locking half-hitch on each cam buckle to prevent gradual loosening on multi-day hikes. For fast access, add a short length of shock cord (2–3 mm) tied through the sac’s grab loop as a quick-release pull; lace it so a single tug frees the sac without re-threading straps.
Select anchor points and strap types for external bottom carry
Use two reinforced lower tie-in loops plus a third safety loop, secured with 25 mm low-stretch polyester cam straps 1.2–1.5 m long for stable external bottom carry of a rolled insulation kit.
Preferred anchor points
- Lower base tie-in webbing: primary fore/aft anchors; often sewn into the base panel and rated for high loads.
- Daisy-chain rows or ladderweb: route strap horizontally through two adjacent segments to create a locked loop and reduce rotation.
- Side compression straps (lower pair): act as secondary anchors and help clamp the roll against the pack base; use for cross-bracing.
- Hipbelt lash points or gear loops near the load shelf: use as a rear anchor when available; avoid using a single hipbelt buckle as the sole anchor.
- Internal lower strap anchors (internal lash points): when present, route straps through both external and internal points for redundancy.
Strap types, dimensions and ratings
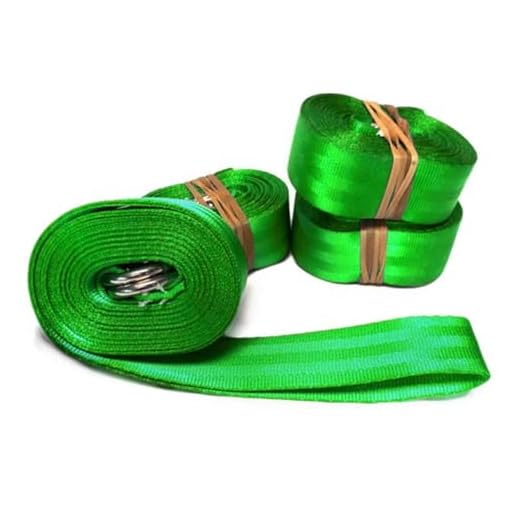
- General-purpose: 25 mm (1″) polyester webbing with metal cam buckle; length 1.2–1.5 m; working load rating ≥ 300 kg (prefer manufacturer-stated WLL).
- Ultralight setups: 15–20 mm nylon or polyester webbing with micro cam/aluminum cam; length 1.0–1.2 m; use only for lightweight rolls and test for slippage beforehand.
- Heavy-duty option: 38 mm (1.5″) polyester webbing with steel cam or ladderlock buckle for bulky, dense rolls or when securing multiple items together.
- Backup tether: 4–6 mm static cord or 6 mm tubelok with cordlock as a tertiary safety to prevent loss if primary buckles fail.
- Materials: polyester preferred for lower stretch and UV resistance; nylon acceptable but expect ~10–20% higher stretch under load.
- Number of straps: minimum two fore/aft straps spaced 20–35 cm apart; add a transverse strap or cradle for rotation control.
- Buckle choice: metal cam buckles hold tension without slipping; avoid relying solely on plastic side-release buckles for primary retention.
- Tail management: trim or coil excess webbing and secure with velcro strap or keeper to prevent flapping and snagging.
Routing tips: run straps through a lower tie point, under the roll, then back through the opposite point; cinch evenly, add a center safety loop under the roll, and place a thin foam pad between straps and outer fabric to protect insulation material and fabric coatings.
Fasten a sleep system under the rucksack with compression straps: step-by-step
Secure the rolled sleep system inside a compression sack, center it under the rucksack base, and lock it with two crosswise 25–30 mm (1–1.25″) straps plus a single fore–aft anti‑sway strap.
Step 1 – compress: use a 5–10 L compression sack; reduce diameter to 12–15 cm for minimal bounce. Close the sack’s roll-top, engage all compression loops, and orient seams toward the pack base to shed water.
Step 2 – position: place the cylinder directly under the pack’s load shelf, setback slightly so the top of the roll sits just behind the lower frame or internal stays; this pulls mass closer to the hips and reduces pendulum motion.
Step 3 – primary lashing: run two straps under the pack and over the roll in an X pattern. Thread strap A from left buckle under the roll to right buckle; thread strap B from right buckle under the roll to left buckle. Tighten until the roll compresses flat against the base and lateral movement stops.
Step 4 – anti‑sway lash: add a third strap lengthwise. Route it under the roll, clip or thread it into a lower lash point on the opposite side, and tension to eliminate fore/aft play while avoiding crushing insulation.
Step 5 – tension technique: pull each strap incrementally–10–15 mm tension pulls per side–alternating sides to keep the roll centered. Leave 8–12 cm tail and tuck excess into webbing slots or under the hipbelt to prevent snagging.
Step 6 – protection and weatherproofing: place a thin foam pad or a short plastic sheet between the roll and abrasive webbing; use an inner drybag or waterproof compression sack when expecting heavy rain.
Step 7 – verify: lift the rucksack by shoulder straps and rock it briskly for 10–15 seconds; re‑tension any strap showing movement. For long approaches, check lash tension after the first mile and periodically thereafter.
Further gear choices and travel kit recommendations at best luggage for tech travelers.
Use daisy chains, cord and knots to lash a bedroll to a rucksack
Recommendation: use 4 mm low-stretch cord (nylon 7-strand or braided polyester) at 2–3 m for a single compact roll; increase to 4–6 m for bulky quilts or double-lashing.
Route cord through two daisy-chain loops on opposite sides of the lower panel, keep the wrap close to the shell to avoid flapping. Begin lashing with a clove hitch on the lower loop, cross the cord over the roll, then take a second pass through the opposing loop to create a transverse cradle. Use a trucker’s hitch on the final pass to tension the lash; finish with two half hitches and a snug double overhand as a stopper.
For webbing rather than cord, splice or join with a water knot; for tubular cord joins, prefer a double fisherman’s. When working with slippery high–modulus line (Dyneema/UHMWPE), replace the trucker’s hitch with a constrictor or a round-turn + two half hitches and back up with an overhand knot to prevent slippage.
Protect the shell at pressure points with a 5–10 cm webbing pad or an old fleece strip under the cord. If daisy-chain loops are thin, avoid loading a single loop with the full weight; distribute across two adjacent loops or combine an ice-axe loop and bottom haul loop for load sharing.
Quick-release option: route a short length of 6 mm cord through the mid-loop, tie an overhand-on-a-bight to form a pull tab, and secure the tensioning tail with a slipped half hitch–fast access without retying the entire lash.
Store small dry items between the roll and external collar or in a lightweight organizer such as best umbrella stroller organizer clipped to an upper daisy loop for balanced weight distribution.
Waterproof externally carried bedrolls: dry-sack and cover setups
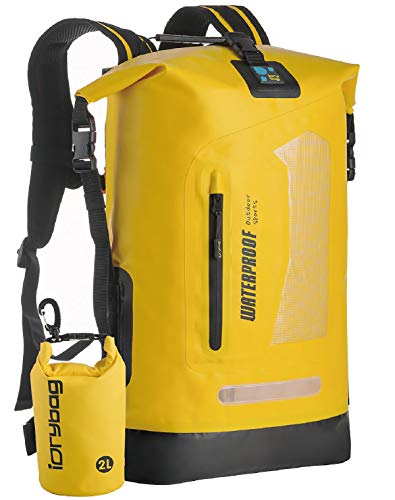
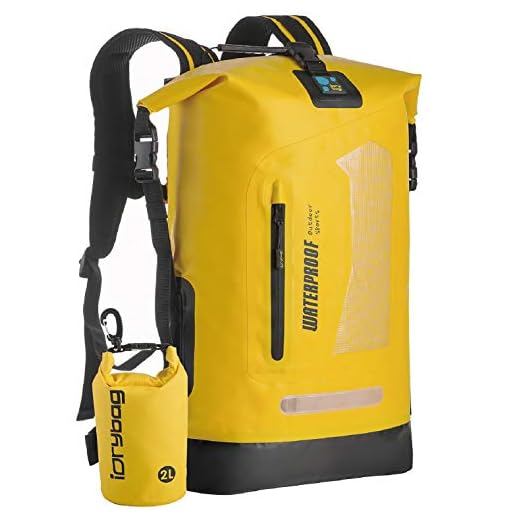
Use a two-layer system: a welded-seam dry-sack (20–30 L) for primary water barrier plus an abrasion-resistant outer cover (silnylon, Cordura, or PVC-coated nylon) for protection against punctures and seam wear.
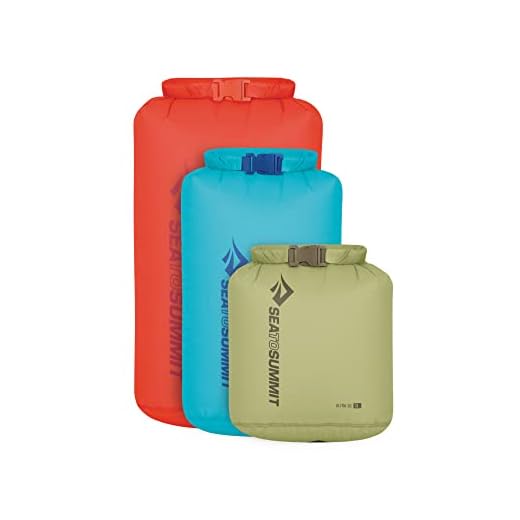
Dry-sack specifications: select TPU- or PU-laminated nylon with heat-welded seams, roll-top closure rolled at least 3 full turns, and a material weight that balances durability and mass (typical 20 L ultralight 80–150 g; heavy-duty 200–350 g). Avoid zippered “waterproof” sacks unless they have welded seams and a storm flap; roll-tops expel water better under splash conditions.
Outer cover options and placement: use a removable sleeve or full-length overcover sized to leave 5–10 cm of overlap past the dry-sack closure; stitch or tape internal baffling to prevent chafing against webbing and buckles. When carried under the pack, orient the rolled closure toward the pack’s rear or face-down to reduce direct spray into the closure area.
Abrasion and puncture mitigation: place a closed-cell foam shim or a sacrificed piece of Cordura between the dry-sack and hard points (buckles, frames, poles). Route any external cords or lash lines over that protective shim rather than across the dry-sack surface. Reinforce high-wear zones with tenacious tape or a sewn-on wear patch for multi-day trips.
Sealing, repairs and material care: treat sewn seams with a compatible seam sealer for PU-coated fabrics; carry a small tube of TPU-compatible adhesive for field repairs. After wet trips, dry the laminated liner inside out in shade; avoid high heat. For cleaning cookware and metal scrubbing tools taken on trips consult how to clean chainmail scrubber and use mild detergent for fabric rinses.
Condensation management: store insulated quilts or synthetic liners uncompressed overnight inside a breathable stuff-sack at camp when possible; compress only for transit. For prolonged exposure to rain consider doubling liners (one sealed dry-sack plus a breathable mesh liner) to preserve loft while minimizing trapped moisture.
Adjust load distribution and stabilize hipbelt after external placement
Set hipbelt to carry ~80% of total load mass, then tension load-lifters to create a 20–30° angle between webbing and torso.
Center hipbelt over the iliac crest so the padded wings sit on bone, not soft tissue. Close the hipbelt snugly until pressure is felt on hips, then tighten shoulder straps just enough to transfer most weight off shoulders; final shoulder tension should allow neck mobility and prevent shoulder straps digging in.
For external parcels under the main compartment, minimize pendulum by compressing the parcel close to the frame: keep the top edge within 0–5 cm of the pack base and limit protrusion beyond the shell to ≤10 cm. If the external item is heavier than 1.5–2.0 kg, relocate it into the main cavity or redistribute other items to balance.
Install a stabilizer strap through the hipbelt loop: route a 25–40 cm webbing strap under the belt and over the external parcel, then cinch. This creates a tether that prevents fore-aft swing and forces lateral load transfer to the hips. When possible, use two short straps on opposite sides to eliminate rotation.
Set compression straps firmly but avoid over-tightening: initial tension at ~50–70% of maximum (finger-pull resistance of ~15–25 N) keeps the parcel secure while allowing micro-adjustments on the trail. If foam pads or poles create gaps, insert thin shims or roll a thin layer of clothing to fill voids before final cinch.
On-trail tuning
Perform a 20–30 step trial and check for sway, shoulder strain, or hip pressure points. If sway occurs, increase stabilizer tension or add a cross strap between lower compression points. Re-evaluate after 500 m, steep climbs, or rough ground; small incremental retensions prevent hot spots and maintain the hipbelt’s load share.
Quick indicators of a balanced setup
Good: hipbelt carries most weight, shoulder straps lightly contour, external parcel stays flush with the pack body, no visible pendulum. Adjust if: parcel swings, shoulders bear >20% of load, or hipbelt slides down; redistribute mass or convert the external item to an internal load.
FAQ:
Can I attach a sleeping bag to the outside of my backpack?
Yes, many hikers attach a bag outside when internal space is limited. This works best for short trips or when the weather is dry. Protect the bag from dirt and abrasion by putting it in a sack or waterproof cover first. Place it low on the pack and close to the pack’s frame so it doesn’t swing. Secure it with the pack’s compression straps, accessory straps, or wide webbing and tighten firmly. Before leaving, walk around and bend to check that straps do not rub zippers or the hipbelt.
How do I attach a sleeping bag to the bottom of a pack so it won’t bounce while hiking?
Use a compact method to reduce movement. Put the bag into a compression sack or drybag and push air out to make it as small as possible. Lay the rolled sack on the pack’s rear lower shelf or on the bottom straps. Thread the lower compression straps through the sack’s lash points or around the sack itself; if the pack has a sleeping-bag compartment, slide it in there. Add a second strap across the middle of the sack and clip it to the opposite side of the pack or to the daisy chain points. Tighten all straps evenly until the sack is snug against the pack frame. Test by jogging a short distance and adjusting until bouncing stops. If the bag still shifts, add a short strap or cord from the sack to the hipbelt area to hold it close to your back.
Which types of straps or clips are best for securing a sleeping bag externally?
Wide nylon compression straps with quick-release buckles give strong, non-cutting hold and are a safe first choice. Webbing with cam buckles works well for a more permanent setup. Wide hook-and-loop straps are OK for short trips but can wear out. Use small locking carabiners only for attaching lightweight stuff to gear loops, not as the main compression method. Avoid thin cord that slices into fabric and avoid stretchy bungees for primary attachment because they allow movement. If you use a drybag, lash points on the sack make it much easier to secure with ordinary pack straps.
Will attaching a sleeping bag outside damage its insulation or shorten its life?
Exposing a bag to abrasion, dirt and wet conditions increases wear. Down is especially vulnerable to moisture and loses loft when soaked; synthetic insulation tolerates damp better but still compresses and can take longer to recover. Repeatedly carrying a bag tightly compressed for long periods may reduce loft over time. To limit harm, carry the bag in a protective sack or drybag, avoid dragging it on the ground, and avoid leaving it compressed for days at a time when possible. After a trip, air the bag and store it uncompressed at home so the insulation can recover. Regular cleaning following the manufacturer’s instructions also helps maintain performance.

