

Use lukewarm water (30–40°C), a mild pH-neutral detergent and a soft-bristle brush to remove surface grime; limit full immersion to 15–30 minutes and rinse until suds disappear.
Empty all compartments, unzip pockets and shake out loose dirt. Detach removable straps, foam back panels and metal hardware where possible; wipe metal with a damp cloth to prevent rust transfer. Let dried mud dry fully and then brush off with a stiff brush before applying moisture.
For machine laundering, enclose the item in a pillowcase or mesh laundry bag and run a gentle cycle with cold water (≤30°C) and mild detergent; skip bleach and fabric softeners. Dry by hanging or laying flat away from direct sun; avoid tumble drying and high heat which shrink fabric and degrade coatings.
Spot-treatment recipes: oil/grease – apply a few drops of dishwashing liquid, rub gently with a soft cloth, wait 5–10 minutes, then rinse; ink – dab isopropyl alcohol on a cotton swab, test a hidden area first; mildew – mix 1 part white vinegar with 4 parts water, apply for 10–15 minutes, then rinse. For stubborn soil make a paste of baking soda and water, work in gently and brush out when dry.
To restore water repellency, warm a bar of beeswax and rub thinly in small sections, then heat with a hair dryer or warm iron through a cloth to set. Alternatively use a spray-on DWR product labeled for natural fibers; follow manufacturer directions and reapply after heavy laundering (around every 6–12 months depending on use).
Store fully dry in a breathable bag in a cool, dry place; check seams and zipper sliders periodically. Lubricate zippers with paraffin wax or silicone lubricant and avoid prolonged contact with leather or colored plastics that can transfer dye.
Spot-test fabric and hardware before treatment
Test a hidden seam with a diluted soap solution (1 tsp mild liquid soap per 250 mL warm water) before any treatment.
Prepare: small bowl, 70% isopropyl alcohol, white cotton cloths, cotton swabs, dropper, measuring spoon, stopwatch or timer, soft-bristled brush.
Fabric inspection and spot-check
- Choose an inconspicuous area: inside seam, under a flap or along the hem.
- Dip a cotton swab in the soap solution; apply a pea-sized amount and rub gently for 10 seconds.
- Blot immediately with a dry white cloth for 5 seconds; inspect cloth for dye transfer. Any visible color means water-based methods may cause bleeding.
- For water-repellency, place five 2–3 mm droplets on the same area and observe for 30 seconds: beads = coating present; rapid absorption = no repellent finish.
- To check shrinkage or texture change, lightly dampen (don’t saturate) a 1 cm² fold and air-dry 1–2 hours; compare feel and dimensions to adjacent fabric. Noticeable stiffness or puckering indicates sensitivity to wetting.
Hardware and trim check
- Zippers: open/close several times, then apply a damp cotton swab to teeth and slider; watch for flaking or loss of finish. Sticky motion or metal dust means corrosion or plating wear.
- Coated metal, painted or plated pieces: rub a swab moistened with 70% isopropyl alcohol for 10 seconds on the underside or back. If finish dulls or color transfers to the swab, avoid solvent-based treatments on that part.
- Plastic buckles: inspect for hairline cracks; apply alcohol to a hidden edge to check for crazing after 5 minutes.
- Leather or synthetic trim: use a 50:50 water/soap swab on an interior fold; blot dry and re-evaluate after 24 hours for darkening, stiffness or surface tackiness.
- Stitching and adhesives: wet a thread tip and tug lightly. If thread weakens, or glued trims lift after drying, avoid aggressive soaking or mechanical scrubbing.
Quick decision guide: visible dye transfer → avoid wet washing; beads on water → safe for light surface treatment; hardware finish changes with alcohol → restrict to mild, water-based care or protect/remove hardware before treating.
Removing surface dirt and dry debris by brushing and vacuuming
Use a soft natural-bristle brush and a vacuum set to low suction to lift loose grit and dust without wetting the material.
Tools
- Soft horsehair or boar-bristle brush for large panels
- Old toothbrush or small nylon brush for seams and zipper teeth
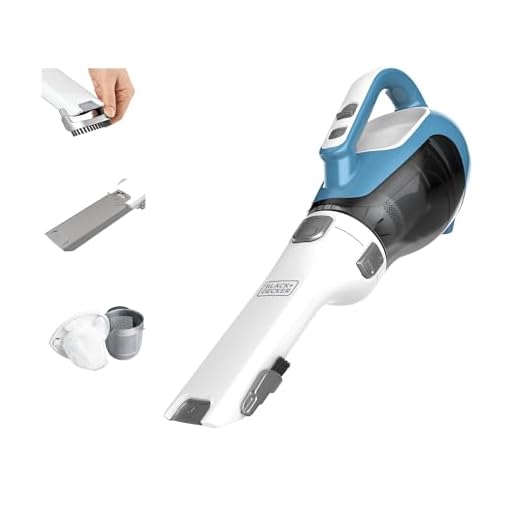
- Handheld vacuum or upright with adjustable suction and an upholstery/brush attachment
- Crevice tool for pockets, corners and straps
- Lint roller or tape for fine dust and pet hair
- Small soft cloth to protect leather tabs or metal fittings during vacuuming
Step-by-step
- Empty the pack completely: remove inserts, detachable pouches and loose items from pockets.
- Turn the item inside out and shake briskly outdoors to release crumbs and large particles; tap seams and corners with the palm to dislodge trapped debris.
- Brush exterior panels from top to bottom using short, overlapping strokes at roughly a 45° angle to the weave; aim for 8–20 passes per square section depending on how dirty it is.
- Switch to the small brush for zipper tracks, stitching channels and tight seams; hold the zipper open while brushing to expose the track and remove lodged grit.
- Vacuum with the upholstery attachment on low suction. Keep the nozzle 1–2 cm from the surface for delicate areas; move slowly (about 5–10 cm per second) to allow the suction to capture loosened particles.
- Use the crevice tool inside pockets, along piping and in corners; insert the tool at an angle and pull outward to avoid forcing dust deeper into seams.
- Protect leather or metal details by placing a folded soft cloth over them before applying the vacuum head, or maintain a distance of 5–10 cm and use the brush attachment only.
- For fine dust or hair left behind, roll a lint roller across panels and in pockets; repeat vacuuming if sand or grit persists.
- Empty the vacuum canister or change the bag immediately after the operation to prevent redepositing debris next time.
Frequency: shake and brush after sandy or muddy outings; perform a full brush-and-vac session weekly for regular use or monthly for infrequent use.
Removing grease, oil and food stains from heavy cotton gear
Act immediately: cover the stained area with 1–2 tablespoons of cornstarch or baking soda per square inch, let sit 15–30 minutes to absorb oil, then scrape away excess with a dull knife or plastic card.
Step-by-step stain-lift routine
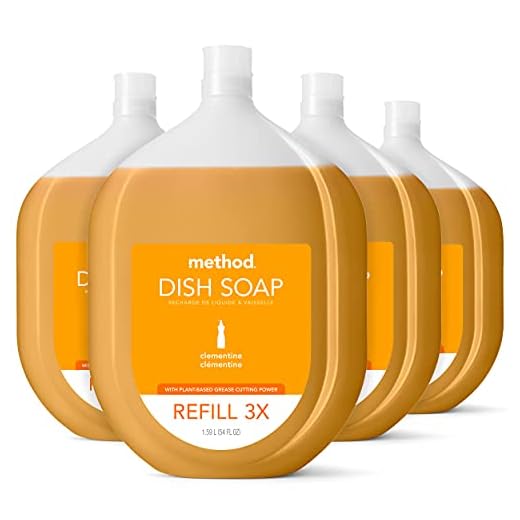
For fresh oily marks: brush off excess powder, mix 1 tsp grease-cutting liquid dish soap with 250 ml warm water (about 35–40°C / 95–104°F), apply a few drops to the stain, work gently with a soft toothbrush from the edge toward the center, leave 10 minutes, blot with a clean damp microfiber cloth and repeat up to three cycles.
For sauces and protein-based food: make a paste of enzyme laundry detergent and a little water (ratio roughly 2:1 detergent:water), apply a thin layer, let sit 15–20 minutes, rinse with lukewarm water and launder as usual.
For set or heavy petroleum grease (motor oil, thick lubricants): dab 70% isopropyl alcohol onto the mark using a white cloth, blot (do not rub hard), then apply dish soap solution and follow the dish-soap routine. If oil persists, consider professional solvent cleaning.
Post-treatment and drying
Rinse treated area thoroughly with cool running water until suds are gone. Machine wash on a gentle cycle at warm temperature if the item’s care label allows; use liquid detergent with enzymes. Do not tumble dry until the stain is fully gone – heat can set remaining oil. Air-dry flat or hang to dry in shade.
| Stain type | Immediate action | Treatment | Dwell time | Final step |
|---|---|---|---|---|
| Light cooking oil | Absorb with cornstarch/baking soda | Dish soap solution (1 tsp/250 ml) | 10 min | Rinse, launder warm, air-dry |
| Greasy sauce (mayonnaise, gravy) | Blot excess, absorb powder | Enzyme detergent paste | 15–20 min | Rinse, launder, air-dry |
| Butter/cheese | Scrape solids, absorb | Dish soap then enzyme paste if needed | 10–20 min total | Rinse, launder, avoid dryer until stain gone |
| Motor oil / heavy lubricants | Absorb, scrape excess | Isopropyl alcohol dab + dish soap; pro solvent for persistent | Alcohol: blot immediately; follow-up 10 min | Rinse, consider professional solvent service if still stained |
Removing ink, marker and dye stains safely
Blot fresh ink immediately with white paper towel or an absorbent cloth; do not rub; place a fresh paper layer underneath the stained spot and work from the fabric edge toward the center to prevent spreading.
For ballpoint and water‑based markers: apply 70% isopropyl alcohol on a cotton swab or microfiber square, dab repeatedly until pigment transfers to the applicator, switch to a clean swab as it darkens, then rinse with cold water and launder per the care label.
For permanent marker or dye transfer on synthetic fibers: use acetone (nail‑polish remover with acetone) very sparingly on a cotton swab for up to 5–10 seconds, blot immediately; avoid coated trims, printed logos, leather, rubberized finishes and metal hardware; discontinue if surface change appears.
For hair dye and strong fabric dye stains: dissolve 1 tablespoon sodium percarbonate (oxygen bleach) in 1 liter of warm water and soak the affected area 20–60 minutes, stirring or agitating every 10 minutes; rinse thoroughly. For milder transfers, use 1/2 cup white vinegar in 1 gallon of warm water and soak 15–30 minutes.
For deeply set ink: mix 1 cup lukewarm water + 2 tablespoons 3% hydrogen peroxide + 1 teaspoon mild liquid detergent; apply with a soft‑bristle brush, let sit 8–12 minutes, agitate gently, blot and rinse. Expect possible lightening on highly saturated dyes.
Small marks on straps, plastic hardware or painted accents respond well to a damp melamine sponge or a cotton ball with a small amount of isopropyl alcohol; rub in short strokes and avoid prolonged action near seams or bonded areas.
Air‑dry away from direct heat and sunlight; inspect the treated area before running a full wash cycle; limit repeated aggressive treatments to one or two attempts to reduce risk of fiber or dye damage.
Hand-wash or machine-wash a heavy‑duck daypack without damage
Recommendation: Wash in cold water (≤30°C / 85°F) with a mild liquid detergent, using the gentlest mechanical action available; treat waxed, heavily coated or leather‑trimmed items by hand only.
Preparation: empty all pockets, remove inserts, frames and detachable straps, unzip and fasten small closures, turn the item inside out, and brush loose debris. Detach leather pieces when possible; metal hardware should be wiped dry before laundering to limit corrosion.
Hand‑laundering method: fill a basin with cold water, add 15 mL (1 tbsp) of mild detergent per 4 L, submerge and soak 10–15 minutes, then agitate gently with hands or a soft brush only on soiled zones. Rinse in several cold water changes until suds disappear. Press water out using a towel – do not wring – and reshape while damp.
Machine‑laundering method: use a front‑loading washer or a top loader without an agitator. Place the item in a mesh laundry bag or a zipped pillowcase, close zips and fasten buckles, remove rigid frames, and run a delicate/gentle cycle in cold water. Use 25–50% of a normal detergent dose (or one teaspoon for HE machines) and set spin to low (about 400–600 rpm). Add one or two medium towels to balance the load. Remove immediately at cycle end and reshape.
Waxed or water‑resistant treatments: do not use machine wash or standard detergents on waxed/impregnated fabric; spot‑wash with a damp cloth and mild soap, let air dry, then refresh repellency with a specific reproofing wax or spray following manufacturer instructions.
Leather and trims: avoid immersion. Wipe leather with a damp cloth, treat with a leather conditioner after drying, and keep leather components away from prolonged sun and heat during drying.
Fasteners and hardware: dry metal parts thoroughly after washing; apply a small amount of paraffin, beeswax or zipper lubricant to sliders. For minor surface rust, rub with a lightly oiled cloth once dry.
Drying and reshaping: air dry in shade on a flat surface or hung from a broad hanger to prevent distortion; stuff compartments with towels to preserve form. Typical drying time 12–48 hours depending on humidity; avoid tumble drying and direct heat sources.
Post‑wash finishing: inspect water repellency and reapply treatment if water beads poorly. Store completely dry in a ventilated area. For coverage of valuable outdoor gear consider best umbrella insurance state farm, and for yard areas where drying or airing occurs see best cordless lawn mowers for small yards.
Drying, Reshaping, and Restoring Water Repellency After Washing
Drying and reshaping
Blot excess moisture immediately with thick absorbent towels; press firmly into pockets and seams, rotate towels every 10–15 minutes until dripping stops.
Lay the item flat on a drying rack or clean surface, insert rolled towels or a shaped form (cardboard or thin board for the base) to restore volume and prevent sagging; avoid hanging by straps while wet to prevent distortion.
Open all pockets and fasten closures to preserve original alignment of flaps and seams. Mold shoulder straps into their natural curve and smooth folds with your hands before the fabric sets.
Dry indoors out of direct sunlight at ambient temperatures between 15–25°C (59–77°F) with a fan for air circulation; expect 8–48 hours depending on thickness and humidity. To speed drying and reactivate polymer repellents, tumble-dry on low for 10–20 minutes only if the care label permits–set dryer to no higher than 40–50°C (104–122°F).
For items with leather trim: let the textile core dry completely (24+ hours) before applying a leather conditioner. Do not heat leather directly; condition when the trim is room-temperature and dry.
Restoring water repellency
For factory-applied water-repellent coatings, use a wash-in or spray-on reproof product made for technical outer fabrics. Wash-in treatments are applied to damp material and usually require low-heat tumble-drying (10–20 minutes) to activate; spray treatments are applied to the outer face, excess removed with a soft brush or cloth, and left to dry and cure per label.
For waxed cotton or wax-coated fabrics, reproof only when the item is fully dry. Apply a thin, even layer of paste wax with a clean cloth or sponge, then warm the surface gently with a hair dryer on low or an iron on the lowest setting through a cotton cloth to melt the wax into the weave. Avoid direct flames and temperatures above ~60°C (140°F); allow the wax to set 12–24 hours and buff off excess.
Water-bead test: place a 5–10 ml droplet on the outer surface–if it beads and sits for 30–60 seconds, repellency is adequate; if the droplet soaks in within a few seconds, reproof. Typical maintenance cadence: after 5–10 wash cycles or every 6–12 months with regular outdoor use.
Hardware care: after drying, lubricate metal zippers with paraffin candle wax or a dry silicone lubricant rather than oil-based products that can stain fibers. Clean dirt from buckles and sliders before applying any lubricant.
Safety notes: test any reproofing product on an inconspicuous spot first; do not use solvent-based waxes on polymer-coated textiles; avoid overheating (no direct ironing of synthetic coatings) and keep all heat sources moving to prevent hot spots.


