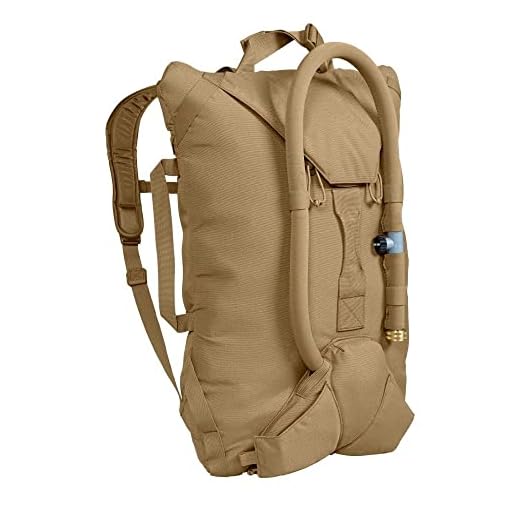


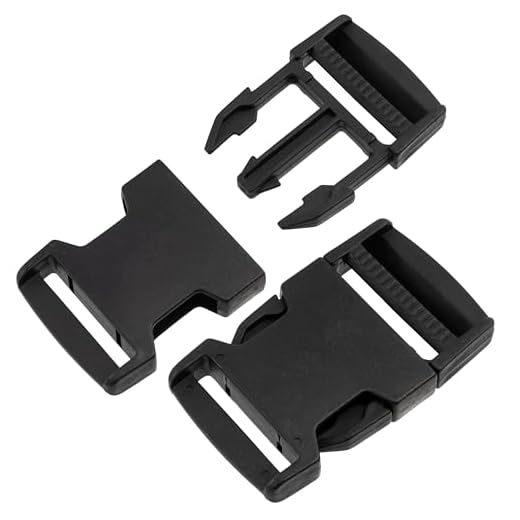
Preparation: Empty every pocket, unzip all compartments, detach hipbelt, lid and internal frame sheet if possible, stow small parts in a mesh bag. Brush off dried mud and grit outside before introducing water; grit left inside zips and fabric abrades fibers during washing.
Washing method: Fill a tub with lukewarm water and the measured detergent. Agitate by hand for 3–5 minutes, then use a soft brush or old toothbrush on high-contact areas (shoulder straps, hipbelt, backpanel, base). For heavy soiling, apply a 1:5 diluted soap solution directly to stains, work gently, then submerge and swish. Do not use bleach, solvent-based cleaners or fabric softeners.
Rinsing and drying: Rinse repeatedly until no suds remain – typically 3–5 water changes. Gently press out excess water; avoid wringing or twisting structural components. Hang the pack upside down with zips open in shaded, well-ventilated space; expected full dry time 12–48 hours depending on humidity. Do not tumble-dry or expose to direct heat sources above 30°C (86°F).
Hydration reservoir and small parts: Flush bladders with warm water and 1 tbsp baking soda per 1 L or use commercial reservoir cleaning tablets per package directions. Brush drinking tube with a small brush, dry reservoir clipped open on a hanger, store dry and slightly open to prevent mildew.
Aftercare and maintenance: Reapply a PFC-free DWR spray to the outer fabric when water no longer beads (follow product label). Inspect seams, webbing and buckles for wear; replace frayed straps or worn hardware promptly. For seam-tape failures, use a recommended seam sealer or professional repair service. Store the pack in a cool, dry place out of direct sunlight.
Avoid machine washing, tumble drying, bleach, and high-heat treatments; regular light washing after muddy or salty trips and a deep wash every 3–6 months preserves performance and extends service life.
Washing protocol for technical hiking packs
Remove detachable suspension pieces (hipbelt, sternum strap, reservoir) and launder removable textile items on a gentle front-load cycle at 30°C using 10 mL mild, non-enzymatic detergent per 5 L of drum capacity; secure all zippers and empty pockets before running the cycle.
For the main body and fixed harness, perform a manual soak in lukewarm water (20–30°C) for 10–15 minutes with 5 mL/l detergent, agitate by hand, then use a soft brush to agitate high-soil zones; avoid submerging frames, foam inserts or leather trim for prolonged periods.
Oily or grease stains: apply a 1:5 solution of grease-cutting dish soap to water, work the spot with a soft-bristle brush, rinse until suds clear. For persistent discoloration use an oxygen-based stain remover following manufacturer’s dilution and test on an inconspicuous seam first.
Hydration reservoir maintenance: clean with a reservoir brush kit and soak in warm water containing 1 tbsp (15 g) baking soda per litre for 30 minutes, then flush thoroughly. If odor persists, dissolve two denture-cleaning tablets in warm water for 20 minutes, scrub, then rinse until taste-free.
Zipper and hardware care: rinse with fresh water to remove grit, brush teeth with a toothbrush, then apply a small amount of silicone-based zipper lubricant and cycle the slider 8–12 times. Do not use petroleum-based oils on webbing or seam tape.
Drying and storage: hang the main compartment upside down with the lid open and a towel inside to keep the mouth open; expect 12–48 hours to reach full dryness depending on ambient RH and temperature. Dry hydration reservoirs on a hanger with the bite valve open. Store packed loosely in a cool, ventilated location away from direct sunlight.
Inspection and repair: check all stitching, webbing and buckles after laundering. Replace cracked buckles and reinforce worn stitchlines with gear-repair tape or send to an authorized repair center for structural repairs. Reapply a water-repellent spray (DWR) to exterior fabric per product label if water no longer beads; allow full cure before storage.
| Component | Method | Max temp | Detergent / treatment | Drying |
|---|---|---|---|---|
| Main body (fixed) | Hand-soak + soft brush | 30°C | Mild non-enzymatic detergent | Air-dry inside-out, 12–48 h |
| Detachable textile parts | Machine gentle cycle | 30°C | Mild non-enzymatic detergent | Air-dry; do not tumble |
| Hydration reservoir | Brush + baking soda soak; denture tablets if needed | Warm (≤40°C) | Baking soda or specialized tablets | Hang open to dry |
| Zippers & buckles | Rinse, brush, lubricate | Ambient | Silicone zipper lubricant | Air-dry |
| Foam/mesh inserts | Spot-wash with minimal water | 30°C | Mild detergent | Air-dry fully before reassembly |
Empty the pack and remove hipbelt, reservoir, and detachable parts
Remove every item from all pockets and compartments, empty hipbelt pockets, unzip the main compartment fully and shake out grit and debris over a trash bin or outdoors; keep small items together in a labeled pouch to avoid loss.
Hydration reservoir
Disconnect the bite valve from the hose or use the quick‑disconnect fitting; unscrew or unclip the reservoir cap and tip the bladder to drain remaining liquid. Squeeze the reservoir from the bottom toward the opening to expel trapped water, then fold/roll it loosely with the opening facing out to prevent creasing. Detach the hose and bite valve if possible and place all parts on a clean surface or hang the bladder mouthpiece‑down for 8–24 hours to dry completely before storage.
Hipbelt, lid and removable modules
Release hipbelt attachment points by pressing the pull tabs or undoing the Velcro/slide rails; if the belt is bolted on, remove the bolts with the appropriate hex or Torx driver and place hardware in a sealed bag. Unclip and remove the lid/brain, sternum strap, and any zip‑off pockets or tool sleeves; label each item with masking tape or a photo showing orientation to simplify reassembly. Inspect snaps, buckles and rails for wear and keep all small fasteners together in one container while work continues.
Before proceeding with any soaking or washing, check sewn attachment points, framesheet slots and zipper tapes for damage and straighten zippers so separated pieces reattach smoothly later.
Pre-treat stains and localized grime on nylon, mesh, and foam
Mix 1 tsp (5 mL) mild liquid soap per 250 mL warm water in a spray bottle; apply to a spot, let sit 2–5 minutes, agitate with a soft-bristled toothbrush from the stain edges toward the center for 30–60 seconds, then blot with a microfiber cloth.
Nylon panels: For grease, place a paper towel under the stain, apply a drop of dish soap directly, massage gently with a toothbrush, then lift residue with a damp cloth. For protein stains (sweat, blood) use cool water and an enzymatic detergent diluted to the same ratio; avoid hot water. For ink or dye transfer, test 70% isopropyl alcohol on an inconspicuous area, then dab with a cotton swab; follow immediately with the soap rinse to remove solvent residue.
Mesh areas: Allow mud to dry and brush off loose grit with a soft brush. For embedded dirt, spray the soap solution, scrub gently with a toothbrush or nylon brush along the weave, then flush with a damp cloth. Use a toothpick or tweezers to extract trapped seeds or grit from large mesh openings.
Foam padding and straps: Avoid soaking. Apply the soap solution to a sponge, work the surface with light pressure, and blot repeatedly with dry towels to remove moisture. For mildew or persistent odors, dissolve 1 tablespoon (≈15 g) sodium percarbonate per 1 L warm water, apply with a cloth for 10–15 minutes, then blot and air dry completely. Do not use chlorine bleach or direct heat on foam.
Stubborn oil, tar or adhesive: Test a small solvent spot first. Use a dab of isopropyl alcohol (70%) or commercial citrus degreaser applied with a cotton swab, lift softened material with a plastic scraper, then treat the area with the soap solution and blot dry.
Zippers and trims: Remove grime with a cotton swab dipped in the soap mix or isopropyl alcohol for sticky residues; move the slider back and forth while clearing teeth. After surface is dry, apply a thin film of silicone zipper lubricant or paraffin wax to improve function.
Test any product on a hidden patch and wait 10 minutes to confirm colorfastness; avoid aggressive scrubbing that can abrade coatings or thin technical fabrics.
Machine-wash steps for models labeled machine-safe
Machine settings
Set a front-loading washer to a gentle or delicate cycle, temperature no higher than 30°C (86°F), low spin (≤800 rpm), and enable an extra rinse. Use a liquid, non-enzymatic detergent (15–25 ml per standard load); omit bleach, oxy agents and fabric softener. Place the item inside a large mesh laundry bag or a tied pillowcase to protect webbing, buckles and fabric; wash alone or with one or two medium towels for cushioning.
Loading, hardware protection and wash specifics
Fasten zippers, secure loose straps with small elastic bands or tape to prevent snagging, and close external pockets. Clip any external compression straps so hardware sits flat. Select a short cycle (30–45 minutes) with gentle agitation and two rinse cycles when available. For persistent odor, add 120–240 ml white vinegar to the rinse compartment instead of additional detergent; do not use deodorizing sprays inside fabric before machine use.
After the cycle ends, remove the item immediately, unzip and open all pockets and ventilation channels to promote airflow. Reshape frames and suspend from shoulder straps or frame in a shaded, well-ventilated area; typical air-dry time is 12–48 hours depending on foam and weather. Avoid tumble dryers, radiators, direct sunlight and heat guns; if accelerated drying is required, use a low-flow fan. Check foam padding and internal channels for retained moisture and gently squeeze trapped water from foam sections.
If water-repellent finish seems reduced, apply a manufacturer-compatible DWR treatment (wash-in or spray-on) after full drying, following the product label. Inspect seams, stitching and plastic hardware for damage; repair loose threads or split webbing before next use. For unrelated equipment guides, see best aquarium co2 regulator.
Hand-wash method for framed packs and delicate panels
Mix lukewarm water (30–35°C) with a mild non-ionic liquid detergent or a dedicated gear wash (recommendation: 5 mL per 1 L of water) in a basin of 10–20 L capacity; avoid powders, bleach, and fabric softeners.
Lay the framed unit on a padded table or clean floor with panel side up; leave internal frame in place unless the manufacturer’s manual specifies removal, and keep all zippers closed to protect teeth and sliders.
Work in 60–90 cm sections. Apply soapy solution with a soft sponge using gentle circular motions for 2–4 minutes per section on delicate fabric panels and mesh; use a soft-bristled toothbrush only along sewn seams and high-friction contact points for up to 1 minute per seam. Do not use abrasive brushes or rotary scrubbing.
For foam-backed or molded panels, avoid soaking more than 3–5 minutes. Blot excess water with a microfiber towel and press (do not wring) to expel trapped moisture; repeat blotting twice. For stain removal on coated fabrics, test a 1:10 diluted detergent on an inconspicuous spot first.
Rinse with fresh lukewarm water using a low-pressure spray or multiple pour-and-dip cycles until no suds remain (typically 2–3 full rinses). Allow panels to drain for 10–20 minutes on an inclined surface, re-blotting foam and mesh areas to accelerate water removal.
Air-dry in shade with good airflow: hang on a wide padded hanger or a torso-shaped form so straps and hipbelt maintain shape; expect 12–36 hours depending on humidity. Do not tumble dry, expose to direct sunlight, or place near radiators above 40°C; prolonged heat can delaminate coatings and warp frames.
Wipe exposed metal components and zippers with a dry cloth; if corrosion risk exists, apply a single light film of corrosion inhibitor (2–3 drops) to exposed rivets and pivot points, then wipe off excess. Store the unit uncompressed and dry.
For on-the-trail protection of wet gear during drying outside, consider a compact shelter such as a best foldable umbrella singapore tucked into a side pocket while airing.
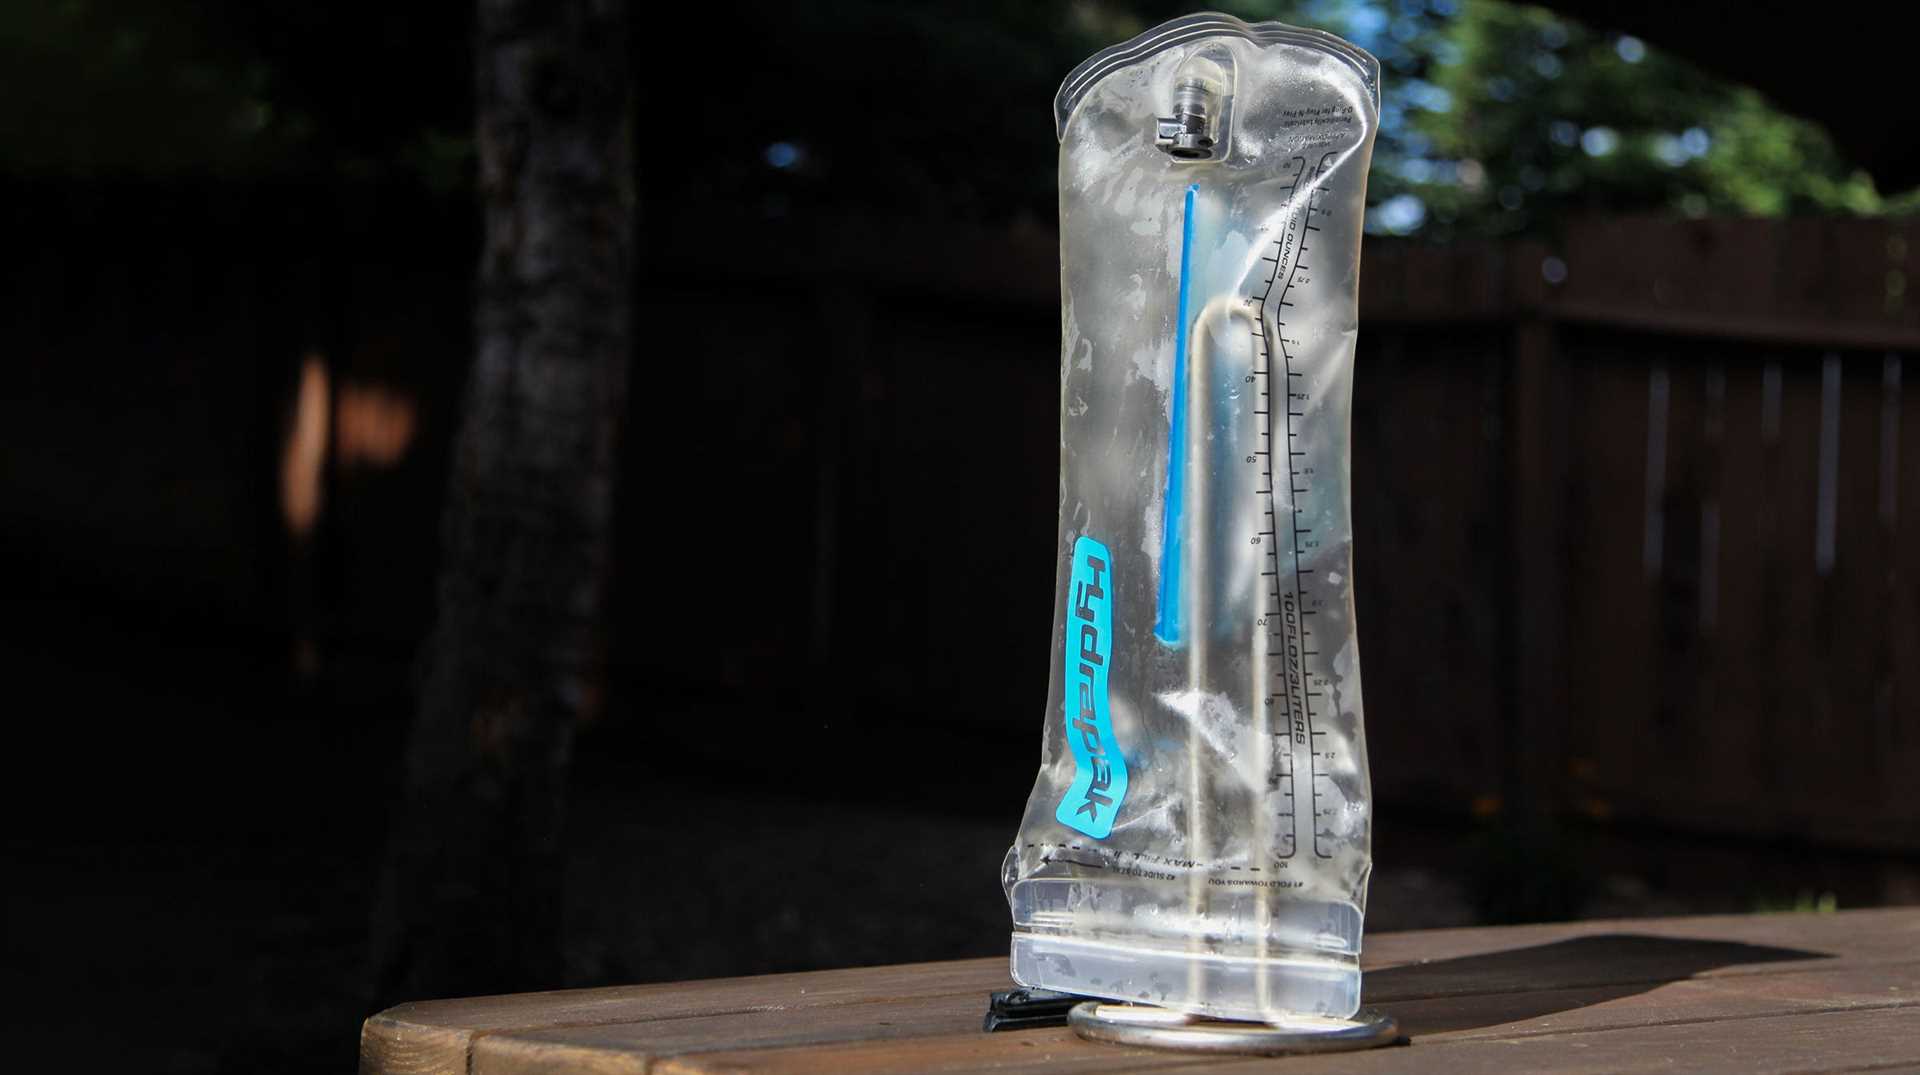
Disassemble, wash, and sanitize the hydration reservoir and tubing
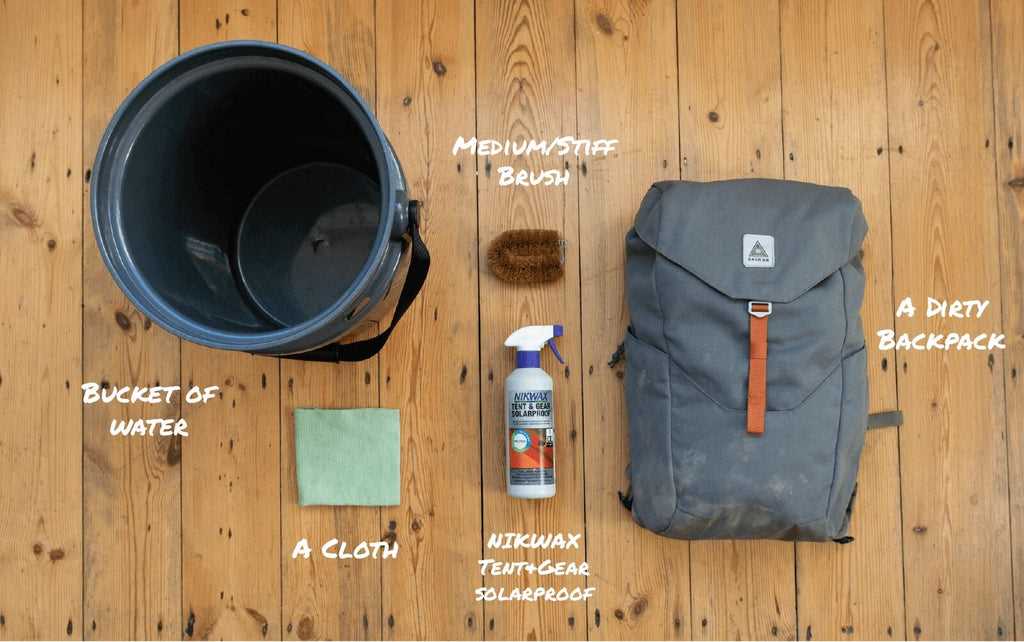
Immediately disconnect the reservoir from the hose, remove the bite valve and quick‑disconnect fittings, and set parts on a lint‑free surface before any washing or soaking.
Step-by-step mechanical rinse and scrub
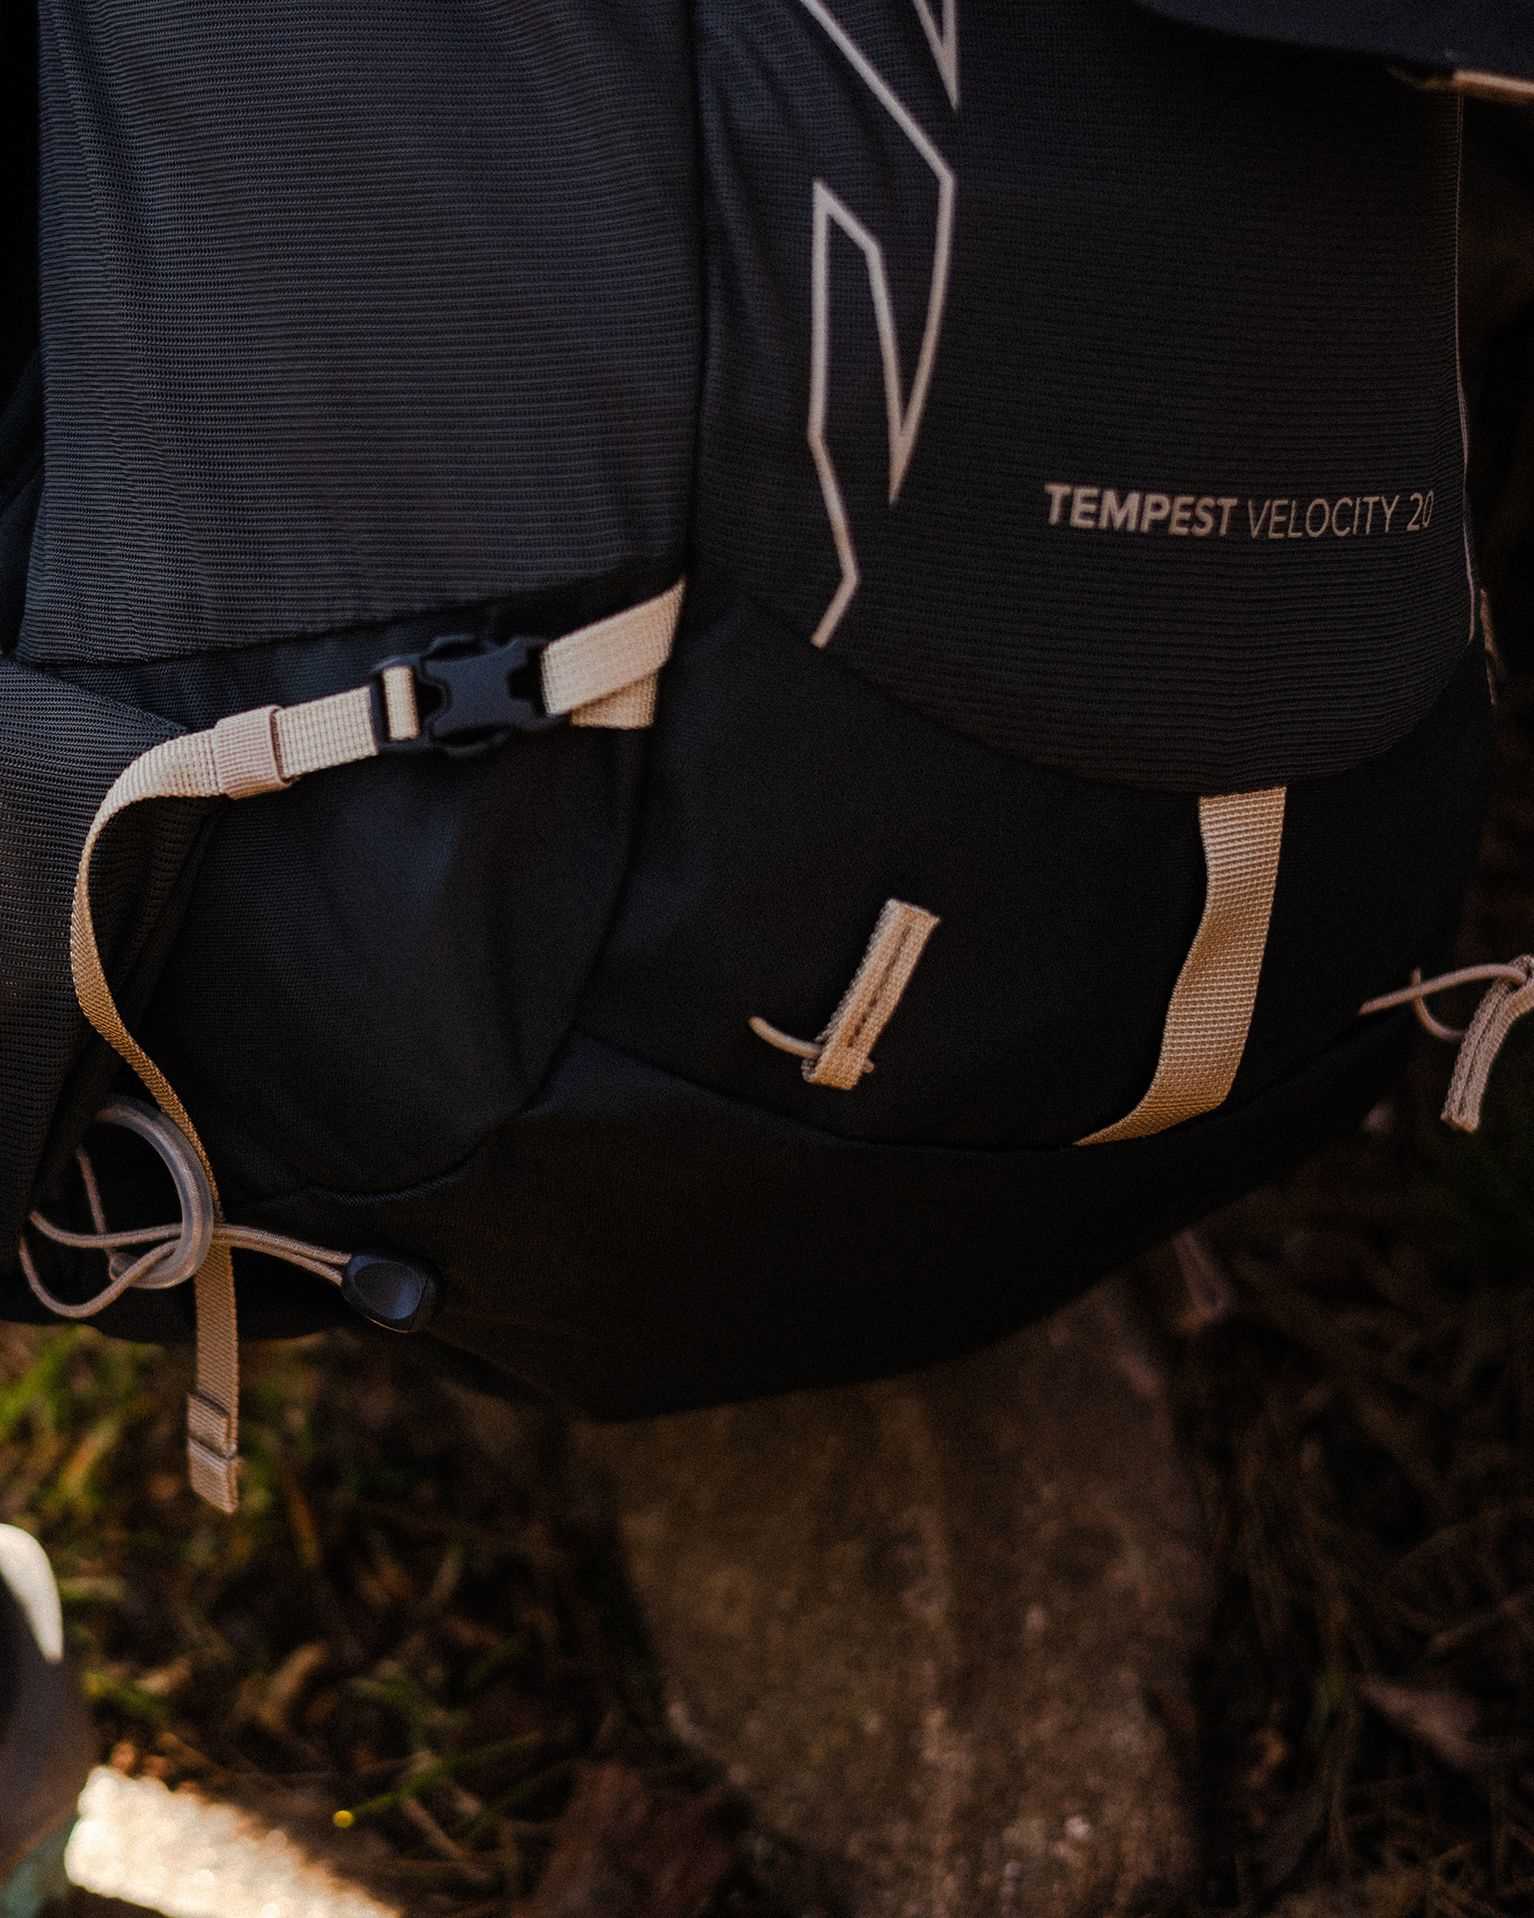
- Rinse: Flush reservoir and hose with warm water (40–45°C / 104–113°F) to remove loose debris; do not exceed ~50°C to avoid warping thermoplastics.
- Brush kit: Use a long reservoir brush plus a flexible hose brush (60–90 cm length, 5–8 mm bristle diameter). Insert hose brush from the reservoir end, push and pull 6–10 times; rotate the reservoir brush inside the pouch opening and corners for 20–30 seconds per quadrant.
- Bite valve: Take apart two‑piece valves where applicable and scrub internal surfaces with a small valve brush or narrow bottle brush; inspect for mold in the valve port and clamp grooves.
- Inspect seals: Check O‑rings, gaskets and quick‑disconnect seals for cracks or distortion; replace any compromised pieces before reuse.
Sanitizing options (choose one)
-
3% hydrogen peroxide: Fill reservoir and tubing with undiluted 3% H2O2, allow to sit 20–30 minutes, agitate, then flush and rinse 3 times with potable water. Effective against biofilm and safe for plastics.
-
White vinegar: Mix 1:1 white distilled vinegar and warm water, fill system, run through hose, soak 60–120 minutes (overnight for strong odors). Follow with a baking soda rinse (1 tbsp baking soda per 1 L water) to neutralize residual acid, then rinse thoroughly.
-
Commercial reservoir tablets: Use manufacturer‑recommended cleaning tablets or effervescent disinfectants; follow tablet dosing and contact time printed on the packet, then rinse until no suds remain.
-
Household bleach (only if label permits): Prepare a dilute solution using unscented household bleach (5–6% sodium hypochlorite) per the product label for potable‑water container disinfection; do not mix with vinegar or peroxide. Soak briefly (5–15 minutes), then rinse at least three times.
Safety: wear gloves with bleach, avoid mixing sanitizers, and keep the area ventilated.
- Odor removal: For persistent smells, repeat a vinegar soak then air dry with a baking‑soda rinse; replace valves if odor remains after two cycles.
- Drying: Prop the reservoir open with a clean dish rack or purpose‑made hanger, hang vertically with hose dangling to drain, and leave in a warm, ventilated spot for 12–48 hours until fully dry inside. Insert a clean paper towel or drying insert to keep the reservoir mouth open if needed.
- Final assembly and leak check: Reinstall O‑rings lightly lubricated with food‑grade silicone grease, reconnect hose and valve, fill to working volume and squeeze to check all joints for leaks for 60 seconds; correct or replace any leaking components.
Proper drying, reshaping, and reattaching straps, buckles, and padding
Hang the pack by the top haul loop with the main compartment open, straps unclipped and hip belt removed; allow 12–48 hours of unobstructed airflow, accelerating drying with a fan or dehumidifier. Avoid tumble-drying and exposure to direct sunlight or heat sources that exceed 60°C (140°F).
Drying and reshaping
Position the pack so the back panel faces the strongest airflow; clip shoulder straps to the shoulder strap hang points to keep them spread and untwisted. For molded foam panels, press them gently back into their pockets while still slightly damp so they set to original contour; for flat foam, lay padding on a breathable towel, change towel once it becomes moist, and flip padding every 4–6 hours. Use cardboard or a rolled towel placed inside the main cavity to preserve the bag’s silhouette while it dries.
For frames: check metal or composite stays for corrosion or warping after drying. If a removable internal frame has shifted, slide it back into its sleeve with the curve matching the lumbar curve; fasten any internal straps before final drying so the pack retains intended geometry.
Reattaching straps, buckles and padding
Verify orientation before threading: male buckle tongues should point away from the pack body and female receivers toward the load-bearing surface. Feed webbing through ladder locks so the running end goes under the bottom opening, across the center bar, then back through the top opening; smooth the strap so it lies flat and free of twists. Leave an initial tail of 10–15 cm (4–6 in) for adjustment.
Secure cut webbing ends by melting 2–3 mm with a flame or sealing with textile fray-stop; press the melted edge flat with pliers or a metal tool. Replace snapped or cracked buckles with the same webbing width (commonly 20 mm, 25 mm or 38 mm). Use replacement buckles made from acetal or reinforced nylon for comparable strength.
For padding attached with hook-and-loop, align mating surfaces precisely and press for 15–30 seconds with firm pressure; re-stitch pads that were originally sewn using bonded nylon or polyester thread and a box-X or bar-tack pattern at anchor points. When using adhesive for foam-to-fabric repairs, select a contact cement formulated for flexible materials, apply thin even coats, tack for the recommended time on the product label, then clamp or weight for 12–24 hours at room temperature.
Perform a functional check before full use: load the pack incrementally (5–10 kg), walk 50–100 m, then inspect seams, stitch points and buckles for slippage or deformation. Trim webbing tails after final tensioning to 8–10 cm (3–4 in) or shorter if secured by a keeper, and tuck or secure tails with elastic keepers or heat-shrunk tubing to prevent snagging.
FAQ:
Can I machine wash my Osprey backpack?
Most Osprey packs do better with hand cleaning, but machine washing can be done carefully. Remove the hip belt, lid, and any removable parts, empty all pockets and shake out debris. Put the pack in a large pillowcase or mesh laundry bag to protect straps and frame, use a front-loading washer on a gentle/cold cycle with a small amount of mild, non-bleach detergent. Do not use fabric softener. After washing, reshape and hang the pack to air dry away from prolonged strong sunlight; do not tumble dry or apply heat. Test a small hidden area first if you have concerns about fabric coatings.
What is the best way to clean an Osprey hydration bladder and tubing?
Flush the reservoir with warm water and a few drops of mild dish soap, swish, then use a reservoir cleaning kit (brushes for the bladder and hose) to scrub all surfaces. For odors or buildup, fill the bladder with a solution of one part white vinegar to four parts water or use a tablespoon of baking soda in warm water; let it sit for 30–60 minutes, then scrub and rinse thoroughly until no smell remains. To dry, prop the reservoir open and hang it upside down with the cap off and tubing clipped so air can circulate inside; inserting a clean towel or the reservoir drying rack helps. Store the bladder completely dry, with the cap off, or with a paper towel inside to absorb any remaining moisture.
How do I remove mold, mildew and persistent smells from an Osprey pack after it got soaked on a long trip?
First, empty the pack and brush out loose dirt and grit from seams and pockets. Mix a solution of equal parts white vinegar and water or use a non-chlorine oxygen cleaner according to label directions; spot-test a hidden patch before wider use. Use a soft brush or sponge to work the solution into areas with visible mold or stains, paying attention to foam areas, straps and webbing—avoid aggressive scrubbing that could wear fabric. Rinse thoroughly with clean water to remove cleaning residue. For lingering odors, sprinkle baking soda inside pockets and compartments, leave overnight, then vacuum or shake out. Allow the pack to dry completely in a well-ventilated place, keeping it open so air reaches internal pockets and the back panel; avoid leaving it for long periods under intense direct sun to prevent fabric fade or weakening. Clean and lubricate zippers (a soft brush to remove grit, then a small amount of zipper lubricant) and replace or deep-clean removable hip belts and harness pads if they retain smell. Finally, store the pack dry with closures slightly open to prevent trapped moisture and reduce the chance of future mold growth.


