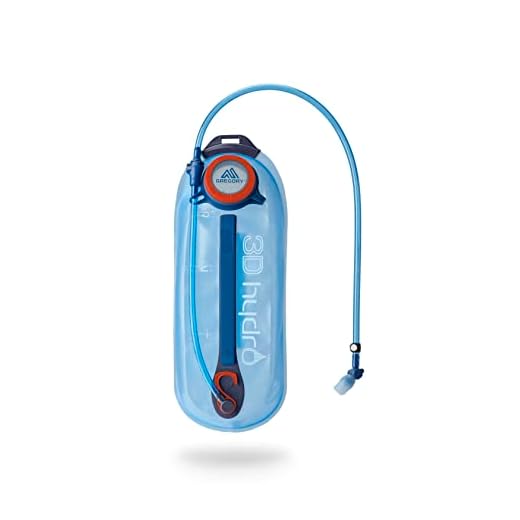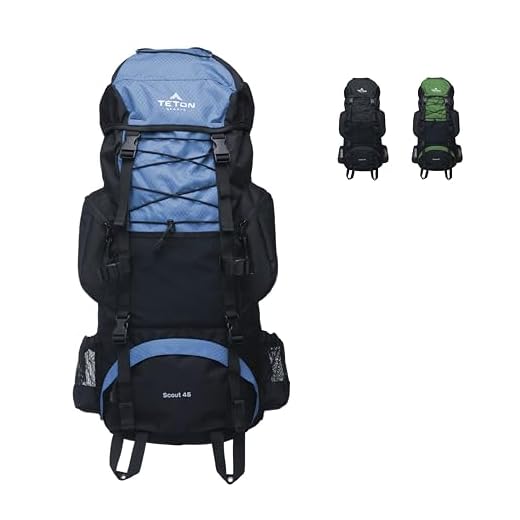

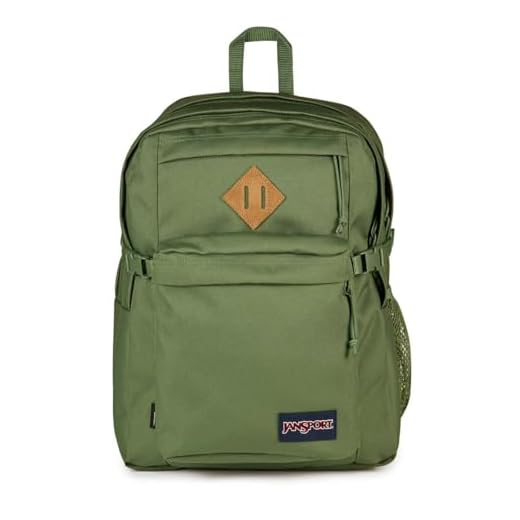

Aim for total carried weight ≤20% of body mass for single-day outings, 20–25% for short overnights, and ≤30% for multi-day treks. Locate dense items – food, fuel canisters, cookware and a full hydration reservoir – in the central compartment aligned with the lumbar-to-shoulder zone. Reserve the base for bulky but low-density items packed in a compression sack.
Packing order: bottom – compressed sleep system; middle – heavy modules placed close to the frame; top – lightweight layers and shelter; lid and hip-belt pockets – navigation tools, snacks, headlamp, phone. Place the water bladder adjacent to the spine and distribute bottled water evenly in side pockets to prevent lateral imbalance.
Divide gear into 3–4 internal stuff sacks so weight shifts are predictable; engage stabilizer straps to eliminate free play. Set the hip belt snugly so it transfers roughly 60–80% of carried mass, tighten shoulder straps so they stabilize without lifting the load off the hips, and use the sternum strap solely for torsional control. Keep left/right weight difference under ~200 g for stable gait.
Quick field check: cinch all straps and walk 10 minutes on similar terrain, then reassign items until step cadence and lower-back comfort are steady. Keep emergency essentials (first aid, rain shell, extra water) in an accessible pocket and secure long items (poles, ice axe) along the pack’s vertical compression lines.
Place heaviest items close to the spine and near mid-back
Position the heaviest pieces directly against the internal frame, centered over the mid-back (roughly vertebrae T7–T12), keeping mass within 2–3 cm of the spine to minimize forward torque.
Concentrate approximately 40–60% of total carried weight in that mid-back zone; allocate the remainder with about 20–30% over the hip-belt area and 10–20% toward the shoulder/upper pocket area for balance adjustments.
Examples of items to place in the mid-back zone: fuel canisters, stove in a rigid container, food packs, electronics in a protective case, a partially filled water reservoir or water container. Orient heavy items so their longest axis runs parallel to the spine.
Use compression straps and internal-frame contact points to press heavy items snugly against the back panel; wedge small, soft items (clothes, pouches) around bulky pieces to prevent shifting. If the pack has a removable frame sheet, place heavy items directly in front of it.
Aim for the pack’s center of mass to sit about 4–8 cm above the top of the hip belt so the pelvis accepts most of the load. Perform a short walk test (100–200 m) and check for forward pull or sway; if the pack rocks, shift weight closer to the spine or re-tighten load-lifter straps until the pack stays steady and shoulders feel lightly engaged.
Pack sleeping system and bulky soft gear at the bottom
Stow the sleeping bag and sleeping pad compressed inside a waterproof dry sack at the very bottom of the pack to form a stable, low-volume base for the rest of the load.
Volume guidelines: allocate ~20–30% of internal volume to the sleep system. Typical packed volumes: down/synthetic bag 6–12 L, inflatable pad 4–8 L, combined 10–18 L. Use a compression sack that reduces volume by 2.5–3x while protecting insulation from damp.
Place bulky clothing (puffy jacket, fleece layers) around or on top of the compressed bag to act as filler and stop shifting; reserve a loose mesh sack for a camp pillow. Keep the sleep system in the main bottom compartment or in a dedicated lower sleeve if the pack has one; avoid stuffing it into gaps where it will migrate during the day.
Waterproofing protocol: use a robust dry bag (taped seams or roll-top) rated for repeated submersion; double-bag sensitive down items if rain is likely. At camp, move the sleeping bag from the compression sack into a breathable storage sack to preserve loft.
Accessibility and extras: if nightly access is needed on multi-day trips, keep a compact bivy or camp liner in an outer pocket; keep tent body and footprint above the sleep system, poles and stakes separated in a small stuff sack. If carrying camera equipment, consider impact on packing order – see are dslr cameras being phased out for related gear decisions.
Keep daily items and rain layer in top lid and hip-belt pockets
Place the most-reached-for items and a compressible rain shell in the lid pocket and hip-belt pouches for instant access without opening main compartment.
- Hip-belt pockets (0.5–1.0 L each)
- Items to keep: phone (120–220 g), energy bars/gels (50–120 g), small camera (200–400 g), sunglasses, lip balm, GPS/compass, tiny multi-tool.
- Weight guideline: aim for ≤300 g per side; avoid rigid items heavier than 500 g to prevent hip rotation and discomfort.
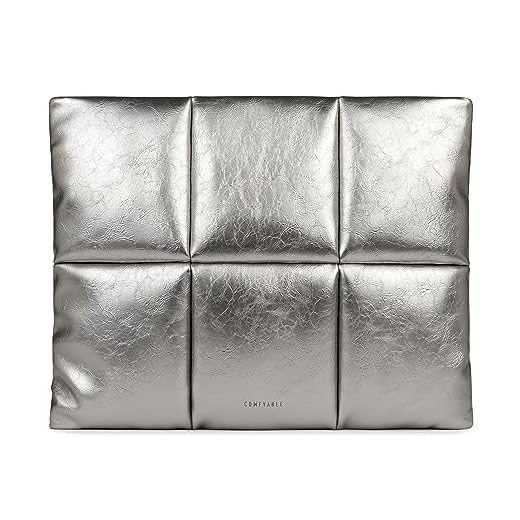
- Use slim waterproof sleeves for phones and electronics–dimensions under 20 x 12 cm slide in easily.
- Top lid / brain pocket (1–3 L)
- Items to keep: packable rain jacket (stuff sack 0.5–1.0 L, typical weight 150–350 g), lightweight umbrella (see best durable beach umbrella), spare gloves, map, light first-aid kit (compressible), extra batteries.
- Placement tip: compress rain layer into a waterproof stuff sack; place with zipper facing up and accessible for rapid retrieval in downpours.
- When expecting short showers, store a very small rain shell in a hip-belt pocket for sub-30-second access; bulkier shells belong in the lid.
Quick operational rules:
- Allocate items by frequency: every-10–60-minute use → hip-belt; every-hour-plus use → lid pocket.
- Keep total quick-access mass under ~600 g combined to preserve balance and comfort.
- Use color-coded dry bags or labelled sleeves to speed retrieval in low light.
- Secure all zippers with small leash loops; if crossing wet sections, move rain shell from lid to hand or hip-belt for fastest deployment.
Use compression straps and internal pockets to stop cargo from shifting
Tighten main compression straps until internal movement stops; aim for roughly 25–40% webbing travel from slack to fully cinched and test by lifting the pack by the shoulder straps–no audible rattling or sliding means tension is sufficient.
Reserve internal zippered sleeves or stretch pockets for dense, single-piece items heavier than ~300 g (stove, fuel canister, spare battery, water filter). Stow those against the rear panel to keep mass close to the frame and isolate them from soft, compressible goods.
Use mesh or divider pockets for soft fillers (socks, insulating layers, buff) to fill voids around rigid items; filling gaps reduces torque and prevents items from migrating during side-to-side movement. Packers that shift more than 1–2 cm under a firm squeeze should be re-seated or double-bagged inside pockets.
Sequence compression: secure internal straps or dividers first, then tighten side and bottom compression straps, finish with lid and over-the-top straps. For long, cylindrical items use diagonal cross-compression to lock them into a column and prevent top-to-bottom creep.
If present, adjust load-lifter straps to about a 45° angle and tension incrementally (5 mm pulls) until the torso feels balanced and frame contact is maintained; re-check after every resupply or significant volume change and hike 100–200 m as a quick field test–if shifting appears, add soft filler or reconfigure pocket placement.
Mirror weight left-to-right and test balance before you hike
Match left and right side masses to within 100–150 g; for outings longer than 3 days reduce asymmetry to ≤100 g.
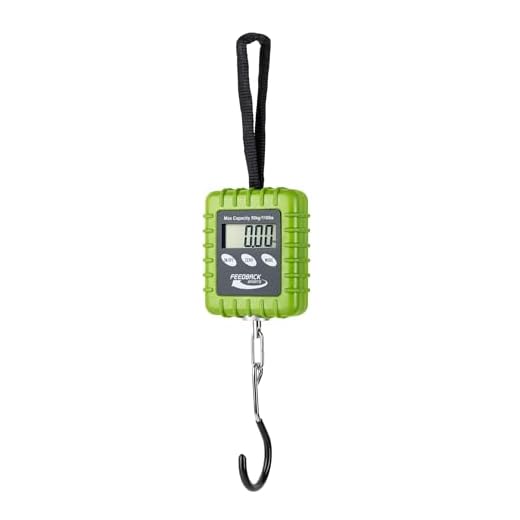
Weigh items destined for each side using a kitchen or luggage scale: water bottles (500–900 g full), fuel canister (200–400 g), camera or binoculars (300–900 g), toiletries and cook set (100–500 g). Record totals for left and right, then adjust by swapping or moving small items (headlamp, map, snacks) until target difference reached. Aim to keep hip-belt pocket loads balanced to within 50–100 g because small offsets there produce larger perceived torque.
Field-balance protocol: put the rucksack on, tighten shoulder straps and hip-belt, walk 30–50 m on flat ground, then climb 20 steps. If torso tilt exceeds ~3° or shoulder drop >1 cm, offload ~50–200 g from the heavier side and re-test. Use a smartphone level app placed on the sternum or on a shoulder strap to quantify lateral tilt; one full adjustment cycle usually fixes balance. For checked or separate luggage tracking while traveling, consider best luggage tracker for google pixel.
FAQ:
How should I place heavy items in my backpack for a day hike so I don’t tip backwards or feel unstable?
Put the heaviest pieces close to your back and centered between your shoulder blades. That keeps the mass near your body’s support and reduces sway. Use the hip belt to carry most of the weight—tighten it so load transfers to your hips, then snug the shoulder straps to remove slack. Balance left and right by mirroring weight on both sides. If you have to choose vertical position, keep heavy items at mid-height; avoid piling very heavy things at the very top or the very bottom of the pack.
What’s the safest way to pack a laptop, camera, and other fragile electronics for a multi-day trip?
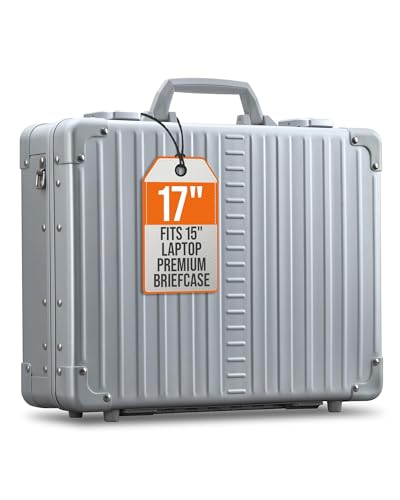
Use padded sleeves or dedicated compartments and wrap each device in soft clothing if a sleeve isn’t available. Place electronics near the back of the pack where they sit between you and the rest of the load, and surround them with softer items like a sweater. Put them in a waterproof pouch or sealed plastic bag to prevent moisture damage. Keep frequently used electronics in an easy-access pocket so you don’t have to rummage through the whole pack.
My shoulders start to ache after a couple of hours carrying my pack. What adjustments and packing strategies will reduce shoulder strain?
First, shift most of the weight onto your hips: tighten the hip belt firmly so it bears the load, then adjust the shoulder straps so they only stabilize the pack without carrying the bulk of the weight. Use the sternum strap to prevent the shoulder straps from sliding, and tighten the load-lifter straps (if present) to pull the top of the pack closer to your torso. Repack so heavy items sit close to your back and mid-pack; spread small items evenly to avoid hard pressure points. If pain persists, remove nonessential items to lighten the load and check that the pack’s torso length matches your back—an ill-fitting harness can cause persistent discomfort.
How can I keep clothes and gear dry when the forecast is unpredictable and I’ll be walking through wet terrain?
Place clothing and supplies inside waterproof stuff sacks, dry bags, or heavy-duty zip-top bags. Put a rain cover over the entire pack whenever rain is likely, and keep a small waterproof pouch with immediate essentials (map, phone, snacks, rain jacket) in a top or chest pocket for quick access. Store electronics in sealed bags and wrap foam or soft garments around fragile items for extra protection. If water crossings are expected, carry spare socks and an extra layer in a sealed bag near the top so you can change if needed.


