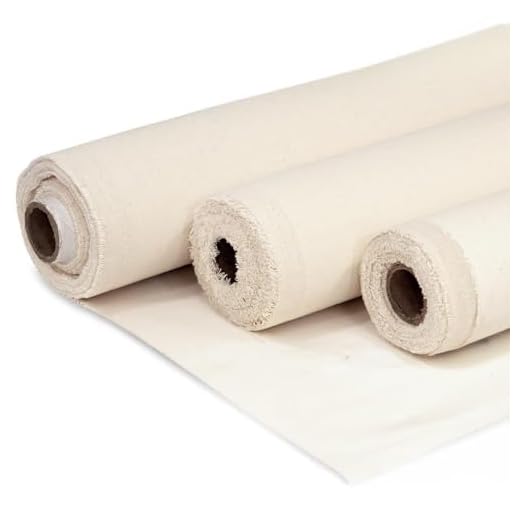
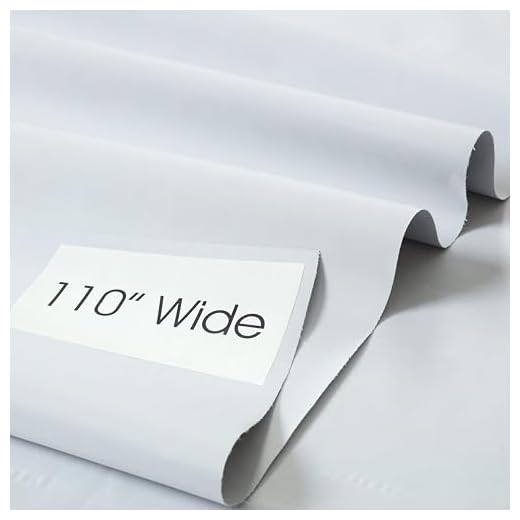
Cut two outer panels at 40×28 cm from 8–10 oz cotton duck, one base at 40×14 cm, and two lining panels at 40×28 cm from lightweight ripstop nylon. Use a seam allowance of 1.2 cm, a polyester bonded thread and a universal needle size 90/14. Set stitch length to 3.0–3.5 mm for seams and 3.5–4.0 mm for reinforcement box-x stitches.
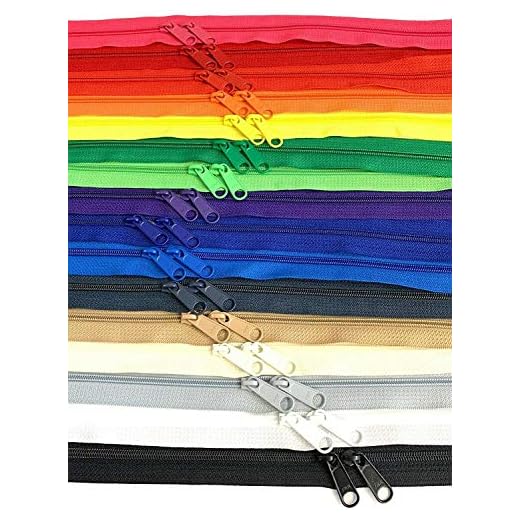
For the closure select a coil zipper 25–30 mm wide and a pull rated to at least 5 kg. Straps: use 25–30 mm polyester webbing for day-to-day loads, length finished 80–95 cm; upgrade to 40 mm webbing when expecting >8 kg. Provide adjusters (tri-glide), one 25 mm D-ring for a sternum clip, and a short haul loop 10–12 cm long.
Reinforce high-stress points with a 4-layer stitch pattern: two parallel lines at 6 mm apart plus a box-x measuring 3×3 cm. Insert a 3–4 mm PE board at the base cut to 38×12 cm (0.5 cm clearance) and a 2 mm closed-cell foam in the front pocket for shape. Fuse a lightweight interfacing to pocket panels to reduce sag.
Assemble sequence: sew internal pockets and attach them to one lining panel; install zipper to outer panel with a zipper foot and 0.7 cm topstitch; join base to outer shell; insert PE base and stitch shell to lining leaving a 6–8 cm turning gap in the lining; invert, close gap with a ladder stitch or 3.5 mm topstitch, and press seams flat.
Finishing details: trim seam allowances to 6–8 mm, clip corners, and apply a small amount of fray seal to cut nylon edges. Expected build time for an intermediate sewist: 2–3 hours. Machine speed recommendation: 500–800 SPM. Load test: verify comfort and seam integrity at 5–8 kg before regular use; for heavier loads increase webbing width and add lateral reinforcement patches.
Measure and draft a pattern for your compact daypack (dimensions and seam allowances)
Use finished external dimensions 28 cm (height) × 22 cm (width) × 10 cm (depth) and standard seam allowances: 1.0 cm (3/8″) for main seams, 1.5 cm (5/8″) for strap ends, flap edges and topstitching, 1.0 cm for zipper channels.
Pattern rule: cutting size = finished size + 2 × seam allowance (for pieces joined on both edges). Example for front and back panels: finished 28 × 22 → cut 30 × 24 (that is 28 + 2×1.0 by 22 + 2×1.0). Mark centerline, grainline and placement notches at 1/3 and 2/3 heights for pocket alignment.
Gusset as one continuous strip (wraps around sides and base): finished length = width + 2 × depth; finished height = depth. For the example above: finished length = 22 + 2×10 = 42 cm, finished height = 10 cm. Add seam allowances: cut strip = (finished length + 1.0 cm seam to join ends) × (finished height + 2×1.0 cm) → cut 43 × 12 cm.
If using a separate base: finished base = width × depth (22 × 10 → cut 24 × 12 with 1.0 cm SA on all edges). For a front pocket with zipper: finished pocket 18 × 12 → cut pocket face 20 × 14 (1.0 cm SA) and allow 1.0 cm extra fabric at zipper tape both sides; zipper length = finished pocket width + 2 cm for overlap (example zipper ≈ 20 cm).
Flap: finished flap width equal to bag width; choose drop 8–12 cm. Example finished 22 × 9 → cut 24 × 12 if using 1.5 cm SA at flap edge for neat topstitch and 1.0 cm at hinge. Add 1.5 cm allowance where you plan to topstitch and fold.
Straps and handle: recommended finished strap width 3.0–3.5 cm. For fabric straps that fold and topstitch, cut 6.0 cm wide to fold to ~3.0 cm finished (allow 1.5 cm SA on long edges); length for shoulder straps: cut 70–120 cm depending on adjustability (finished adjustable range 50–90 cm). Use 3.8 cm (1.5″) webbing for core if less bulk is desired; attach with 1.5 cm seam allowance at anchor points and box-stitch reinforcement 2 × 2 cm.
Mark all pattern pieces with seam allowance lines, stitch lines and notches before cutting. Add 0.5–1.0 cm extra at zipper ends for turning. For reinforcements (base, strap anchors) add interfacing or cut additional reinforcement patches 6 × 6 cm (cut 8 × 8 cm including 1.0 cm SA) and place under lining or between outer and lining layers.
Test draft on cheap fabric or paper: assemble only seams (no topstitch) to verify fit. To increase capacity, add 2 cm to depth (recalculate gusset length = width + 2×new depth and adjust strip height accordingly); to reduce bulk, reduce depth by 1–2 cm and shorten strap finished length by 5–10 cm if carried closer to the body.
Choose fabrics, webbing, zippers, and hardware for a lightweight compact pack
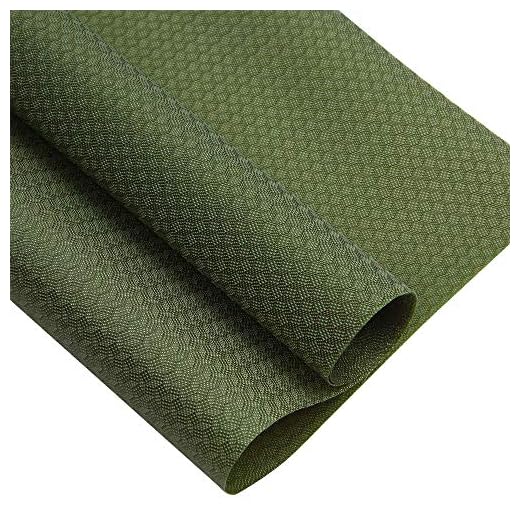
Use 210D nylon ripstop with a silicone or PU finish for the main body and reinforce the base and wear panels with 420D–500D Cordura.
Fabrics – specific options and where to place them
Dyneema Composite Fabric (DCF): 30–150 g/m² (≈1–5 oz/yd²). Best for an ultra-light shell or full bag; waterproof, near-zero stretch, very tear-resistant for its weight. Use DCF for single-piece roll-top bodies or multi-panel shells; seal seams with bonded tape or specialized seam tape and avoid heavy seam bulk.
Silnylon / silicone-coated nylons: ~35–60 g/m² (1.1–1.9 oz/yd²). Excellent water resistance and low cost; stretches more than DCF so reserve for simple roll-top packs or pockets where some give is acceptable. Reinforce high-stress zones with heavier fabric or webbing.
210D nylon ripstop (PU- or silicone-coated): ~120–140 g/m² (3.5–4 oz/yd²). Balanced choice for body panels – good abrasion resistance for weight, compatible with standard sewing, seam-taping, and DWR treatments.
420D/500D nylon or Cordura: 250–340 g/m² (6–10 oz/yd²). Use at the bottom, external pocket faces, and lash points where abrasion or gear contact is frequent.
DWR and coatings: aim for PU coatings rated ~2000–5000 mm hydrostatic head for general wet-weather resistance; DCF is intrinsically waterproof and not rated the same way. Apply exterior DWR spray to reduce wetting on coated nylons.
Webbing, zippers, and hardware – sizes and materials to choose
Webbing widths and placement: use 25 mm (1″) polyester or nylon for shoulder anchors and primary load-bearing straps; 16 mm (5/8″) for sternum or side compression straps; 12 mm (1/2″) for daisy chains and accessory loops. Prefer polyester webbing where low stretch and UV resistance matter; nylon webbing offers high strength but more stretch and water absorption. Tubular webbing adds comfort on shoulder pads; flat webbing is lighter and flatter for body wrap points.
Zippers: YKK coil #3 for pocket openings, YKK coil #5 or molded #8 for main compartment access. Choose two-way sliders for top access or larger openings; select non-separating (closed-end) zippers for top-loading shells and separating zippers for full-front openings. For wet environments use water-resistant AquaGuard/AquaSeal tape or molded water-resistant zippers; add an exterior storm flap or taped seam to improve water management.
Buckles and adjusters: Acetal side-release buckles (ITW Nexus, Duraflex) sized to match webbing (25 mm/16 mm) provide light weight with high durability. Use low-profile aluminum or alloy ladder locks and tri-glides for strap adjustment to shave grams while retaining smooth adjustment. For load-critical anchors consider bar-tack stitching or sewn-through webbing rather than relying on glued anchors.
Other hardware: small cord locks (single-hole) for pockets and lid cinches; stainless-steel or aluminum D-rings for gear attachment if corrosion resistance is required; grommets for drainage holes at the base if using coated fabrics that trap water. Reinforce all primary load points with extra layers of webbing or 420–500D patches and use bartacks / box-x stitches at strap terminations.
Weight-saving pairing examples: for a sub-600 g carry option use DCF body + 16 mm polyester webbing + YKK #3 pocket zippers + minimal alloy adjusters; for a durable ultralight that tolerates rough ground use 210D ripstop body + 500D Cordura base + 25 mm polyester webbing + YKK #5 main zipper and acetal buckles.
Cut fabric pieces precisely and reinforce high-stress areas with interfacing and bartacks
Cut panels to within ±1.5 mm tolerance using a fresh 45 mm rotary blade, metal ruler and self-healing mat; mark seam- and anchor locations with tailor’s tacks or a washout marker. Stack fabric layers right sides together for matching prints or nap; transfer notches and drill holes for strap anchors before fusing any interfacing to avoid distortion.
Fuse interfacing after cutting to preserve exact panel dimensions. Use steam and firm pressure for 10–12 seconds per spot, hold with a clapper if available, and allow parts to cool flat for 30–60 seconds before handling. For sew-in reinforcement (straps, base) baste interfacing with 1.5–2 mm tacking stitches along the edges to prevent shifting during assembly.
| Panel / Area | Interfacing type | Weight (gsm) | Application |
| Bottom/base | Heavy nonwoven fusible or sew-in canvas | 220–300 | Fuse to wrong side or use sew-in for maximum rigidity and abrasion resistance |
| Strap anchors / webbing tab bases | Heavy nonwoven fusible + sew-in patch | 240–320 | Layer fusible then a sewn patch behind anchor before bartacking |
| Body panels | Medium woven fusible | 120–180 | Stabilize shape without excessive stiffness |
| Zipper facings / pocket mouths | Light fusible woven | 50–90 | Prevent zipper sag and puckering |
Use bartacks at all webbing terminations, grab-handle bases and top corners of external pockets. On a home machine simulate a bartack with a dense zigzag: set width 4–5 mm, stitch length 0.2–0.4 mm, and sew 4–6 passes over the same spot; on industrial machines use a 10–12 mm bartack with 12–20 stitches. For stitch-type reinforcement alternatives, sew a 20 mm box with an X inside or a triple straight stitch over the anchor.
Thread and needle choices: bonded nylon or bonded polyester Tex 70 / 40-wt for primary reinforcement; use a heavy topstitch needle 90/14 or 100/16 for dense fabrics. Use polyester filament thread for UV and abrasion resistance when webbing is exposed.
Reduce bulk at seams by grading interfacing layers and trimming corners to 2–3 mm; press seam allowances toward the lining and topstitch 3–4 mm from the edge with a 3.0–3.5 mm stitch length to lock layers. For additional temporary hold during assembly use low-tack spray adhesive or basting tape applied sparingly to interfaced areas.
For hardware selection and case construction techniques suited to travel gear see best luggage for overseas flights.
Sew the main body, box the bottom corners, and attach the lining
Sew side seams with a 1/2″ (12 mm) seam allowance, 90/14 needle, polyester thread, and 2.8–3.0 mm stitch length; backstitch 4–6 mm at seam starts and ends.
- Join panels: pin or clip front, gusset, and back with right sides together; sew continuous seams around perimeter so gusset sits flat against both faces. Press seams toward gusset.
- Grade seams to reduce bulk: outer shell allowance = 6 mm (1/4″), gusset = 4 mm (3/16″), lining = 3 mm (1/8″). Trim fusible interlining flush with outer seam if present.
- Flatten and topstitch: press seams open where possible; where seam bulk remains, topstitch 3 mm from the folded edge to stabilize and give a crisp join.
Box bottom corners (procedure and measurements):
- Decide finished base depth D (example: 75 mm / 3″). On each corner of the sewn shell, measure D from the corner along both seam lines and mark those points.
- Draw a line connecting the two marks to form the triangle to be removed. Fold the corner so the side seam and bottom seam align, matching raw edges.
- Sew across the marked line with the same 12 mm seam allowance used for body seams. For D=75 mm, the sewn line will sit roughly 75 mm from the point; for D=50 mm use 50 mm, etc.
- Trim the triangle leaving 3–6 mm seam allowance beyond the stitching; clip excess at the triangle point to reduce bulk. Repeat for all four corners.
Lining construction and attachment (bagging method):
- Sew the lining panels identical to the outer shell but leave a 100 mm (4″) opening in one side seam for turning. Do not box lining corners until after test fit.
- Insert lining into outer shell with right sides together, matching side seams and boxed corners; clip or pin at 25 mm intervals to ensure even seam when sewing the top edge.
- Sew the top edge around with the same 12 mm allowance. Clip curves and corners, then turn the assembly through the opening in the lining.
- Press the top seam carefully so lining and shell edges align; hand-stitch the lining opening closed with small slip stitch (invisible) or machine-edge stitch close to the fold.
- Understitch the seam allowance to the lining: stitch 3–5 mm from the seam on the lining side, sewing through the seam allowance only; this keeps lining from rolling out.
- Edge-finishing: topstitch 3–5 mm from the top edge around the entire opening to secure layers and give a finished look. If installing a zipper or external hardware next, position and baste before final topstitch.
Checks and final tips:
- Test-turn one corner before trimming all corners to confirm base depth and appearance.
- If edging is bulky, shave the lining seam allowance down to 3 mm and the outer to 6 mm; press after each adjustment.
- For reference on compatible travel gear and proportions when planning capacity, see best luggage for 4runner.
Install a top zipper closure and add an internal organizer pocket
Recommendation: select a closed-end nylon coil zipper at least 2 cm (3/4″) longer than the bag opening; use #5 for light loads, #7 for frequent-use or heavier content, and a two-way slider if you want dual access.
Fuse a strip of medium-weight woven interfacing (e.g., Pellon SF101 or similar, 70–100 g/m²) to the outer top edge and the corresponding lining edge across the full zipper length plus 1 cm seam allowance each side. For fabrics heavier than 400 g/m², use a thin fusible foam (1–2 mm) to prevent zipper sag.
Trim zipper to length before installation, leaving 1.5–2 cm tape beyond each end for box-stitch reinforcement; secure the cut end with a metal stop or sew a firm bartack over the tape tail. Place zipper face-down on the outer top edge, align teeth centered on the seam line, and baste with 2–3 mm from the teeth using a zipper foot.
Sew zipper to outer with a 6 mm (1/4″) seam allowance using a regular zipper foot, stitch length 2.5–3.0 mm. Repeat attaching the other tape to the lining top edge. Press seams away from the zipper; topstitch through outer and zipper tape at 3–4 mm from the edge to lock the tape flat–use a slightly longer stitch length (3.0–3.5 mm) for neater topstitching on heavier thread.
Finish zipper ends: fold excess tape toward interior, sew a horizontal bartack 6 mm wide by 4–6 mm long across both tape tails; if a two-way slider was used, reinforce each end with a triple straight stitch 3–4 mm from the zipper edge and another bartack 3–5 mm from the slider stop.
Internal organizer pocket layout for a typical compact daypack: full-width pocket 30 x 18 cm (12″ x 7″) finished, phone pocket 10 x 15 cm (4″ x 6″), card slot 8 x 6 cm (3″ x 2.5″), pen sleeves 1.8 cm (3/4″) wide. Add 1 cm seam allowances on all pocket pieces; cut pocket lining from a lightweight woven and fuse light interfacing to the exterior pocket piece.
For a zippered internal pocket: use a closed-end coil zipper 2 cm longer than the desired finished opening (e.g., 18 cm zipper for a 16 cm finished pocket). Mark the zipper placement on the lining centered or offset as preferred; sew the zipper into a rectangle pocket opening with 1 cm seam allowance, finish the raw edge with an overlock or zigzag, then understitch the pocket facing and topstitch 3–4 mm from the opening on the lining side.
Assemble open pockets: place exterior pocket piece right sides together with lining pocket strip along the top edge, stitch at 1 cm, flip, press, and topstitch 3 mm from the top. Position on the lining, baste the sides and bottom with 1 cm seam allowance, and sew around the pocket edge. Add vertical divisions by stitching from top to bottom at the pen slot spacing (use a 2–3 mm backstitch at each end and secure with a bartack at the top).
Attach organizer to lining before final lining-to-body join: align top edge of organizer 3–4 cm below the zipper line (adjust to personal preference), baste across the top with a long stitch, then sew around the sides and bottom using 2.5–3.0 mm stitch length. Reinforce high-stress points (pocket corners, pen slot tops) with a bar-tack or a small box stitch.
Final checks: ensure zipper sliders clear any binding or welt; test full-range opening and closing under load; trim excess threads, seal cut zipper tape ends with fray-check or a few zigzag stitches, and press the lining so pockets lie flat behind the zipper for clean access.


