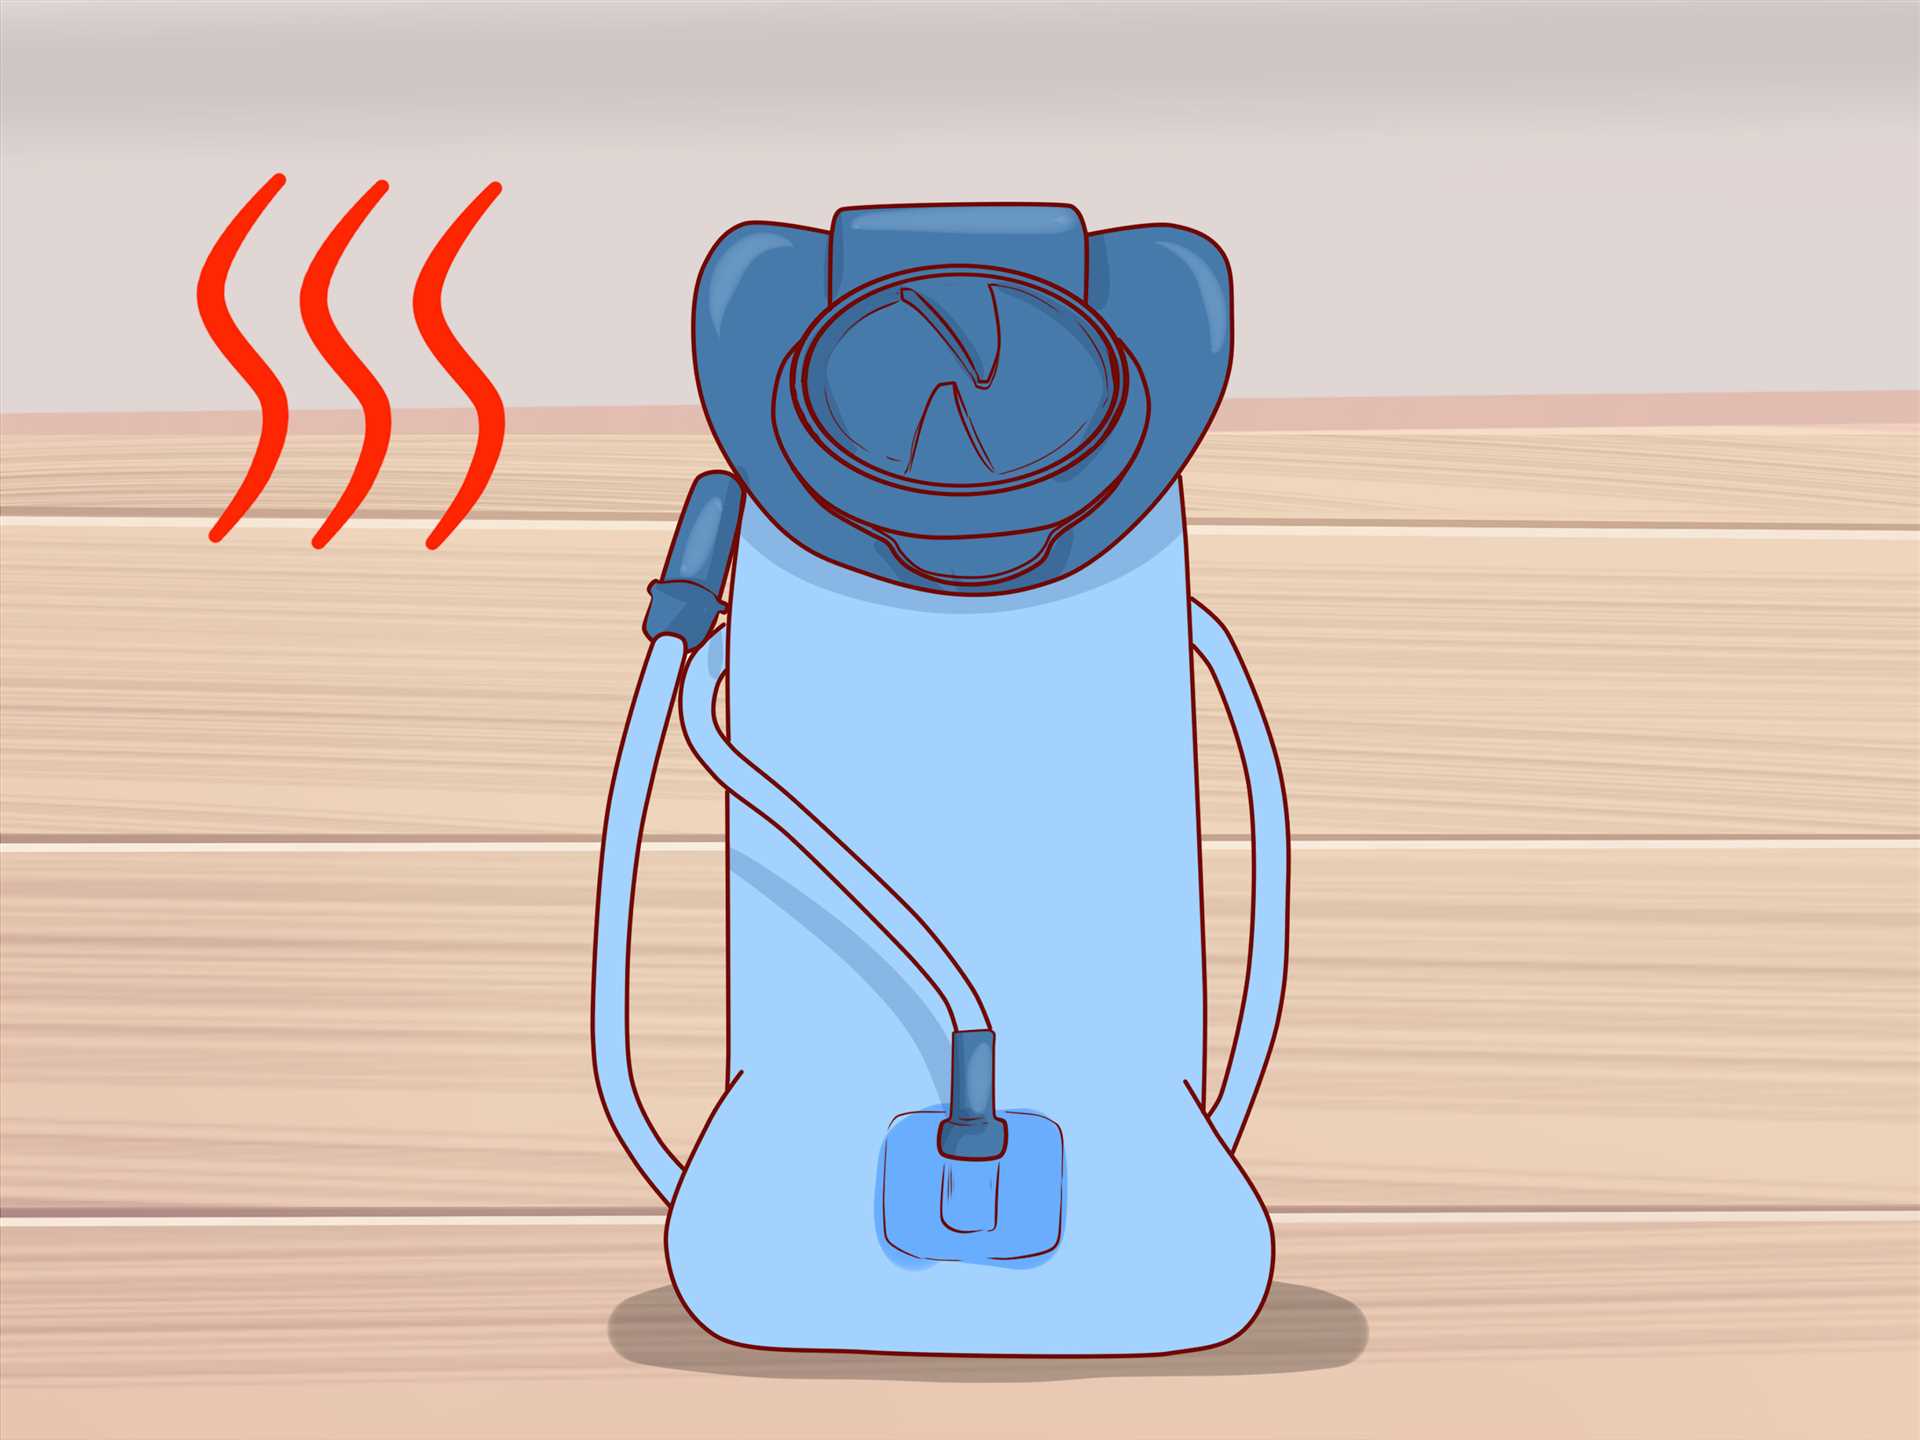
Rinse the reservoir and hose immediately after each use; perform a full sanitize every 4–6 weeks or after carrying sugary, electrolytic or perishable drinks. For routine rinsing use warm water (<40°C / 104°F) and a quick flush until discharge runs clear; for regular cleaning add 2–3 drops of mild dish soap per liter, agitate, then flush thoroughly.
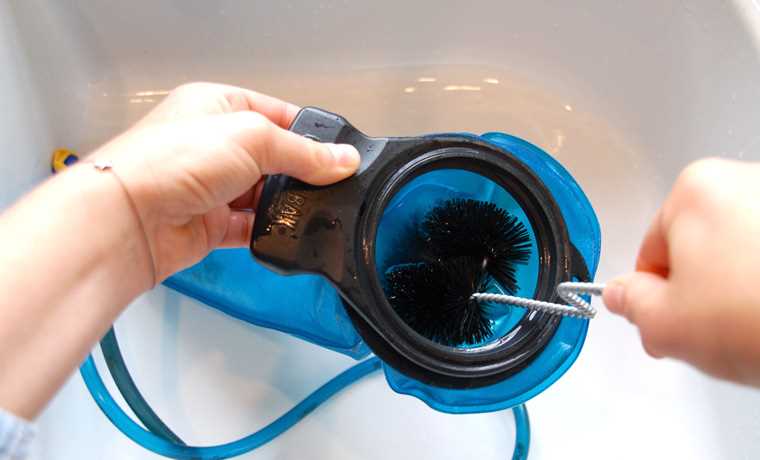
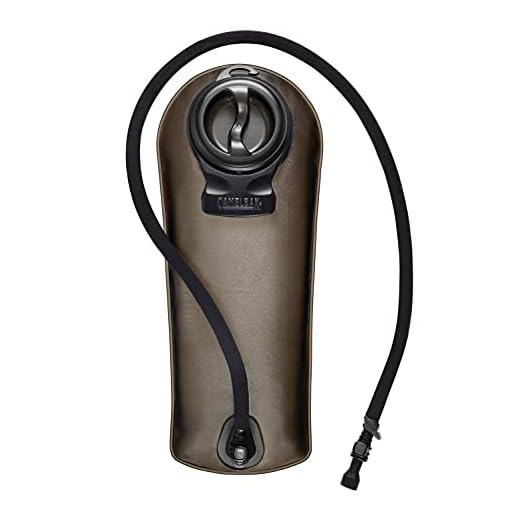
Disassemble: remove the bladder from the pack, detach the hose and bite valve, open the fill cap. Use a soft reservoir brush and a narrow tube brush to scrub interior surfaces and the lumen of the tubing – push water through the tube while brushing. For stubborn odor or biofilm use denture or purpose-made reservoir cleaning tablets following package directions; alternatively, for visible mold prepare a bleach soak of 2 tablespoons (≈30 mL) household bleach per gallon (≈3.8 L), fill, soak 30 minutes, then rinse at least three times with fresh water.
Drying and storage: drain completely, then hang the reservoir upside down with the cap open and hose suspended to allow airflow; air-dry 24–48 hours until interior is bone-dry. Use a drying rack or stuff the bladder with clean paper towels to speed drying. Store with the cap off and tubing separated to prevent residual moisture and odors.
Maintenance: inspect seals, O-rings and bite valve monthly; replace the mouthpiece or tubing when discoloration, cracks, stiffness or persistent odor appear (common replacement interval: 12–18 months under heavy use). Avoid boiling or prolonged high heat unless the component explicitly states heat resistance; do not microwave. Limit exposure to sweetened drinks – rinse within 1 hour after use to reduce biofilm formation.
Cleaning a hydration reservoir and daypack gear
Rinse the reservoir and drinking tube immediately after each use with warm water (40–45°C / 104–113°F) and a small drop of mild, fragrance-free dish soap; flush until the outflow runs clear, then disassemble for deeper care.
- Deep‑clean procedure (5–10 minutes active, 30–60 minutes soak):
- Remove the reservoir from the pack, unzip the sleeve, detach the hose and bite valve.
- Fill the reservoir with warm water and one of the following: 1 tablespoon (15 mL) unscented household bleach per 1 L, or 1/2 cup (120 mL) white vinegar per 1 L, or 1–2 effervescent denture‑cleaning tablets in ~1 L water.
- Cap, agitate for 30 seconds, let soak 30–60 minutes (bleach: 30 min). Agitate once more, then force solution through the tube until clean.
- Use a long flexible brush for the reservoir interior and a thin tube brush for the hose; clean the bite valve with a small brush or toothpick to remove trapped debris.
- Rinse repeatedly with fresh water until no chemical or vinegar smell remains (bleach requires extra rinsing).
- Quick‑daily routine:
- After plain water use: flush with warm water and leave mouthpiece open to dry.
- After sugary or electrolyte drinks: perform the deep‑clean cycle within 24 hours to avoid mold and residue build‑up.
- Drying and storage:
- Prop the reservoir open and hang upside down to air dry for at least 12 hours; stuff a clean, dry towel or paper towel inside to keep the interior open and ventilated while drying.
- Store completely dry with the cap and bite valve removed; long‑term storage in a sealed freezer bag in the freezer will inhibit microbial growth if drying is not possible.
- Odor and stain removal:
- For persistent smells, dissolve 1 teaspoon (5 g) baking soda per 1 L warm water, soak 30–60 minutes, then rinse.
- Denture tablets are reliable for mineral stains and smell: use 1 tablet per 500–1,000 mL, soak 30–60 minutes.
- Inspection and replacement cues:
- Replace the reservoir if seams delaminate, plastic becomes cloudy or tacky, persistent odor cannot be removed, or there are leaks.
- Check valves and hose fittings for stiffness, cracks, or loss of seal; replace bite valves every 6–18 months depending on use.
- Recommended tools and supplies:
- Long reservoir brush (30–50 cm), thin tube brush (40–60 cm), small valve brush or interdental pick.
- Mild, fragrance‑free dish soap; unscented household bleach; white vinegar; denture cleaning tablets; baking soda; clean towels or paper towels.
- Practical packing tip: If you carry an inverted umbrella or compact rain protection together with hydration gear, compare options at best upsidedown umbrellas.
Remove and disassemble reservoir, bite valve, and tube for cleaning
Detach the bladder from the carrier and keep the hose elevated above the reservoir to avoid spilling; close the fill cap before lifting the unit out.
Disassembly sequence
Empty remaining liquid by opening the cap and inverting; squeeze the sides to force fluid out of the tube before disconnecting. Locate any quick-disconnect fittings near the mouthpiece or at the reservoir port; depress the collar and pull the halves straight apart. If the tube is push‑fit on a barbed port, grasp the tubing close to the port, twist gently while pulling; trimming one inch off the tubing end can loosen a stuck connection.
Remove the bite valve by pulling it straight off the mouthpiece stem; some designs have a retaining clip or a 1/4‑turn lock–inspect for that before forcing. To extract the internal one‑way element, push it out from the opposite side with a blunt tool (toothpick or plastic skewer) while supporting the valve body to avoid deformation.
Inspection, lubricants and reassembly checks
Inspect O‑rings and seals for cuts, flattening, or discoloration; replace any showing wear. Apply a thin smear of food‑grade silicone grease to O‑rings and valve stems to ease reinstallation and improve the seal. Reconnect tubing by fully seating it on the barbs until the sleeve or click is engaged; hand‑tighten caps only–do not use pliers which can deform threads.
Perform a pressure/leak test: fill the reservoir to one third, reconnect all fittings, cap the fill port, squeeze the reservoir and watch joints and the bite valve for leaks. If air or water escapes at a connection, reseat the tube and recheck the O‑ring orientation before testing again.
For drying, hang the reservoir upside down with the fill cap open and drape the tube so air flows through; place a rolled paper towel inside to absorb moisture and accelerate drying. Replace silicone valves and tubing at first sign of stiffness, persistent odor, or mold spots that do not come off with routine cleaning.
Gear comparison useful for trip planning: best digital camera camcorder combo.
Hand-clean reservoir and hose with mild soap, brush, warm water
Clean the reservoir and tubing immediately after use using warm water (35–45°C / 95–113°F), a mild fragrance-free dish soap (≈1 tsp per 1 L), a long soft-bristle reservoir brush and a narrow tube brush sized to the inner diameter of the hose.
Tools and cleaning solutions
Required: soft 18–24″ flexible reservoir brush, 3–6 mm tube brush or pipe cleaner, small toothbrush for fittings, measuring teaspoon, white vinegar, lint-free towel or drying rack. For deodorizing or light sanitizer: mix 1 part white vinegar to 4 parts warm water; soak 20–30 minutes. Avoid concentrated detergents, abrasive pads, or boiling water that can damage liners and seals.
Step-by-step technique
Fill the reservoir with the warm soapy mixture and agitate, then scrub interior walls with 10–20 firm strokes of the long brush, reaching the corners around seams. Scrub the neck, cap threads and bite valve surfaces with the toothbrush. Run the narrow tube brush through the hose with 10–15 forward-and-back passes, then reverse and repeat to dislodge trapped residue. Squeeze the bite valve repeatedly while flushing warm water through the hose until no suds remain. For lingering odors or slimy buildup, drain the soapy water, fill with the vinegar solution, soak 20–30 minutes, then repeat scrubbing and rinsing until the vinegar smell dissipates.
Drain completely, prop the reservoir open (cap off or held open with a clean utensil) and hang upside down to air-dry. Hang the hose vertically with the mouthpiece open so gravity drains remaining liquid; leave components to dry 8–24 hours in a well-ventilated area. If black or fuzzy mold persists after these steps, replace the affected tube or valve rather than relying on stronger chemicals.
Sanitize reservoir with vinegar or baking soda: concentrations and contact times

Routine sanitizing: Fill the reservoir with a 1:1 mix of household white vinegar (5% acetic acid) and warm water (about 30–40°C). Soak for 30–60 minutes, agitate, scrub with a brush if needed, then perform at least three full rinse cycles with fresh water.
Stubborn odors or light mold: Use undiluted 5% white vinegar, fill the reservoir and tubing, and soak 4–8 hours (up to 12 hours maximum). After soaking, scrub, rinse thoroughly until vinegar smell is gone. Do not leave acidic soak longer than 12 hours to avoid softening or discoloration of some polymers and silicone.
Baking soda option (alkaline): Dissolve 1–2 tablespoons (15–30 g) of baking soda per liter of warm water. Fill and soak 30–60 minutes, agitate, then scrub and rinse. For a typical 2 L reservoir use 2–4 tablespoons. Do not mix baking soda and vinegar at the same time (they neutralize each other); use sequential treatments with a complete rinse between.
Material and temperature limits: Keep soak water below 50°C to avoid warping TPU, LDPE and silicone parts. Avoid repeated long acid soaks (>12 hours) to reduce risk of accelerated wear or loss of flexibility.
Post-sanitize steps: After rinsing, flush the hose and valve repeatedly, blow air through the line, then hang open upside down to dry fully. If any sour or chemical taste persists, repeat rinse cycles or run one rinse with 1 L plain water plus 1 teaspoon baking soda, then rinse again.
When to sanitize: Sanitize monthly with plain water use, after storing for more than a week, or immediately following sweetened or perishable beverages.
Remove mold from tube and mouthpiece using a pipe cleaner and diluted bleach solution

Use a 1:9 ratio of unscented household bleach (5–6% sodium hypochlorite) to cold potable water – for example, 100 ml bleach + 900 ml water – and scrub the lumen with a nylon pipe cleaner, then soak the mouthpiece for 5–10 minutes.
Preparation and safety
Wear chemical-resistant gloves and eye protection; work in a well-ventilated area. Do not mix bleach with acids, vinegar or ammonia. Use a dedicated bowl or bottle for the solution and label it if left out briefly.
Step-by-step procedure

1) Detach the tubing and mouthpiece. Thread a flexible nylon pipe cleaner (diameter slightly smaller than the lumen) from the mouthpiece end toward the reservoir; push and pull it through 3–5 times to mechanically remove biofilm.
2) Dip the pipe cleaner in the prepared 1:9 bleach solution and repeat the scrubbing motion inside the tube until no visible mold flakes remain. For long hoses, work in segments, rewetting the cleaner as needed.
3) Immerse the mouthpiece and any small removable parts in the same bleach solution for 5–10 minutes. Use a small brush or an interdental brush to scrub external crevices and the bite valve opening.
4) After contact time, flush the tube thoroughly with at least 1–2 liters of clean drinking water until chlorine odor is gone. Run multiple fills and flushes; blow water through the mouthpiece to force out trapped solution.
5) Air-dry fully with the tube hung vertically and the mouthpiece open; accelerate drying with compressed air or a gentle flow of warm (not hot) air if available.
If mold persists, repeat the mechanical scrubbing and soak once more; replace the tube or mouthpiece when staining, permanent odor, cracking, or softening of material is observed.
Air-dry reservoir and pack shell fully and store to prevent mildew
Dry the bladder and shell completely before storing: remove mouthpiece and cap, prop the reservoir open, hang the tube vertically, and maintain continuous airflow for a minimum of 12 hours at 20–22°C (68–72°F) with relative humidity below 50%; expect 24–48 hours if ambient RH is 60% or higher.
Speed up drying with targeted methods: place the reservoir on a dedicated hanger or between two inverted coat hangers to keep the opening wide; insert a folded paper towel for 15–30 minutes to wick trapped moisture, then remove and discard; run a small fan pointed across the opening for 3–6 hours; a dehumidifier in a small room reduces drying time to roughly 4–8 hours. Do not apply direct heat above 45°C (113°F) or use an oven/clothes dryer–heat can deform TPU and seals.
Keep tubing and mouthpiece open and elevated: hang the hose from a high point so water drains away from the bite valve, or suspend with a small clip so the lumen stays unobstructed; if tubing kinks, straighten and allow an extra 12 hours of airflow. For storage, coil the hose loosely with gentle curves rather than tight loops to prevent permanent creases.
Preferred storage: store the reservoir detached from the shell inside a breathable mesh bag or cotton pouch, with 2–3 silica gel packets (10–20 g each) placed in the bag and one inside the shell pocket. Avoid airtight plastic containers unless both components have remained dry for 48 hours; sealed environments trap residual moisture and encourage mildew. For short-term storage after a day trip, leave the cap off and tuck the open reservoir into an exterior pocket with airflow.
Inspect stored items every 2–3 months: open and air out for 12–24 hours, check for any musty odor or sticky residue, and replace the reservoir if odor persists after drying and sanitation. Keep stored gear in a cool, dark place below 22°C (72°F) and under 55% RH; for travel, include a compact protective cover and a small accessory such as a best colapable umbrella in the same pocket to reduce condensation exposure.
FAQ:
How do I clean a CamelBak reservoir without damaging it?
Remove the reservoir from the pack, take off the bite valve and drinking tube if possible. Rinse the inside with warm water, then add a small amount of mild dish soap or a teaspoon of baking soda and warm water. Use a reservoir cleaning brush and a long tube brush to scrub seams, corners and the inside of the hose. Rinse several times with clean water until no soap or residue remains. Hang the reservoir upside down with the cap off and the hose unclamped so air can circulate and it can dry completely before reassembling.
Can I put my CamelBak bladder or the backpack in the washing machine or dishwasher?
Do not place the full bladder and hose in a regular washing machine. Many reservoirs can be cleaned on the top rack of a dishwasher, but methods vary by model, so check the manufacturer’s instructions first. If dishwasher use is not recommended, wash the reservoir by hand as described above. For the backpack shell and straps: remove the reservoir, empty pockets and shake out debris. Spot-clean stains with mild soap and a soft brush, or use a gentle machine wash cycle inside a laundry bag on cold or warm water if the maker allows it. Do not use bleach or fabric softener on the pack, and let it air dry fully; avoid tumble drying.
What removes mold and persistent odor from the reservoir and hose?
For mildew or strong smells, try one of these safe soaks: (1) Fill with warm water and add two tablespoons of baking soda, shake and let sit for a few hours, then scrub and rinse; (2) Use a solution of one part white vinegar to three parts water, soak for 30–60 minutes, then rinse well; (3) For stubborn mold, a diluted household bleach solution (about one tablespoon bleach per liter of water) can be used—fill, wait 30 minutes, then rinse thoroughly many times until no bleach scent remains. After any soak, scrub with brushes, flush the hose, and dry fully. Commercial reservoir cleaning tablets are another effective option.
How should I dry and store a CamelBak between trips to prevent future growth?
After cleaning, open the reservoir wide, detach or open the tube and bite valve, and hang the bag upside down so gravity helps clear water. Use a reservoir hanger or place a clean towel inside to keep it open for airflow; small drying inserts or a rolled-up clean towel can help. Make sure every part is completely dry before storing. For longer storage, keep the reservoir in a cool, dry place with the cap and bite valve left off, or place it in the freezer to inhibit microbial growth for extended periods.


