

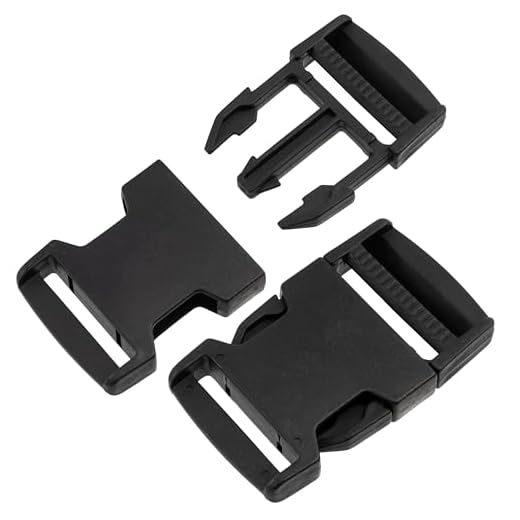
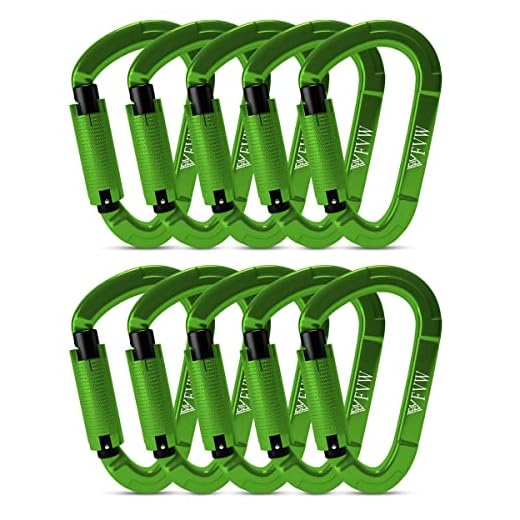
Quick recommendation: choose a side‑release fastening sized to your strap (common webbing widths: 12 mm / 19 mm / 25 mm / 32 mm). Small acetal models weigh 5–20 g and typically handle 200–800 lbf tensile loads; heavy‑duty plastic can reach ~800–1,500 lbf; metal variants (aluminum, stainless, brass) commonly exceed 1,500 lbf and resist impact better.
Common types encountered on packs: side‑release buckles (two‑piece, one‑hand operation), ladder‑lock adjusters (for length fine‑tuning), snap hooks or swivel hooks (for detachable attachments), and tri‑glides (for webbing retention). Match the profile (flat vs. curved) to the strap contour and pick low‑profile designs for torso comfort.
Material guide and service tips: acetal/Delrin offers UV resistance and low cost; nylon alternatives may absorb water and swell slightly; zinc alloy is inexpensive but corrodes faster; stainless steel and brass provide best corrosion resistance for wet environments. Inspect regularly for hairline cracks, stiff hinges, or deformed prongs; replace at first sign of permanent damage. When replacing, record webbing width, slot style (single/double), thickness, and male/female orientation, and photograph the existing assembly for correct reassembly.
Where to source replacements: outdoor gear dealers, sewing/haberdashery suppliers, hardware stores, military surplus outlets or manufacturer spare parts pages. For field repairs, carry a small low‑profile side‑release spare and a length of matching webbing; permanent fixes require matching slot width and material to preserve load capability.
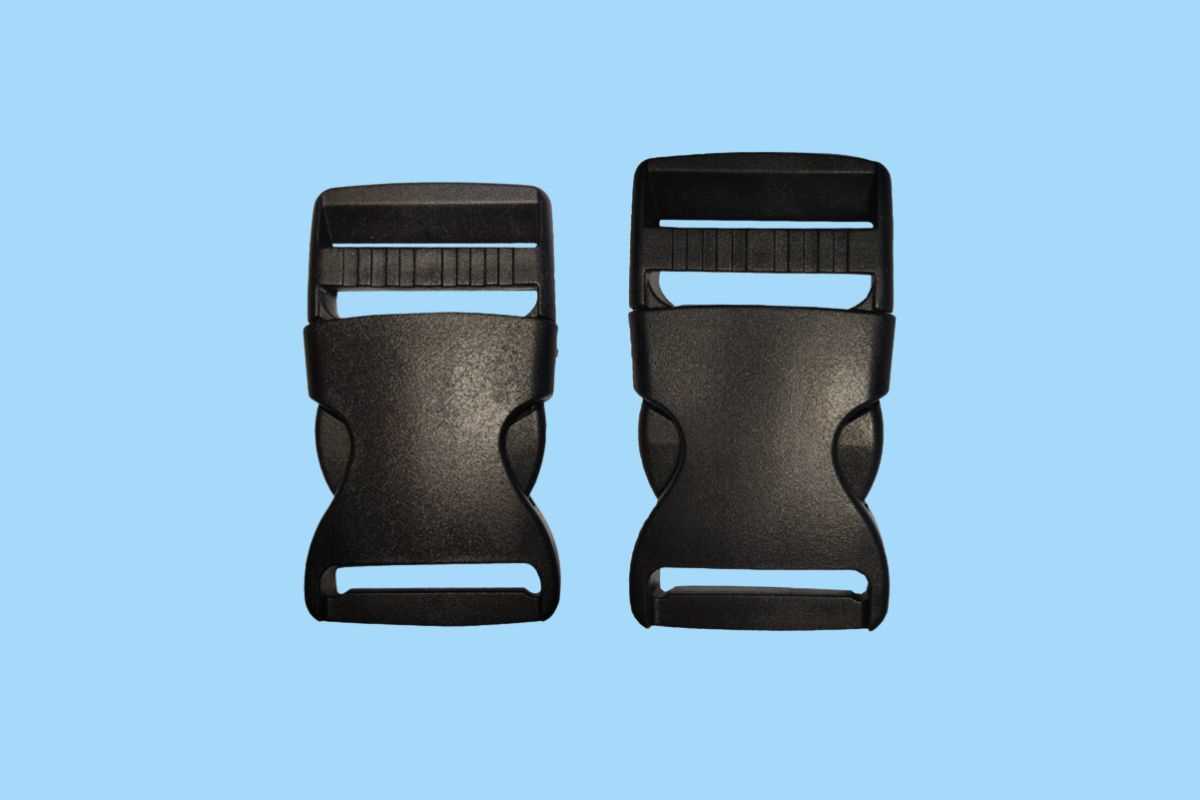
Identify pack hardware: side-release buckles, ladder locks, snap hooks
Use side-release buckles for rapid one-handed opening; select widths that match webbing (15 mm, 20 mm, 25 mm, 38 mm, 50 mm) and choose acetal/plastic for light loads or metal for heavier duty.
Identification checklist
- Side-release buckle – two-piece male/female set with squeeze-tabs. Materials: acetal (common), nylon, die-cast zinc, stainless steel. Typical uses: waist belts, sternum straps, compression straps.
- Ladder lock – single-piece rectangular adjuster with a central bar; friction-based strap retention for micro-adjustments. Available for flat webbing from 10 mm to 50 mm; pick the adjuster one size up from measured strap width for smooth feed.
- Snap hook – metal hook with spring gate (swivel or fixed eye). Variants: trigger snaps, snap swivels, bolt snaps. Materials: stainless, brass, zinc-plated steel. Used for attaching gear, leashes, key holders; not a substitute for load-rated carabiners.
Replacement and measurement guide
- Measure flat webbing width; buy hardware specified for that width. If webbing is 25 mm, purchase 25 mm (1″) fastener.
- Check mount type: have webbing loop through a slot, or require sewing-on. Choose female buckle with same prong spacing and profile as original for fit.
- Inspect markings: metal parts sometimes stamped with material or load rating; plastic parts rarely list strength–replace on visible cracks or tooth deformation.
- Weight/load guidance: small plastic buckles (15–20 mm) suit light loads such as accessory straps; larger plastic (38–50 mm) handle heavier compression; metal versions increase durability and shear/impact resistance.
Maintenance: clean grit from moving parts, rinse saltwater off stainless or brass, apply a drop of light machine oil to metal swivel points; avoid solvent contact with acetal plastic. Replace if any deformation, cracking, or slippage under normal tension occurs.
For unrelated replacement-parts reading and cutting-tool guidance visit best cutting lawn mower blades.
Measure strap width and read model codes to choose the correct replacement
Measure the webbing width at the sewn attachment with a caliper or steel ruler and match that nominal measurement when ordering a replacement buckle or fastener.
Measurement method: lay the strap flat, measure the full flat width across the webbing (record in mm and inches), then measure the internal slot width of the female half where the webbing feeds through (this is the critical dimension). Use digital calipers for accuracy to ±0.5 mm.
Common nominal sizes to match: 10 mm (3/8″), 12 mm (1/2″), 15 mm (~5/8″), 19–20 mm (3/4″), 25 mm (1″), 30–32 mm (1.25″), 38 mm (1.5″), 50 mm (2″). Order by the slot/internal width, not by overall outer dimensions of the plastic housing.
Also measure webbing thickness (typical range 1.5–4.0 mm) and male-tongue insertion length and thickness; ensure the replacement’s channel depth and tongue geometry accommodate that thickness without pinching or excessive play.
Where to find model codes: inspect the underside and inside faces of both halves for molded or stamped markings (brand logo plus alphanumeric sequence). Photograph the part from multiple angles, note any numbers such as “25”, “20”, or multi-digit part codes, and include the brand if visible.
How to interpret codes: many manufacturers embed the slot width in millimetres or include a series code. If code is ambiguous, run a web search with the brand plus the code, or compare the photo to manufacturer catalog pages. When in doubt, contact the maker with images and the measured slot width.
Tolerances and material choices: accept replacements that match slot width exactly or within ±1 mm; choose acetal or nylon-reinforced polymer for higher strength, polypropylene for lightweight non-load-bearing uses, or metal for heavy-duty applications. Verify any stated load rating or test the assembled strap under incremental load before regular use.
Final checks before purchase: confirm whether the strap is intended to be sewn, threaded, or riveted; confirm male/female orientation and release method; compare insertion length and locking geometry. For alternative luggage hardware options see best luggage without zipper.
Remove and install a side-release buckle without sewing
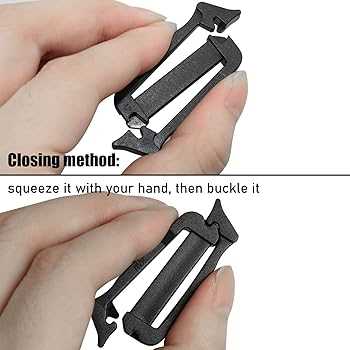
Use an open-end side-release buckle matched to webbing width, trim frayed webbing square, fuse the tip with a hot knife or lighter, feed through the buckle slot and secure with heat-shrink tubing plus a drop of cyanoacrylate for a no-stitch installation.
Tools and parts
Replacement open-end side-release connector (inner width spec), heat-shrink tubing (3:1 preferred), heat gun or lighter, hot knife or sharp scissors, cyanoacrylate glue or fabric adhesive, flat-nose pliers, small clamp or binder clip, seam ripper (for removal of sewn anchors).
Step-by-step removal and installation
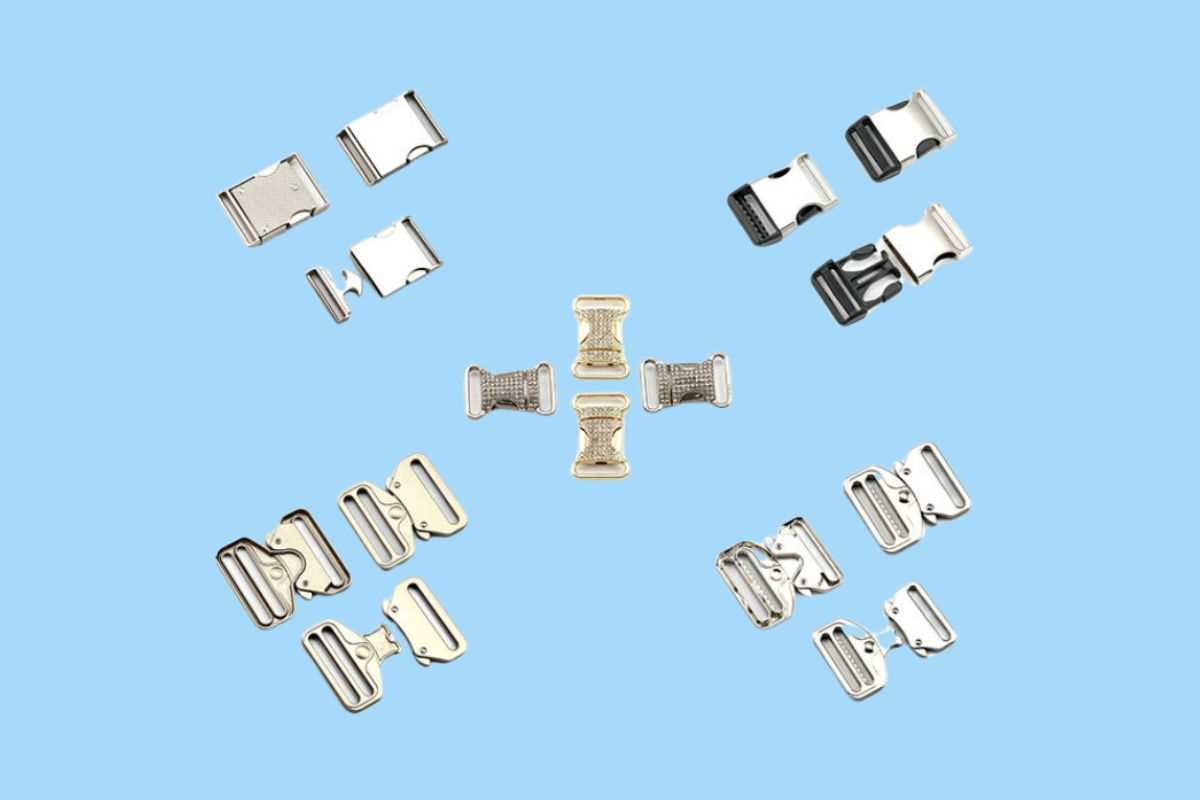
1) Remove old unit: if sewn, cut stitches using a seam ripper; if clamped, pry open clamp with pliers. Preserve webbing length mark if required for repositioning.
2) Prepare webbing end: trim square, melt tip briefly with a hot knife or lighter to fuse fibers, press molten tip flat with pliers for a neat feed into the buckle.
3) Install buckle: feed webbing from the underside through the intake slot, wrap over center bar when present, pull until webbing seats against the internal stop or teeth; verify even tension and no twists.
4) Secure without sewing: slide heat-shrink tubing over the joint (min. 10–15 mm overlap each side), apply heat evenly until tubing tightens; add a small drop of cyanoacrylate between tubing and webbing for extra hold and quick cure.
5) Alternate mechanical clamp: if preferred, use a stainless steel strap clamp or two-part bar clamp sized to webbing thickness; compress until webbing grips without cutting fibers, then roughen webbing surface and apply epoxy inside clamp before final torque.
6) Load test: apply a static pull equal to at least twice typical working load (example: 20–30 kg for light straps) for 30 seconds, inspect for slippage, repeat if any movement occurs.
| Webbing width (in / mm) | Buckle inner width (mm) | Heat-shrink ID before shrink (mm) | Recommended shrink overlap (mm) |
|---|---|---|---|
| 1/2″ / 12 | 12 | 9 | 10–15 |
| 5/8″ / 15 | 15 | 12 | 10–15 |
| 3/4″ / 20 | 20 | 15 | 12–20 |
| 1″ / 25 | 25 | 20 | 15–25 |
| 1.5″ / 38 | 38 | 25 | 20–30 |
If slippage persists after heat-shrink and adhesive, swap to a two-bar no-sew connector with serrated teeth or add a small stainless rivet plate clamped over the webbing end for permanent, non-stitched retention.
Adjust sternum and waist fasteners to improve load balance and comfort
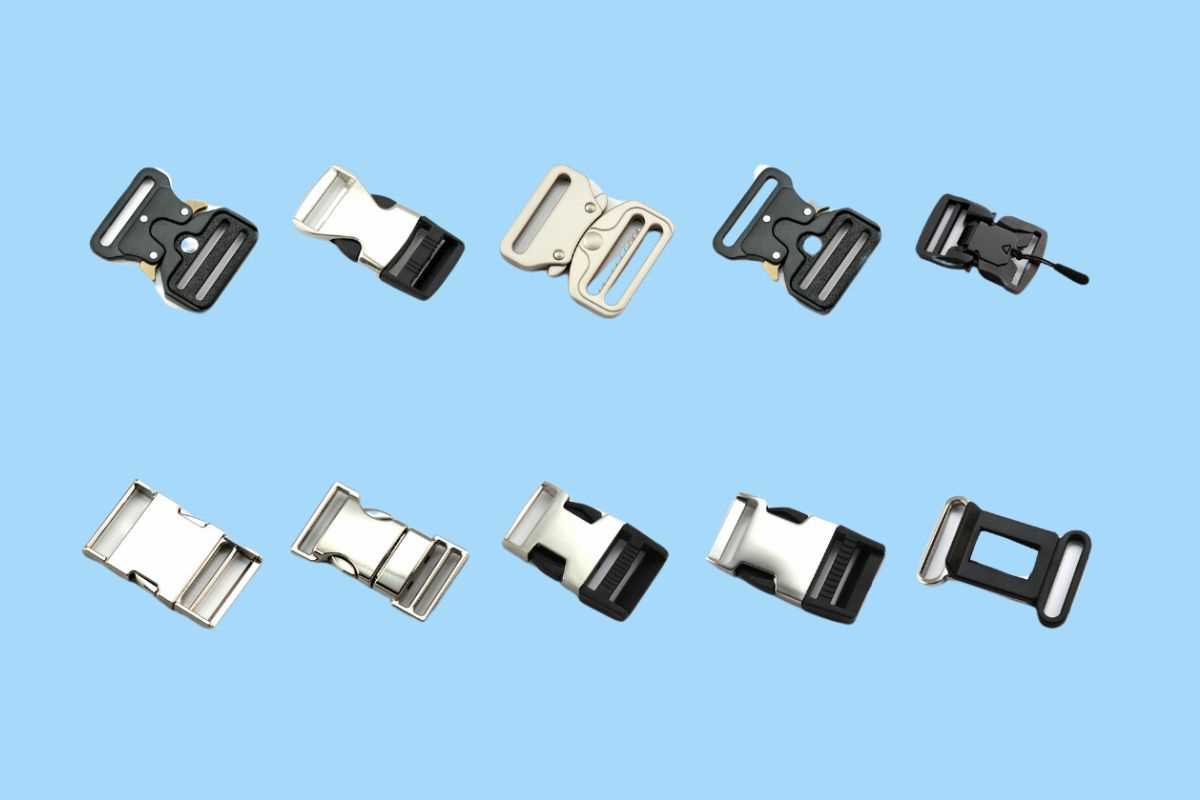
Set the hip belt to carry 60–80% of total pack weight and locate the sternum fastener 5–8 cm (2–3 in) below the clavicle.
Fitting sequence
1) Loosen all straps. 2) Fasten hip belt, center pads over the iliac crest, pull side webbing laterally until pads sit snug against hip bones without pinching soft tissue. 3) Put on shoulder straps, tighten until the pack body contacts the upper back while hips still bear most weight (confirm by feeling reduced pressure on shoulders). 4) Set load lifter straps so they form ~30–45° relative to the torso; tighten until the top of the pack tilts slightly toward the shoulders. 5) Fasten sternum fastener at the specified 5–8 cm position; tighten only enough to stabilize shoulder straps and allow two-finger breathing clearance between strap and chest. 6) Use hip stabilizer (torso-to-hip) straps to pull load inward; incrementally tighten until the pack stops pendulum motion but does not squeeze the hips.
On-trail tuning and troubleshooting
Uphill: increase shoulder strap tension by 10–20 mm (about 0.4–0.8 in) to shift a small portion of load upward for improved pack-to-back contact. Downhill: ease shoulder straps slightly and pull hip stabilizers firmer so hips absorb braking forces. Heavy loads (>20 kg / 45 lb): bias hip carry toward 70–80% and verify sternum fastener remains looser to preserve full lung expansion. Single-sided load shift: tighten the corresponding shoulder strap by 5–10 mm and adjust hip belt pad position by 1–2 cm toward heavier side.
Verification checks: while standing, slide two fingers under each shoulder strap; one to two fingers indicates correct shoulder support without excess load. Walk briskly for 100–200 m and stop; if upper back pain appears, reduce shoulder tension and re-tighten hip belt. If lower-back pressure concentrates on one hip bone, reposition pads outward by 1–2 cm and re-seat belt over the iliac crest.
Secure external gear using daisy chains, webbing loops, and carabiners
Use locking carabiners for expensive or heavy items and non-locking, lightweight gates for clothing or bottles; keep single attachment loads below 3–5 kg unless component ratings state otherwise.
Choose hardware by strength and gate clearance: aluminum carabiners with major-axis ratings of 15–25 kN suit general field use; steel gates preferred for stoves or tools that generate heat or sparks. Confirm gate opening clears the webbing width (common loop widths: 10 mm, 15 mm, 25 mm).
Prefer soft hitch techniques when clipping into ladder-style daisy loops: pass the carabiner through a single loop and back through its nose (girth hitch) for a compact connection, or clip two adjacent loops with separate gates to create a two-point anchor that resists rotation.
Place external loads close to the pack’s centerline and slightly above the hip belt to reduce pendulum effect. For long items (tripod, tent poles), use two attachment points spaced 20–30 cm apart and tension with a short lashing or accessory cord to eliminate flopping.
Prevent abrasion and noise by adding a protective sleeve where metal meets webbing: cut sections of old tubular webbing, silicone bands, or heat-shrink tubing work well. Add a small shock-absorbing cord (4–6 mm bungee) as a secondary retention to keep items from slipping under sudden movement.
Avoid dynamic or downward shock loads on single webbing stitches; if repeated heavy loading is expected, route the item through the main haul loop or use a load-rated sling instead of a single daisy rung. Do not suspend people or use for fall arrest unless components are certified for that purpose.
Inspect attachment points before each trip: look for frayed stitching, melted fibers, UV brittleness, or compressed webbing. Replace webbing or sewn ladder segments that show stitch failure or cuts exposing core fibers.
For theft deterrence and quick release: run a small locking carabiner through the outermost loop and the gear handle, or use a short cable lock for electronics. For emergencies, keep one non-locking gate accessible so essential tools can be unclipped without removing the main load.


