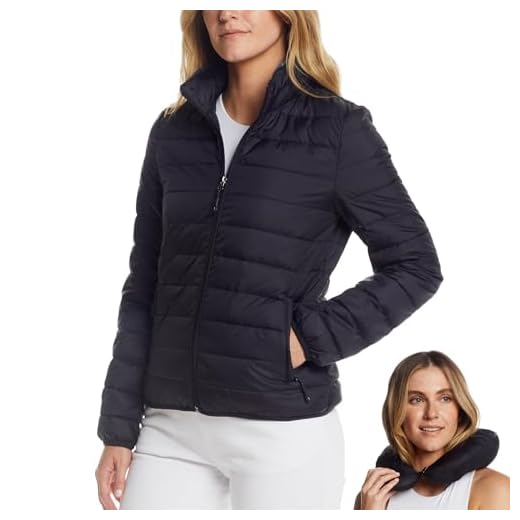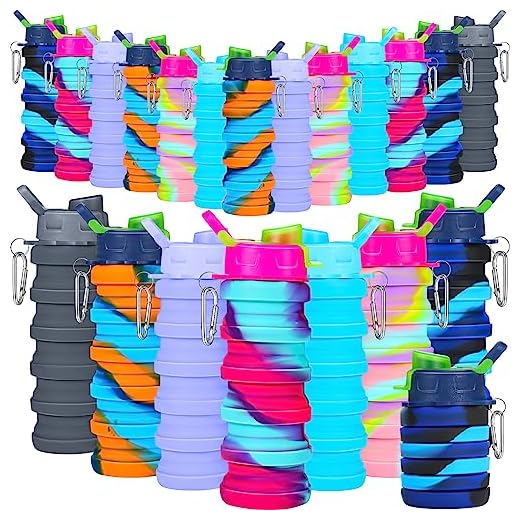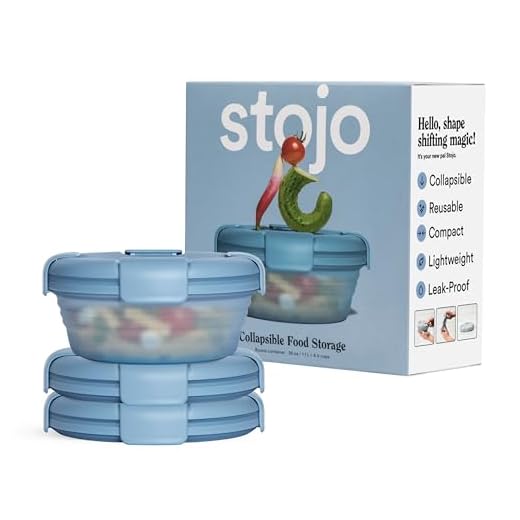


Store travel documents and cash in an easily reachable pocket: passport (plus one photocopy), boarding pass (mobile + printed), visa papers if required, travel insurance policy number, two credit/debit cards (one chip + one backup), and USD 50–100 or local currency for immediate needs.
Limit liquids to containers of 100 ml (3.4 oz) or less and put them in a single transparent resealable bag of about 1 litre (one bag per passenger under standard security rules). Carry travel-size toiletries only: toothpaste 40–75 ml, deodorant 50 ml, contact solution 60–100 ml, and a 60–100 ml hand sanitizer. Store prescription eye drops and essential medical sprays in original labeled packaging.
Electronics: one laptop (store in a slim sleeve), smartphone, chargers, and a power bank clearly labeled in Wh. Typical safe power bank sizes are 10,000–20,000 mAh (~37–74 Wh); batteries under 100 Wh are accepted onboard without approval, while 100–160 Wh require airline permission; batteries above 160 Wh are restricted. Protect spare cells by taping terminals and placing each item in individual plastic bags.
Clothing strategy: two changes of underwear, three pairs of socks (including one extra pair), one merino or synthetic base tee (150–200 g), one long-sleeve layer (250–350 g fleece), and one lightweight waterproof shell (~200–300 g). Use one compression cube to reduce volume; roll soft items to save space. Include a pair of compressible slip-on shoes for security checkpoints.
Health and safety kit: prescription medications in labeled containers with a 3–7 day supply, a signed doctor’s note for injectables or controlled substances, basic analgesic (ibuprofen/paracetamol, 10–20 tablets), antihistamine (10 tablets), motion-sickness tablets (as needed), adhesive plasters, and a small thermoplastic ice/heat pack if needed. Keep all meds in your onboard bag, not checked luggage.
Comfort and convenience: noise-cancelling or foam earplugs, an inflatable neck pillow, eye mask, spare charging cable (USB-C) and a compact multiport USB charger (65 W recommended for laptop + phone), a universal travel adapter, printed emergency contacts, a ballpoint pen for forms, and a lightweight reusable water bottle to refill after security.
Security and dimensions guidance: many carriers permit a cabin item approximately 55 × 40 × 20 cm and 7–10 kg, but rules differ strongly by airline and fare class–verify limits before travel. Lock valuables in an inner zipped compartment and carry originals (no electronic-only copies) of critical documents.
Medications, prescriptions and health documents to keep within reach
Store a minimum 7–14 day supply of all prescription medicines in your onboard bag, in original pharmacy-labeled containers showing patient name, drug name (brand and generic) and dosage instructions.
- Prescriptions and letters: carry original prescriptions plus a signed physician letter on clinic/hospital letterhead listing diagnosis, medication names (generic), doses, dosing schedule, and need for injectables or controlled substances. Include physician contact details and licence number.
- Controlled substances and legal checks: verify destination and transit-country rules for opioids, stimulants, pseudoephedrine and benzodiazepines; obtain an import permit if required and carry documentation proving quantity matches prescribed use.
- Injectables and devices: keep insulin, EpiPens, syringes, needles, lancets and nebulizers accessible. Use an insulated case for insulin with gel ice packs (avoid freezing); pack needle disposal container. Bring a clinician’s letter for syringes and refrigerated meds.
- Storage and temperature guidance: follow manufacturer labels–many unopened insulins require 2–8°C while in-use vials often tolerate room temperature for limited days. Use a small thermometer pack for long flights or warm climates.
- Over-the-counter emergency items: paracetamol (acetaminophen) or ibuprofen, loperamide, oral rehydration salts, cetirizine or loratadine, and motion-sickness tablets (dimenhydrinate/meclizine). Keep separate from prescriptions in a clearly labeled pouch.
- Documentation copies: carry paper and encrypted digital copies (PDF) of prescriptions, the physician letter, vaccination certificates (yellow fever, meningitis, if required), health insurance card and policy number, and a one-page medical summary listing allergies, chronic conditions and current meds.
- Translation and generic names: include a one-page translation of medication names and dosages into the primary language of the destination plus generic drug names to assist local providers or customs agents.
- Security screening tips: present medications and supporting letters at security screening. Liquid injectable meds over 100 ml are typically permitted with documentation–keep them accessible for inspection in a clear bag.
- Dosing schedule and redundancy: place printed dosing times (local time and home time), a phone alarm, and a backup set of labels/photos of bottles. Photographs of prescriptions and pharmacy contact enable rapid refill requests if luggage is delayed.
- Pharmacy and refill planning: research pharmacies at destination before departure, note local brand equivalents and generic names, and carry at least one extra day’s supply beyond planned travel duration.
- Emergency contacts and forms: include emergency contact, primary care/ specialist phone, travel insurance medical emergency number, and an advance directive or power-of-attorney summary if applicable.
- Handling lost or confiscated meds: keep a copy of medication lot numbers and the prescription number; if detention by customs occurs, contact your embassy and your prescribing clinic immediately–having original documentation speeds resolution.
Organizing electronics, power banks and cables for quick security checks
Store spare lithium batteries and external chargers in an outer pocket of your hand luggage and present them separately in the security bin for immediate inspection.
Label or have accessible manufacturer specs showing watt‑hours (Wh). Airline and airport screening use Wh limits, not mAh: Wh = (mAh / 1000) × 3.7 V (typical cell voltage). Example conversions: 10,000 mAh ≈ 37 Wh; 20,000 mAh ≈ 74 Wh; 26,800 mAh ≈ 99 Wh.
Regulatory quick reference: ≤100 Wh – allowed in cabin without airline approval; 100–160 Wh – airline approval required, usually max two spare batteries; >160 Wh – prohibited from passenger transport. Always keep spare cells in carry luggage (not checked) and in original packaging or insulated terminals (tape over contacts).
Use a single clear zip pouch for all small cables, adapters and memory cards. Coil cables with one Velcro tie each and place chargers next to power banks so staff can see capacity labels without rummaging.
| Item | Typical rating | Screening rule | Fast‑access placement |
|---|---|---|---|
| Smartphone | 3,000–5,000 mAh (~11–19 Wh) | Allowed in cabin; keep powered off if requested | Top compartment or phone pocket, can remain in device |
| Tablet / e‑reader | 6,000–10,000 mAh (~22–37 Wh) | Allowed in cabin; may be asked to remove for X‑ray | Dedicated sleeve near zipper for fast removal |
| Laptop | 30–100 Wh (most 40–90 Wh) | Allowed in cabin; often must be removed unless in clear screening sleeve | Thin sleeve at top of luggage for one-handed extraction |
| Power bank – small | ≤10,000 mAh (~≤37 Wh) | Allowed in cabin | Outer pocket or clear pouch with label visible |
| Power bank – medium | 10,000–26,800 mAh (~37–99 Wh) | Allowed in cabin; check for Wh marking | Clear pouch next to cables with spec sheet if unmarked |
| Power bank – large | >26,800 mAh (≈>99 Wh) | 100–160 Wh needs airline approval; >160 Wh banned | Carry manufacturer paperwork; place on top for inspection |
| Removable camera/DR batteries | Typically 7–15 Wh per cell | Spare cells must be in carry luggage and insulated | Transparent pouch with terminals taped |
Bring one multi‑port USB‑C PD cable (60W or 100W depending on laptop), one USB‑C to Lightning, and one short charging cable for daily use. Mark each cable with a colored sticker for instant identification during inspection.
Turn devices fully off if requested; remove any oversized cases or battery packs before screening. If a power bank lacks a Wh label, show the manufacturer’s spec sheet or a screenshot from the product page to speed verification.
Choosing and compressing clothing to fit a 20–30 L bag for 1–3 days
Limit garments to these counts: 1 day – 1 base layer shirt, 1 underwear, 1 socks, 1 pants/shorts, lightweight insulating layer; 2 days – 2 shirts, 2 underwear, 2 socks, 1 pants, 1 extra layer; 3 days – 3 shirts (merino or synthetic), 3 underwear, 3 socks, 1 pants + 1 shorts or convertible pants, packable jacket. Wear the bulkiest shoes and one layer in transit to save volume.
Choose fabrics that compress well: merino tees (0.6–0.9 L each), synthetic quick-dry shirts (0.5–0.8 L), travel underwear (0.12–0.2 L), thin socks (0.05–0.12 L), lightweight travel pants (1.0–1.4 L), packable down or synthetic jacket (0.8–1.5 L when compressed), rain shell (0.4–0.8 L). Avoid heavyweight cotton trousers and bulky sweaters – a 600 g cotton sweater can occupy 2.5–3.5 L compared with a 200 g synthetic midlayer at ~0.8–1.0 L.
Compression workflow: place heavier, less-compressible items along the back/bottom; roll shirts tightly toward a central spine; use a medium compression cube for clothing (reduces volume ~30–50%); stash jacket in a dedicated compress-sack (squeeze out air and cinch straps); stuff socks/underwear into shoes and gaps. For formal shirts, flat-fold into a thin garment folder before sliding into a cube to reduce wrinkles. Avoid single-use vacuum bags for short trips – cubes give faster access and require no pump.
Example layout for a 25 L bag (approximate volumes): shoes worn (0 L), compression-sack jacket (1.0 L), 3 merino tees rolled in cube (3 × 0.8 = 2.4 L → cube 1.6 L), 3 underwear + 3 socks stuffed in gaps (0.9 L), travel pants (1.2 L), waterproof shell (0.6 L), small toiletries pouch (0.8 L), lightweight towel (0.6 L), charging cable pouch (0.4 L). Total usable volume ≈10.5–12 L; remaining space for souvenirs or additional layer. This shows a comfortable margin inside 20–30 L limits.
Footwear and weather kit strategies: wear hiking or sneakers to reduce bulk; bring one pair only. For rain-prone destinations choose either a packable waterproof shell or a small umbrella – a compact umbrella often packs smaller than a heavy shell and keeps shoes drier (see best umbrella for san francisco), or source a quality foldable option locally (see best quality umbrella store at coimbatore). For multi-day stays, plan one quick sink-wash (travel detergent + hot water + rapid air-dry) to halve the number of garments required.
Toiletries and liquid limits: arranging a 1 L clear bag for airport rules
Limit every liquid container to 100 mL (3.4 fl oz) or less and fit all bottles, tubes and jars into a single 1 L resealable clear plastic bag – one bag per passenger. Liquids include gels, creams, aerosols, pastes and sprays.
Container sizes and item choices
Use these container volumes as a guide: 100 mL for a small shampoo or conditioner, 50–60 mL for body wash or facial cleanser, 30–50 mL for sunscreen or foundation, 15–30 mL for eye cream or serums, 10–15 mL for perfume or cologne samples, and 25–50 mL for toothpaste. Swap liquid items for solids where possible: shampoo bars, solid facial cleansers, deodorant sticks, toothpaste tablets and solid sunscreen sticks free up space and bypass liquid limits.
Arrangement, spill prevention and screening tips
Lay flat, flexible tubes (toothpaste, creams) against one side; place short, wide bottles flat to save height; stand narrow bottles upright at the opposite edge so caps face the same direction. Remove excess air from the bag before sealing to compress contents. Secure flip-top caps with a wrap of tape or a small elastic and put lids inside a tiny zip pouch to avoid migration inside the bag. Double-bag high-risk items (sunscreen, liquid soap) using a small secondary zipper pouch. At security, present the sealed 1 L bag separately in a screening tray for faster inspection.
Portable snacks, lightweight meals and an empty reusable bottle for security
Bring an empty reusable bottle (500–1,000 ml) through security and refill at airport water stations or cafes after screening; choose a bottle that weighs 40–300 g depending on material (collapsible silicone ~40–80 g, lightweight stainless steel ~150–250 g, Tritan plastic ~80–150 g).
Specific food items, weights and calorie math
Target 1,600–2,400 kcal per travel day depending on activity level. Suggested load for one day (total ≈1,800 kcal, net weight ≈500–650 g): 2 energy bars (2×220–250 kcal, 110–140 g), 100 g mixed nuts (~580 kcal, 100 g), 1 tuna or bean pouch (85–100 g, 120–180 kcal), 1 instant couscous or dehydrated meal pouch (60–90 g dry, 300–400 kcal after water). Swap one bar for 60 g jerky (150–200 kcal) for higher protein. Calorie density reference: nuts ≈5.5–6 kcal/g, energy bars ≈3.5–4.5 kcal/g, dried fruit ≈2.5–3.5 kcal/g, jerky ≈2.5–3 kcal/g.
For multi-day short trips (2–3 days) multiply daily load and prioritize calorie-dense, shelf-stable items: nuts, olive-oil-soaked packet tuna, MRE-style commercial pouches, instant grains. Aim to keep total food weight under 1.2 kg for two days and under 1.8 kg for three days if minimizing bulk.
Containers, utensils and screening hygiene
Use single-serve sachets and sealed pouches to avoid spills; double-bag oily items (olive oil, dressing) in resealable 0.5–1 L bags. Bring one lightweight spork (titanium ~10–15 g or nylon ~6–12 g) and a 200–300 ml collapsible bowl if rehydrating meals. Do not include metal blades in cabin luggage–store knives in checked luggage if needed.
Gels and spreads over 100 ml risk being treated as liquids at checkpoints; prefer individual 15–35 g nut-butter sachets or solid bar alternatives. Keep the empty bottle visible during screening and fill only after security. Clean bottle mouthpieces with a small brush and boiling water between uses; for deep exterior cleaning of larger gear see best pressure washer for graffiti removal.
Protect passport, cards and valuables in hidden and accessible pockets
Store the passport in an RFID-blocking sleeve sized ~92 × 130 mm and keep only one card plus boarding pass in a slim front zip pocket for security checks; place remaining cards, emergency cash and small valuables in at least two concealed compartments.
Hidden storage: where and what to conceal
Best hidden locations: a stitched internal zip pocket behind the rear panel, a sewn-in money belt worn under clothing, and a seam pocket inside a jacket. Use an RFID-blocking sleeve for all chip cards and passport; use a slim metal-lined wallet or small locked pouch for high-value items (watches, rings). Split cash into two sums: one local-currency stash ~50–100 USD equivalent in small notes (€5–10 or equivalent) and one reserve ~100–150 USD, stored separately. Clip a spare card to an internal D‑ring with a short retractable reel to prevent loss while keeping it unreachable to pickpockets.
Quick-access strategy for security and transit
Designate a single quick-access pocket (vertical front zip or top panel) for passport and the single card you’ll use immediately; remove only those items at checkpoints and return them to a hidden sleeve immediately after. For fast retrieval, keep the passport in a thin passport wallet with an external ID window; passport dimensions 125 × 88 mm fit standard travel sleeves. Photograph passport and cards, store encrypted copies in cloud and an offline encrypted file on your phone (use a password manager or encrypted archive) so recovery is possible without exposing originals.
Small additional measures: avoid mesh outer pockets for valuables, use tamper-indicating cable ties on external zippers if unattended briefly, place fragile valuables in a compact hard case inside an internal pocket, and test accessibility before travel: simulate a security check and confirm you can remove and replace items within 30 seconds without exposing other contents.


