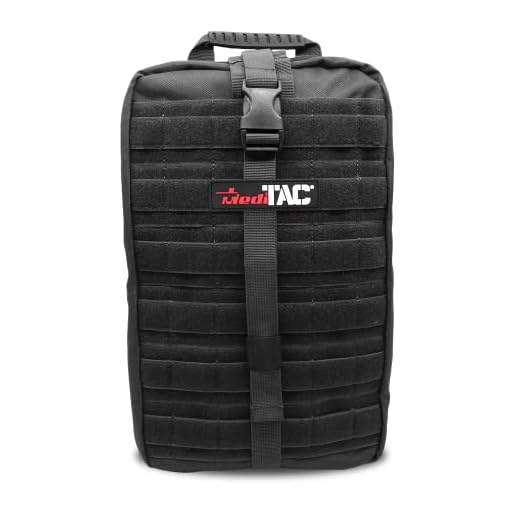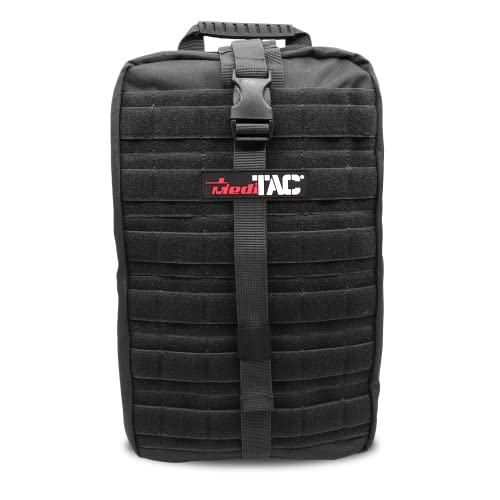

Attach enamel badges and button-style fasteners to the front pocket flap and the outer shoulder strap. For a small daypack use 1–3 items on the flap; medium packs work well with 2–4. Keep center-to-center spacing at about 20–30 mm. On the shoulder strap mount a single vertical row 100–150 mm below the top edge to avoid contact with the neck and harness hardware.
Avoid seams, zipper teeth and high-abrasion zones such as the base panel. Maintain at least 10–20 mm clearance from seam lines and 25 mm from zipper tape to prevent snagging. For lightweight nylon add a thin leather patch or iron-on interfacing behind each fastening; for canvas or ripstop use a 2–3 mm poly washer or silicone backer to spread load and reduce tearing.
Choose locking clutches, screw-back posts or rubber-coated washers for metal-backed badges; plastic safety latches are acceptable on softer fabrics. For leather and waxed-cotton prefer rivet-style attachments or sewn-on emblems instead of sharp-post fasteners to avoid permanent punctures. Limit total metal mass on any strap to around 30–50 g to prevent rotation and accelerated wear.
Lay out decorations along existing stitch lines or a simple grid: one centered vertical column on the pocket flap, or two staggered columns following seams. Target 3–6 decorative items for commuter packs and 6–15 for larger rucksacks, keeping coverage under 30% of any panel so structural integrity remains intact.
Remove metal fastenings before machine washing and detach items for security screening or flights. Store loose badges in a small pouch. For long-term display reinforce fabric with a 30–50 mm square patch and inspect backings monthly for loosening; replace compromised washers or clutches immediately.
Front panel near zipper: balance visibility with fabric stress
Recommendation: Mount single post-backed badges 10–15 mm from the zipper tape; limit each unreinforced attachment to ≤12 g and the cumulative weight within a 5×5 cm area to ≤30 g. Use a 10–14 mm metal or hard-plastic washer behind the fabric for items >8 g.
Place items at least 15 mm from the slider path to avoid interference with movement and abrasion. Keep a minimum 12–15 mm gap between adjacent posts to prevent overlapping holes and concentrated tearing. Avoid anchoring directly on top of stitched seams or zipper stops; those points already concentrate load and will enlarge perforations faster.
On fabrics thinner than 210D nylon, swap post-back accessories for sew-on or riveted patches, or add a 3–4 cm square reinforcement patch (leather, vinyl or bar-tacked nylon) before attaching metal-backed items. For standard 500–600D polyester/Cordura, a single reinforcement patch lets you safely use items up to ~25 g each and doubles hole resistance.
Fastener choices: use locking clutches or washer+nut combos rather than single butterfly clutches when located near the zipper; they spread load and reduce shaft rotation. Add a 1–2 mm neoprene or felt pad between washer and interior lining to protect inner fabric and reduce abrasion from post movement.
Orient shafts so the post axis runs parallel to the zipper teeth rather than perpendicular; that alignment reduces leverage during pulling and limits tear propagation. Inspect placements monthly: look for elongation of holes, frayed fibers, or zipper misalignment. At first sign of damage, remove the accessory and stitch a 3–4 cm patch or relocate the item to a strap or flap area.
Shoulder straps: attach badges low and close to the seam to avoid skin contact
Attach badges on the lower third of the shoulder strap: position them 8–12 cm (3–4.5 in) below the top anchor and within 5–10 mm of the outer seam so the thicker seam material sits between the metal post and skin.
Use low-profile locking clutches or rubber clutches; choose flat-backed buttons for any design with a long post. For single-post items select a clutch with at least 6 mm barrel length to clear padding without pressing into flesh.
Limit decorative weight to ≤30 g per item. Items 30–50 g require reinforcement (see next paragraph); anything above 50 g will tend to rotate, pull on the strap and increase skin pressure.
Reinforce thin straps (padding <5 mm) by sewing or gluing a 3–4 cm leather, denim or heavy-cotton patch on the strap underside directly behind the badge location. Add a 25–30 mm felt or leather washer between the clutch and fabric to spread load and prevent post poking.
Orient items horizontally so the post sits parallel to the seam; this reduces leverage and rotation. If rotation occurs, move the badge 5–10 mm closer to the seam or add a strip of fabric tape behind the badge post to increase friction.
Limit to one decorative item per strap when daily-worn; if adding a second, stagger vertically by 6–8 cm and keep them on opposite straps to avoid concentrated pressure points at a single shoulder.
After securing, test by wearing for 30–60 minutes while checking for pressure marks, warmth or redness. If any skin contact or discomfort appears, shift the item toward the seam, swap to a flatter backing, or relocate to the strap webbing near the bag body.
Top flap/lid: position badges under water-shedding overlap and use rubber backs
Recommendation: place enamel badges beneath the lid overlap so a minimum of 2.5 cm (1 in) of fabric covers the clutch when the lid is closed; secure every fastener with a low-profile rubber clutch.
Locate each accessory at least 2–3 cm from the lid edge and 3 cm away from any zipper or stitched seam to reduce fabric stress. For a single-center layout, keep the badge axis centered under the overlap; for clusters, stagger items by 2–2.5 cm to avoid rubbing between metal backs when the lid flexes.
Use rubber clutches sized for standard posts (~2 mm diameter). For thicker posts, slide a 5–7 mm length of 3 mm silicone tubing over the post before applying the rubber back; this prevents loosening and muffles rattling. For heavy metal emblems, add a 3×3 cm leather or denim reinforcement patch on the interior side and secure it with a 4 mm stitch margin to disperse point load and stop tearing on thin fabrics.
Orientation: point posts toward the interior pocket so water is shed by the outer flap; after mounting, perform a quick test – close the lid, shake for 15–30 seconds, then simulate rain by pouring ~200 ml of water across the overlap. If any moisture reaches the badge back, increase overlap to 3.5 cm (1.4 in) or move the badge farther from the edge.
For organizing internal contents alongside decorative attachments, consider complementary storage solutions such as best luggage cubes days of the week and best luggage packing systems to keep items from contacting mounted accessories through the lid.
Side mesh and elastic pockets: use small, light badges to prevent sagging
Limit decorative items on side mesh to pieces ≤25 mm diameter and ≤6 g each; mount them at the mesh’s stitched upper rim or within the top 20–30 mm of the pocket to minimize elastic stretch.
- Size & weight: target 12–25 mm diameter; preferred mass 2–6 g. Avoid metal thicker than 0.6 mm or solid brass/steel items that commonly exceed 8 g.
- Exact placement: align the item’s center 10–30 mm below the pocket’s upper seam (measured along the mesh panel). Do not attach to the elastic center or lower half of the pocket.
- Quantity per pocket: maximum 2 lightweight pieces, cumulative mass <12 g. More than two causes measurable sag and reduces elastic rebound.
- Fastener types:
- Removable: low-profile rubber clutches or small screw-back mounts that sit flush against the mesh.
- Semi-permanent: sew-on shank or rivet through a reinforcement patch (see reinforcement item).
- Avoid magnetic mounts on side pockets because they can shift under load and add shear stress to stitching.
- Materials to prefer: thin anodized aluminum, lightweight ABS plastic or enamel on thin steel with rubber clutch. Steer clear of dense alloys and heavy multilayer metal badges.
- Reinforcement option: for any item >6 g, apply a 30×30 mm backing patch (nylon ripstop or 70–100 g/m² fusible interfacing) behind the mesh and anchor with a bar-tack stitch or small square of HeatnBond; this spreads load across multiple threads and reduces localized stretch.
- Balance and symmetry: distribute decorations evenly between both side pockets; if using a single piece, offset by no more than 20 mm laterally from the pocket’s center to avoid lateral deformation of the pocket lip.
- Avoid: dangling charms, large keychains, or anything that concentrates >10 g on a single mesh thread–these accelerate elastic creep and deform pocket shape.
For utility items (bottle cages, lights), use the pack’s dedicated webbing or D-rings rather than mesh pockets; mesh is intended for light, low-profile decorative elements only.
Internal pouch or removable backing strip: store badges when travelling or flying
Use a zipped internal pocket or a detachable felt/foam backing strip mounted inside the lining; store the whole assembly in carry-on and protect each badge with a locking clutch or 4–6 mm heat-shrink tubing over the sharp post.
Pouch construction and dimensions
Recommended pouch: 18×12 cm main pocket, 2 mm closed-cell EVA foam layer + 1.5 mm felt facing; stitched along three edges and finished with a locking zipper. For larger collections, use multiple 18×12 pockets stacked vertically.
Removable strip specs and layout
Strip: 150–180 mm long, 30–50 mm wide; base = 2–3 mm EVA foam glued to a 1.5 mm felt outer layer. Mark attachment points 20–25 mm apart to avoid enamel contact and prevent metal-on-metal scratches.
Fastening: sew a 10 mm Velcro loop along the strip’s underside so it detaches from the lining; alternative: two 10 mm snap buttons spaced 120 mm apart for rigid retention. Use thread locks or bartack stitches at stress points.
Clasp protection: replace loose butterfly backs with locking clutches (commercial locking backs) or cover posts with 4–6 mm heat-shrink tubing before seating; for heavy medal-style items, add a 25×40 mm adhesive foam pad under each item to distribute load.
Screening and airline handling: carry the pouch in hand luggage; place inside a clear zip bag (max size 20×20 cm) for quicker inspection. Check carrier and country rules for metal objects with sharp points; if required, transfer to checked luggage in a rigid container with 10–15 mm foam padding around each item.
Damage-minimising tips: leave at least 5–8 mm clearance between adjacent badges; alternate face directions on the strip to reduce enamel abrasion; label the pouch exterior with a short inventory (make/model, quantity) for customs or lost-item reports.
For photographing a collection before travel, compare camera options at best digital camera comparison site.


