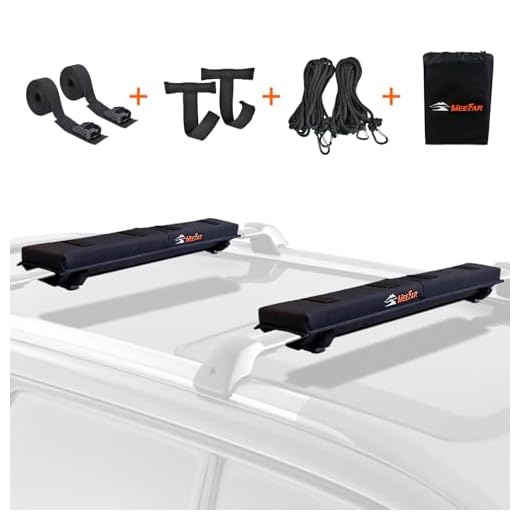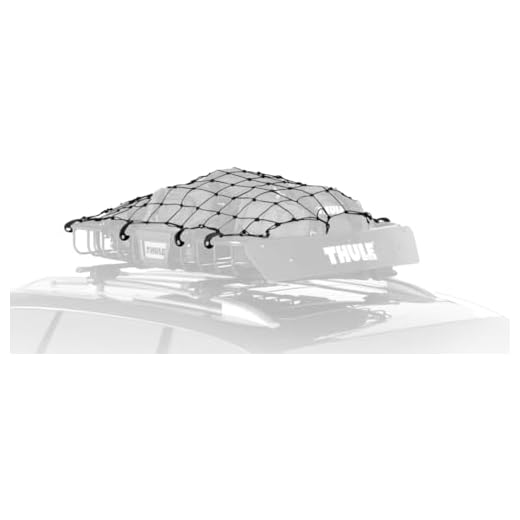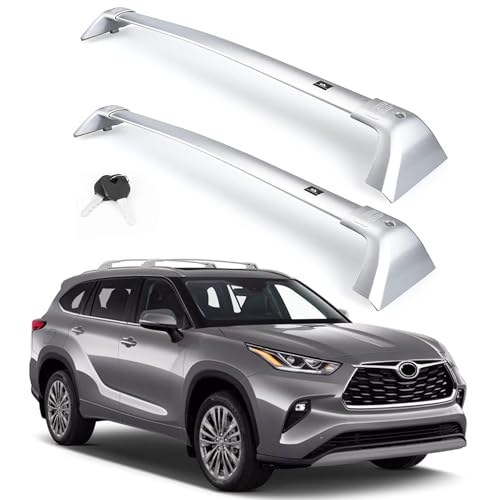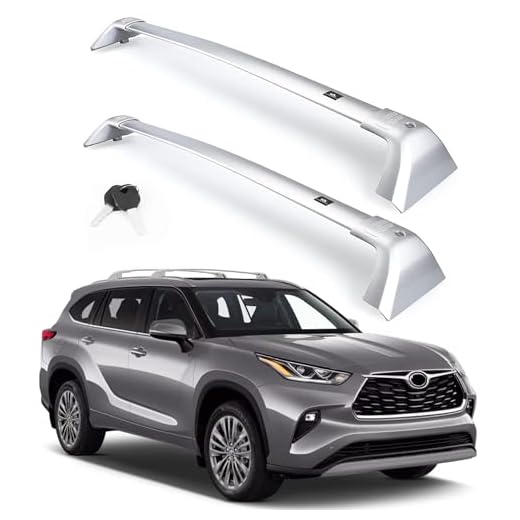


Recommendation: avoid relying exclusively on crossbars and carrier mounts for transporting heavy bags; keep dynamic load at or below 50 kg (110 lb) unless both vehicle manufacturer and bar maker explicitly allow a higher value, and prefer a hard cargo box or heavy-duty soft pod rated for the intended mass.
Pre-install checks: verify crossbar torque values, inspect mounting feet and bolts for corrosion or play, and confirm rail-to-body attachment points meet factory specifications. Use at least two independent tie-downs per large item and four securement points for bulk loads; employ certified webbing with cam-buckle or ratchet tie-downs routed over and around the cargo and anchored to factory-approved attachment points or certified mounts.
Load placement and restraints: center mass between front and rear crossbars, limit fore–aft movement to under 5 cm, and position heaviest pieces low and close to the vehicle-top surface to reduce pendulum forces. Balance lateral load so each side carries similar weight; if combined mass approaches bar rating, relocate items into the cabin or trunk.
Operational limits and inspection routine: restrict sustained speeds to 100 km/h (62 mph) or below when carrying external cargo, recheck all fastenings after the first 10 km and at least every 100–200 km thereafter, and inspect tie-down abrasion points after exposure to moisture, road salt or UV. Confirm local legal width and overhang limits and verify that insurance or warranty conditions accept the chosen mounting method.
Quick checklist: confirm manufacturer load ratings, use certified mounts, select appropriate containment (box, pod or cargo net), apply redundant tie-downs, and perform periodic checks during long trips.
Vehicle and top-bar load limits: how much weight is safe on crossbar systems?
Follow the lower of the vehicle’s top-load placard and the crossbar/carrier rating; typical dynamic limits: 50–100 kg for compact cars, 75–150 kg for crossovers and SUVs, with some heavy-duty systems rated up to 200–220 kg. Static ratings (when stationary or during mounting) commonly reach 200–300 kg but must not be used as a driving allowance.
How to determine the safe carrying weight
1) Read the door-jamb placard and the owner’s manual for the vehicle’s specified maximum top load (dynamic). 2) Read the crossbar or carrier manual for its maximum. 3) Use the smaller of the two values as the operational limit. 4) Subtract the empty weight of the carrier or cargo box (typically 5–25 kg) before loading. 5) Apply a safety margin of 10–20% below that result to allow for bumps, aging fittings and uneven loading.
Practical loading and safety tips
Arrange mass low and centered between the longitudinal bars; keep the center of gravity as close to the vehicle’s top surface as possible and within ~40 cm of the bars’ midpoint. Fasten items with rated tie-downs and anti-slip pads; retighten all fasteners after the first 10–20 km. Reduce cruising speed by 10–20 km/h when heavily loaded; aerodynamic drag increases fuel consumption and affects handling. Prefer lightweight, low-profile cases such as best luggage for chicldren to minimize impact on stability. For bulky appliances or awkward items, confirm component weights and service options (for example whether doors are removable) before attempting transport; see are smeg fridge freezer doors removable for an example of assessing large items.
Fastener selection, anchor locations and hardware for cargo mounted to vehicle crossbars
Use 2″ polyester ratchet tie-downs with a Working Load Limit (WLL) ≥ 1,500 lb (Minimum Breaking Strength ≥ 4,500 lb) as primaries and at least two independent 1″ cam-buckle or soft-loop tie-downs with WLL ≥ 500 lb as backups.
Recommended fastener types
- 2″ polyester ratchet tie-downs – low-stretch, UV-resistant webbing; typical WLL ≈ 1,500 lb, MBS ≈ 4,500 lb. Primary restraint for fore/aft forces.
- 1″ cam-buckle tie-downs or soft-loop straps – WLL ≈ 300–1,000 lb depending on width; use as secondary retention.
- Cargo nets with rated anchor straps – choose nets with labeled WLL and attachment points spaced to prevent shifting.
- Soft loop protectors – wrap around crossbar to eliminate metal-to-metal abrasion and distribute webbing pressure.
- Edge protectors (leather, plastic or rubber) – pad all bar-to-webbing contact and sharp corners.
- Stainless-steel quick links or screw-pin bow shackles – select hardware rated at or above the connected tie-down WLL; prefer grade 316 for coastal use.
- Locking, load-rated carabiners (not alpine climbing gear unless marked for transport loads) – use only when stamped with WLL/MBS.
- Avoid elastic cords, generic rope without rated markings, S-hooks that can unseat, and any unmarked hardware.
Anchor locations and routing guidelines
- Attach primary tie-downs to structural anchors integrated with the crossbar system or factory vehicle tie-downs. Hardware chosen must be load-rated and permanently secured; do not rely on trim clips or plastic fittings.
- Route webbing so it wraps under the crossbar or through a soft loop; maintain a 90° wrap where possible to prevent lateral slipping. Place edge protectors at any contact point with sharp corners.
- Use at least four anchor points for rectangular or heavy cases: two forward and two aft. Add lateral lashings when load height or width can catch side winds.
- Optimal strap angles for fore/aft control: keep departure angles low – target 20°–45° from horizontal for maximum horizontal clamping component. Lateral straps should be as close to perpendicular to vehicle centerline as practical.
- Tensioning: pre-tension by hand to remove slack, then ratchet until the load is immobile under firm shove; avoid over-tensioning that deforms crossbar or cargo. Secure excess tail with a zip-tie or webbing keeper to eliminate flapping.
- Redundancy: at least one independent backup per principal direction (forward/back) with a separate anchor path and independent hardware rating.
- Hardware selection rule of thumb: all metal fittings and connectors in a single load path should have WLL ≥ the strap WLL they join; marking of WLL/MBS is required for reliable selection.
- Material guidance: stainless-steel (304/316) for corrosion resistance; galvanized for occasional use; avoid plated hardware with visible wear.
- Inspection and replacement: retire webbing with >10% fray, cuts, or UV embrittlement; replace any metal component that shows deformation, cracks, or thread damage.
- Pre-trip checks: re-tension after 10–20 miles and again after the first hour on long trips; inspect anchor points and tails for movement or chafing.
Aerodynamics and driving practice: speed, wind and handling with cargo on a top-mounted carrier
Recommendation: Keep sustained highway speed at or below 90 km/h (56 mph) with a top-mounted carrier; reduce to 60–70 km/h (37–43 mph) in strong crosswinds, heavy rain or on exposed bridges.
Fuel, drag and numbers: A bulky box or poorly faired soft load typically increases aerodynamic drag coefficient (Cd) by about 0.05–0.15, producing a fuel consumption rise of roughly 10–25% at 100 km/h. Drag penalty scales with speed squared: doubling speed quadruples aerodynamic force, so small reductions in cruising speed yield proportionally large fuel savings and reduced lateral wind sensitivity.
Crosswind thresholds and steering inputs: Gusts above 50 km/h (31 mph) begin to cause noticeable yaw and lane wander with elevated profiles; gusts above 80 km/h (50 mph) risk loss of control for light vehicles with large top loads. Use two-handed, gentle steering corrections, avoid abrupt lane changes and pass high-sided vehicles only at lower speed and with extra clearance.
Stability, center of gravity and cornering: Vertical shift of mass increases roll inertia and reduces lateral acceleration limit. Expect safe cornering speed to fall by 15–30% depending on mass and height of the load. Place heavier items as low and as close to the vehicle centerline and middle axles as the carrier design allows to minimize pitch and roll moments.
Braking and stopping distance: Added mass increases kinetic energy linearly; a 10% increase in gross vehicle mass roughly increases braking distance by ~10% under similar pedal force. Extend following gap: single-lane highway gaps should be increased by at least 50% for moderate top loads and doubled in gusty conditions.
Load shape and noise: Low-profile, streamlined containers and tight-fitting covers reduce buffeting and wake turbulence. Align cargo fore–aft, avoid large frontal surfaces that present a flat face to airflow. Consider a small wind deflector on the front crossbar for boxes with pronounced rear wake.
Emergency responses: On sudden gust: gently lift off accelerator, steer smoothly into the gust until vehicle stabilizes and, if instability persists, pull off to a sheltered location. Avoid heavy braking or sharp evasive maneuvers; if passing a high-sided vehicle proves unstable, abort the pass and wait for calmer conditions.
Preventing damage and loss: tie-down techniques, padding and in-trip inspection for vehicle-top loads
Use a four-point tie-down per large bag: two anchor runs forward and two aft, with at least one cross-lash per side to resist lateral movement. Place forward lines angled down toward the bumper and rear lines angled down toward the tail; opposing tension prevents pitch and yaw without overloading a single anchor.
Specify hardware by Working Load Limit (WLL): ensure the sum of WLL values from all tie-downs exceeds three times the cargo mass. Example: 90 kg total load → total WLL ≥ 270 kg; with four tie-downs, each WLL ≥ 70 kg. Prefer webbing marked with WLL and proof-tested ratchet or cam systems; avoid knots in webbing (use hardware-rated loops or soft shackles).
Use padding and edge protection at every contact point: closed-cell foam pads 10–25 mm thick beneath the load, anti-slip rubber mat (3–6 mm) between carrier and bag bottoms, and leather or reinforced rubber edge protectors on sharp corners. For webbing protection, slip on PVC tubing cut lengthwise or dedicated chafe sleeves at each metal edge.
Routing and tensioning protocol: keep webbing straight (no twists) and aligned with anchor points; maintain anchor angles under 45° to horizontal, ideally ~25–35°. Tension until the load is snug but stop before deforming soft containers or crushing padding–aim for visible removal of slack rather than maximum ratchet force.
Inspection schedule and check-list: perform a hand-and-eye check after 10–15 minutes of driving (first 8–24 km), then at every fuel stop or every 80–160 km. At each check verify: webbing integrity (no fray, heat damage, UV degradation), buckle functionality, movement of the bag relative to carrier, paint/zip-tie alignment markers for slippage, and carrier mounting bolts for looseness. Record any loss of tension and re-tension or replace damaged components immediately.
Damage-control measures during the trip: carry spare tie-down webbing, two edge protectors, a set of soft loops, and a small roll of high-visibility tape or zip-ties for temporary fixes. If a webbing shows >10% reduction in width or broken fibers, remove it from service. For wet or frozen conditions, dry and re-tension before continuing; water ingress increases mass and can change balance.
Securing small items and covers: place loose gear inside sealed soft cases or hard containers with internal straps; add a low-profile cargo net strapped across the entire load for secondary retention. Use a low-drag, waterproof cover fastened at multiple points beneath the main tie-downs to prevent wind from getting under the load and to limit abrasion from road spray.


