

To ensure a seamless travel experience, it is advisable to utilize a tape measure or ruler. For most airlines, the standard dimensions allotted for personal items or small bags are approximately 18 x 14 x 8 inches (45 x 35 x 20 cm). Checking your specific airline’s policies beforehand can save you from last-minute packing dilemmas.
When assessing your item, start by measuring the length, width, and height. Begin with the longest side for length, followed by width, and finally height. Keep in mind that some airlines may include wheels and handles in their calculations. Double-check your measurements to avoid discrepancies at the airport.
If you prefer to use a soft measuring tape, it can be particularly useful for irregularly shaped items that are not easily boxed into standard dimensions. This method allows flexibility to wrap around corners and contours, ensuring all aspects are accounted for. Remember to be meticulous; even slight variances could impact your travel experience.
Utilizing a luggage scale can also prove beneficial for weight restrictions often imposed by airlines. Many allow an upper weight limit between 15 to 22 pounds (7 to 10 kg) for carry-on items. Always weigh your belongings to prevent any additional fees or inconveniences.
How to Accurately Assess a Travel Bag’s Dimensions
Begin by laying the bag flat on a sturdy surface. Use a measuring tape to determine the height, width, and depth. Height refers to the distance from the base to the top when the bag is standing upright. Width is the measurement across the bag from one side to the other, while depth indicates how far the bag protrudes from the front to the back.
To ensure precision, follow these guidelines: For height, measure from the floor to the highest point; for width, measure at the widest section, typically the top; and for depth, measure from the front zipper to the back of the bag. Always write down your measurements for reference.
Keep in mind that airlines often impose specific size limits, making awareness of exact dimensions important. If you’re searching for functional options, consider the best luggage with lots of storage or the best rugged travel duffel bag, both of which can meet various carry-on requirements while maximizing packing space.
Lastly, the rounded edges of some bags might distort the total measurements, so you may want to add an extra inch or two to account for any irregularities. This approach ensures compliance with travel policies.
Understanding Airline Dimensions for Carry-On Items
Each airline specifies maximum dimensions for personal belongings and small travel items. These limits often include height, width, and depth, which are usually expressed in inches or centimeters. Checking the airline’s website prior to travel can prevent last-minute surprises at the airport.
Commonly accepted dimensions for overhead storage items typically range from 22 x 14 x 9 inches (56 x 36 x 23 cm) to 21 x 15 x 9 inches (54 x 38 x 23 cm). However, some budget carriers impose stricter size regulations, often allowing only slightly smaller measurements.
Many airlines also have specific weight limitations, generally falling between 15 to 25 pounds (7 to 11 kg). Exceeding these figures may result in additional charges. Weighing luggage at home ensures adherence to these restrictions and helps avoid extra fees at check-in.
Individual airline policies can vary, with some allowing an additional small item such as a laptop case or purse. This smaller accessory should fit comfortably under the seat in front of you and must comply with the stipulated dimensions.
Consider investing in soft bags, as they can be more easily compressed or adjusted to fit tight spaces. Rigid cases might not conform to size constraints as well, potentially leading to problems during boarding.
Staying informed about each airline’s specific requirements is critical. Additional fees for oversized or overweight items can quickly add up, impacting overall travel costs. Always double-check restrictions prior to packing to ensure a smooth experience.
Tools Required for Accurate Measurement
Utilize a soft measuring tape or a rigid ruler for precision in determining dimensions. Opt for a cloth tape if flexibility is necessary, allowing for measurement of rounded edges or handles.
Recommended Tools
- Soft measuring tape – ideal for incorporating curved surfaces.
- Rigid ruler or yardstick – provides straight measurements.
- Calipers – useful for determining thickness or specific dimensions.
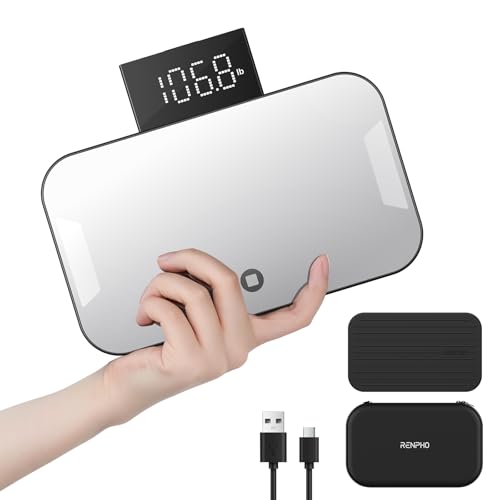
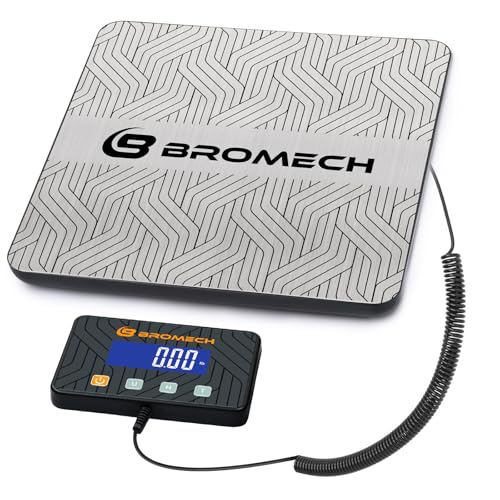
- Weighing scale – essential for tracking weight limits as airlines impose strict regulations.
Measurement Process
Ensure the item is empty for accurate results. Begin by measuring the height, followed by width and depth. For irregular shapes, take multiple readings and consider the largest dimensions. Document results clearly to avoid confusion.
Incorporate tools strategically for best results. For travelers interested in documenting their adventures, check out the best digital camera binoculars for birdwatching.
Step-by-Step Guide to Measuring Your Bag
Begin with a flat surface to ensure accuracy. Lay the item completely flat, ensuring no part is elevated.
Utilize a flexible measuring tape for precise dimensions, wrapping it around the widest parts. Record the length, width, and height separately.
For length, measure from one end to the other along the longest side. For width, take the distance across the shorter sides. Height requires measuring from the bottom to the top.
Consider including wheels and handles in your height measurement, as these can affect fit within airline restrictions.
Double-check measurements for consistency. It’s advisable to repeat measurements two or three times to confirm accuracy.
Document all measurements clearly, noting any discrepancies if present. This will aid in comparing with airline specifications.
For additional verification, use a hard surface as a reference to confirm that width and height align with the industry’s standard dimensions.
If time permits, ask for a second opinion on recorded figures to minimize errors.
After completing these steps, you’ll have a set of measurements ready for confirmation against your airline’s guidelines, ensuring smooth travel.
Checking Weight Restrictions for Carry-On Luggage
Verify the limitations set by the airline before heading to the airport. Most carriers specify a maximum weight, typically ranging from 15 to 22 pounds (7 to 10 kg) for overhead items.
Consult the airline’s official website or contact customer service for precise information regarding weight limits applicable to your flight. Some low-cost airlines enforce stricter policies, while others may allow more generous allowances.
Consider the following table that outlines weight restrictions for popular airlines:
| Airline | Maximum Weight (lbs) | Maximum Weight (kg) |
|---|---|---|
| American Airlines | 22 | 10 |
| Delta Air Lines | 20 | 9 |
| United Airlines | 22 | 10 |
| Ryanair | 17.6 | 8 |
| EasyJet | 15.4 | 7 |
Weigh your belongings accurately using a digital scale. If a scale isn’t available, use your bathroom scale by weighing yourself first, then together with the item and subtracting your weight from the total.
Keep in mind that exceeding weight limits can lead to extra fees or the necessity to check items at the gate, which can add inconvenience and stress. Aim to stay within the set guidelines to ensure a smoother travel experience.
Tips for Choosing a Compliant Carry-On Bag
Prioritize lightweight materials to maximize packing efficiency. Select a model crafted from durable, yet lightweight fabrics such as nylon or polyester, which help reduce overall weight while maintaining strength.
Opt for a design that features exterior pockets for easy access to essentials. Compartments for items like passports, snacks, and electronics eliminate the need to rummage through the main section.
Consider purchasing a bag with a structured frame. This allows for better organization and minimizes the risk of items becoming crushed.
Choose a color or pattern that stands out for easy identification at baggage claim or during boarding. A unique style can save time and stress when retrieving your belongings.
Test the handles and straps before buying. Ensure they feel comfortable during carrying and can withstand some weight without straining your grip.
Evaluate the wheels if a wheeled option is preferred. Smooth-rolling wheels and 360-degree mobility enhance maneuverability, especially in crowded terminals.
Look for expandability features. Bags with zippers that allow for extra space can be advantageous for unexpected items or purchases during travel.
Review return policies and warranties to secure your investment. Knowing a bag can be returned or exchanged if it doesn’t meet your needs offers peace of mind.
Research customer reviews for insights on real-world usability. Feedback from fellow travelers can highlight strengths and weaknesses you may not have considered.