To begin securing your travel gear, locate the replacement mechanism and have a flathead screwdriver ready. This tool will assist in detaching the existing fastening system efficiently.
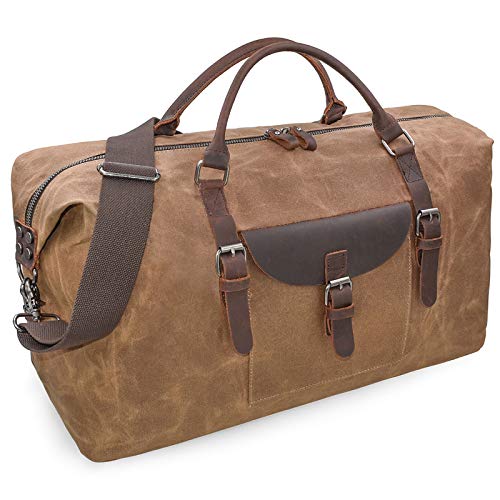
Next, identify the specific model of your travel case to ensure compatibility with the new mechanism. Many options are available, so choosing one that matches both the aesthetics and the dimensions of your case is crucial.
Once you have the new fastening system, align it with the existing holes, using the screwdriver to secure it firmly. This step guarantees a solid fit and improves the overall functionality of your travel accessory.
Finally, double-check the installation by gently pulling on the new mechanism. This ensures everything is in place and ready for your next adventure, providing peace of mind throughout your travels.
Replacing Mechanism on Delsey Travel Cases
Begin by locating the appropriate replacement mechanism according to the model you possess. Identifying the accurate type ensures compatibility with existing components. Once acquired, prepare your workspace with necessary tools: a screwdriver and possibly pliers.
Next, carefully remove the existing mechanism. This typically involves unscrewing the fasteners securing it to the case. Pay attention to any connectors or additional hardware that may require detachment. Store these elements safely for later use or disposal.
Attach the new mechanism in reverse order. Align it accurately with mounting points and ensure all screws are tightened securely. Verify that any connectors align correctly to maintain functionality.
After installation, test the new system to confirm it operates smoothly. Address any misalignments or issues promptly. If complications arise, consult the manufacturer’s guidelines or explore helpful resources online.
For additional tips related to travel experiences, consider exploring this link for insights on the best aquarium in Missouri.
Identify the Type of Lock on Your Delsey Bag
Identify your bag’s lock system before proceeding with the adjustment. Most of these travel bags come with various locking mechanisms, each designed for specific use cases.
- Combination Lock: Typically features a rotating dial or buttons. To reset, locate the reset button, which might be hidden under a cover or on the side.
- Padlock Style: These locks require a key or a combination for access. Check the compartment or zipper area for the brand-specific instructions.
- Built-in TSA Lock: Common in travel bags, these locks can be opened by TSA agents using a universal key. To reset, consult the manufacturer’s guide.
Ensure you document your lock type, as this can influence the replacement process. For maintenance, consider using the best cleaner for outdoor umbrella to keep your bag in prime condition, allowing smooth operation of all zippers and locks.
Before making any adjustments, closely inspect the lock mechanism for any visible model number or brand markings. This identification will streamline your replacement or maintenance journey.
Explore available options in the market tailored for your specific locking mechanism. When seeking lightweight protection for your travel essentials, you might also want to check the best lightweight umbrella new york to ensure you’re fully equipped for any scenario.
Gather Necessary Tools for Lock Replacement
For a successful replacement of the fastening mechanism, ensure you have the following items on hand:
- A Phillips screwdriver to handle screws that secure the assembly.
- A flathead screwdriver may be required for prying open components without causing damage.
- Replacement mechanism compatible with your specific bag model.
- A pair of pliers, useful for gripping and adjusting small parts during installation.
- A small flashlight to inspect any hard-to-see areas while working.
Optional Tools
If available, consider having a utility knife for trimming excess materials and a ruler for measuring placements accurately. A workbench or a flat surface to lay out your items will also facilitate the process.

Safety Precautions
Wear safety goggles to protect your eyes from any small debris during disassembly. Keep a clean workspace to avoid losing small components during the process.
Remove the Old Lock from Your Luggage
To detach the existing fastener, locate the screws or mechanism securing it to the case. Use a screwdriver or a suitable tool to remove the screws. Ensure to keep these components in a safe place for potential future use.
If the mechanism employs a pop rivet or adhesive, carefully drill out the rivet or apply a solvent to weaken the adhesive bond. Exercise caution to avoid damaging the material surrounding the fastener.
Once the old mechanism is freed, check for any remaining debris or parts inside the compartment. Clear the area to ensure a smooth installation for the new fastening device.
Inspect the surface where the previous attachment was located. Any scratches or roughness can be smoothed out with fine-grit sandpaper, allowing for a better fit for the new installation.
Install the New Lock Securely
Align the newly acquired mechanism properly with the existing openings in the case. Ensure that any screws or mounts are positioned correctly to prevent misalignment. Use a screwdriver to fasten the screws firmly, not overtightening, as this might damage the mechanism or the surrounding material.
Once securely fastened, conduct a thorough check by attempting to operate the mechanism multiple times. This will identify if it functions smoothly without resistance. If it jams or feels loose, revisit the screws for adjustments.
After confirming functionality, close and open all compartments to assess any interference with the zippers or seals. This guarantees no operational issues arise from the installation.
For added security, consider using a bit of lock lubricant on moving parts to ensure longevity and smooth operation.
Finally, review the entire setup to ensure everything is in place, and perform a final test of the locking mechanism before rigorous use.
| Step | Action |
|---|---|
| 1 | Align new mechanism with openings |
| 2 | Fasten screws without overtightening |
| 3 | Test mechanism functionality |
| 4 | Check for interference with compartments |
| 5 | Apply lubricant on moving parts |
| 6 | Final review and test |
Test the New Lock for Proper Functionality
After installing the new mechanism, it’s vital to assess it thoroughly to ensure reliability.
Follow these steps for effective testing:
- Choose a combination or key that you set during installation.
- Engage the mechanism to verify it latches correctly.
- Input the combination or insert the key, and attempt to open.
- Close the compartment again and repeat the previous steps several times.
- Test the mechanism using various orientations to mimic actual usage.
In case of resistance or malfunction:
- Recheck installation to confirm all components are secured.
- Verify that the combination has been properly programmed.
- If using a key, ensure it is undamaged and fits smoothly.
After completing these checks, the new device should be ready for use. Consider keeping a record of the combination or key location for future reference.