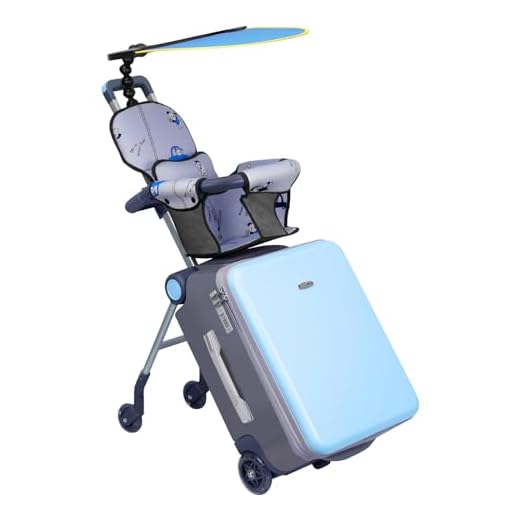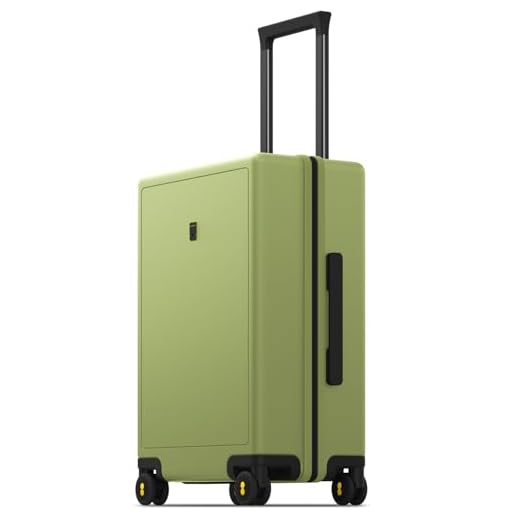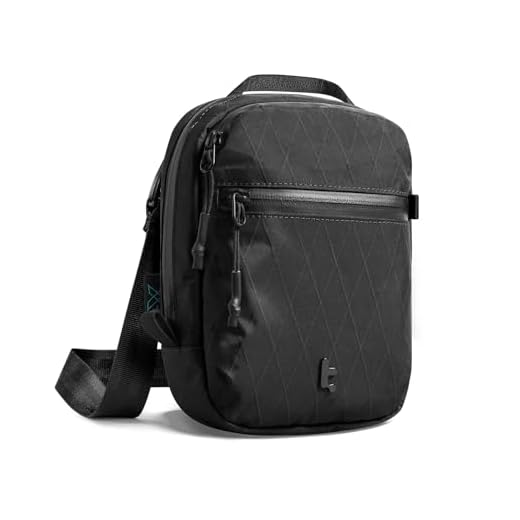


Begin with a straightforward geometric shape for the suitcase, such as a rectangle or a square. This initial form serves as the foundation for further details. Utilize a ruler to maintain clean lines, ensuring symmetry and precision.
Once the basic shape is established, introduce depth by adding slightly rounded edges and a top handle. This alteration transforms the flat outline into a more three-dimensional appearance. Consider the perspective from which the baggage will be viewed; this influences how the dimensions should be adjusted for realism.
Add texture with shading techniques. Lightly pencil in areas to represent reflections and shadows, highlighting the craftsmanship of zippers and pockets. Using darker tones on one side can create a compelling contrast, emphasizing the structure. For color, opt for shades that evoke your chosen style, whether it’s sleek modern or vintage charm.
Incorporate travel stickers and tags for added personality. These elements not only enhance the visual interest but also tell a story about the adventures of your illustrated case. Experiment with different placements and sizes to achieve a balanced composition.
Representation of Travel Bags
Begin with a basic rectangular shape for the body, ensuring the proportions align with your intended design. For a conventional suitcase, a width-to-height ratio of about 1.5:1 works well.
Next, create rounded edges for a softer appearance. Use a separate shape for the handles, positioning them on the top center. The handles should be slightly curved to suggest comfort and ease of carrying.
Incorporate wheels at the bottom by drawing two small circles on each side. Ensure they’re positioned evenly for balance. Add depth by illustrating a three-dimensional effect on the suitcase by slightly shading the edges, giving it volume.
For added detail, include zippers. A simple line running across the width can depict an open or closed zipper, and a small rectangle can represent the zipper tab.
Consider including travel stickers to personalize the depiction. Place them sporadically across the surface to evoke character and suggest frequent travel.
Keep texture in mind; a smooth surface may indicate a modern design, while a rugged look could signify a more durable, weather-resistant type.
| Element | Description |
|---|---|
| Body | Rectangular shape with rounded edges |
| Handles | Slightly curved for comfort |
| Wheels | Small circles for balance |
| Zippers | Lines to indicate openings |
| Stickers | Scatter for personalization |
| Texture | Smooth or rugged appearance |
Finish your piece by adding shadows underneath and highlights along the edges to create depth, making your portrayal more lifelike. Aim for an overall clean design reflective of your targeted aesthetic.
Choosing the Right Type of Bag to Illustrate
Select a style that resonates with your artistic vision. For realistic portrayals, opt for suitcases with distinct features–hard-shell cases provide a striking texture, while soft-sided options offer flexibility. Consider incorporating wheels and handles for added dynamism in your sketches.
Size and Proportions
Focus on scale. A large travel bag will require different proportions compared to a compact backpack. Study various types to ensure accurate dimensions, capturing the essence of each model. This attention to detail enhances visual impact.
Color and Texture
Explore different materials like leather, fabric, or plastic. Leather bags often exhibit rich, detailed textures, whereas fabric may display patterns. Incorporate color gradients and shading to reflect light and depth. Utilize references to achieve lifelike representations, making your creations pop.
For added inspiration in your artistic toolkit, check out the best windproof umbrellas for college students, as the interplay between functional design and aesthetics can provide useful insights for your own projects.
Basic Shapes and Proportions for Luggage Design
Begin with simple forms to construct each piece of travel gear. A rectangular prism serves as a foundational shape for most suitcases. Ensure the dimensions maintain realistic proportions–length should be more than height, while depth can vary based on the intended use.
Proportional Relationships
Strive for harmonious proportions. For standard suitcases, a ratio of about 2:1:1 (length:height:depth) is effective. This encourages balanced aesthetics, facilitating ease of handling. Use this ratio for carry-on bags as well, but adjust dimensions to comply with airline regulations.
Defining Details
Incorporate rounded edges or tapered corners for a modern look. These elements soften the overall design, making it visually appealing. Consider adding compartments for functionality; these can be indicated by lines or subtle bulges to suggest depth. A vertical alignment of handles contributes to ergonomics, so keep them proportionate to the overall figure.
Finalize with additional features like zippers, wheels, and branding elements. Position these consistently to maintain coherence throughout your work. Whether sketching or crafting digitally, focus on maintaining clarity and simplicity to represent practicality and style.
Adding Details: Zippers, Handles, and Wheels
Incorporate intricate components to enhance the realism of your travel bags. Begin with zippers, which should appear as thin, parallel lines along the edges of the bag. Use small curves to indicate the zipper pull, showcasing it either half-open or fully closed for added effect.
Zippers
- Utilize a darker shade for the zipper line to create depth.
- Add small notches or teeth details along the zipper line to simulate the fastening mechanism.
- Consider varying the width of the line to suggest different zipper styles.
Handles
For handles, establish a comfortable grip form. Draw them as semi-oval shapes protruding from the top of the bag. Use curvature to suggest flexibility and volume. Ensure the handles taper towards the ends for a realistic appearance.
- Include stitching lines along the handles for texture.
- Determine the attachment points, showing how they connect to the bag with small circles or rectangles.
Wheels
Wheels can add a dynamic touch to the illustration. Position them at the bottom corners of the suitcase for stability. Represent wheels as small circles, but introduce a slight shadow beneath to imply weight.
- Differentiate wheel designs–smooth for spinner types, textured for durable options.
- Add a small arc to represent the wheel compartment cover if applicable.
As you integrate these features, layers of detail will help communicate functionality and style, bringing your illustration to life.
Incorporating Textures and Patterns on Travel Gear
To enhance the visual interest of travel bags, consider using a combination of textures and patterns. Begin by selecting a dominant texture, such as leather or fabric, which adds depth. For instance, a pebbled leather finish provides a tactile experience, while a smooth canvas offers a minimalist look.
When applying patterns, choose those that complement the material. Geometric shapes often work well on synthetic options, while floral or paisley designs can give a softer touch to fabric. Ensure that patterns are not overly busy; a subtle design can create a sophisticated appearance without overwhelming the overall aesthetic. Stripes or polka dots can also add a playful element; use them sparingly along handles or pockets.
Consider adding embossing or debossing techniques for a three-dimensional effect. This technique works beautifully on leather, highlighting details like logos or brand names. Alternatively, screen printing can be effective for intricate designs, allowing for bright colors that stand out against neutral backgrounds.
Textures can be enhanced with techniques like stitching or piping, adding visual breaks and textural variation. Combining smooth and textured surfaces creates an engaging contrast. For example, pairing a sleek front panel with textured sides can draw attention and invite touch.
Finally, keep color palettes cohesive. Use colors that resonate well together to unify the textures and patterns you select. Neutral tones paired with one or two accent colors can help maintain balance while still showcasing creativity. Consider customer preferences and the intended usage, ensuring everything aligns harmoniously.
Color Selection and Shading Techniques for Travel Cases
Select colors that resonate with the theme or mood you wish to convey. For a classic look, consider deep tones like navy blue or burgundy. Bright colors such as lime green or hot pink can express energy and modernity. Complementary colors can enhance visual appeal; for instance, pairing orange with blue adds dynamism.
Understanding Color Theory
Utilize the color wheel to balance shades effectively. Experiment with analogous colors for a harmonious effect or use triadic schemes for a more vibrant outcome. Make sure to choose colors that reflect the purpose of the piece, ensuring they align with your intended message or emotional response.
Shading Techniques
Incorporate various shading methods to simulate depth. Cross-hatching provides a textured feel, while gradient shading softens transitions between light and dark areas, mimicking how light interacts with surfaces. Blending tools, such as tortillons, can create smooth transitions, particularly when working with pastels or colored pencils.
Always observe real-life lighting conditions to replicate shadows accurately. Shadows usually fall on opposite sides of light sources, so ensure that your highlights and shadows are consistent. Using a lighter color at the edges can simulate shiny, reflective materials while darker tones in crevices enhance realism.
Finishing Touches: Backgrounds and Context for Your Drawing
Incorporating an appropriate background can elevate your visual representation significantly. Consider environments that resonate with the style and purpose of the travel item you are illustrating. For instance, a modern, sleek suitcase might benefit from an urban backdrop, while a vintage trunk flourishes in a rustic setting.
Types of Backgrounds to Consider
- Urban Scenes: Skyscrapers, busy terminals, or city streets can add dynamism.
- Natural Landscapes: Beaches, mountains, or park settings enhance a sense of adventure.
- Textured Surfaces: Wooden tables, fabric backgrounds, or marble surfaces add depth and contrast.
- Travel Elements: Incorporating elements like maps, tickets, or travel guides can provide context.
Creating Context
Adding context involves not just the background but also the surrounding accessories. Illustrate a set of travel gear alongside the main subject – for instance, a passport holder, sunglasses, or a travel pillow. These elements hint at the destination and purpose, making the piece more engaging.
Pay attention to light and shadow within the background; a well-placed light source will give your main focus a three-dimensional quality. Consider how light affects colors and shapes, enhancing realism.
For extra inspiration, check out ‘how to get scrubber warframe‘ to explore creative possibilities in design and detail enhancement.


