

Begin with a thorough inspection of the fastening element; check for misalignment or debris that may hinder its movement. Clear any obstructions using a soft brush or cloth, ensuring smooth functionality.
If the slider is detached, carefully reinsert it onto the teeth. For a more secure fit, use pliers to squeeze the slider gently. Avoid excessive force, as this can lead to further damage.
Should the teeth be bent or broken, a small pair of pliers may help reshape them. Align any crooked sections to restore the closing mechanism. In severe cases, replacing the slider or teeth altogether can be the best option; look for compatible replacements available at crafting or repair stores.
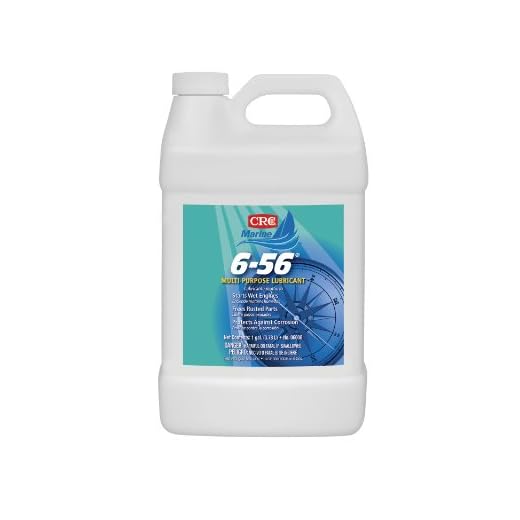
For persistent sticking issues, lubricate the seam with a tiny amount of zipper lubricant or beeswax. Apply sparingly, wiping away any excess. Regular maintenance can substantially prolong the life of the closure.
Identifying Common Zipper Problems
Examine for misalignment of teeth as a primary issue that obstructs smooth operation. If the closure doesn’t engage properly, check for any bent or damaged parts causing obstruction. A visual inspection can often reveal these discrepancies.
Common Issues and Signs
| Problem | Signs |
|---|---|
| Jammed teeth | Cannot slide smoothly, often noticeable by roughness or stopping |
| Slider failure | Does not move or detaches easily |
| Fabric stuck in closure | Visible fabric caught, preventing movement |
| Broken pull tab | No handle for manual operation |
For recurring issues, specific lubricants can aid in restoring movement. Additionally, brushing away debris often resolves minor jamming problems. If you seek to protect against moisture while ensuring you stay dry during your activities, consider the best sport umbrella.
Tools Needed for Zipper Repair
A pair of needle-nose pliers is crucial for adjusting or removing the slider. These pliers allow for precise handling, ensuring minimal damage to surrounding fabric.
A seam ripper can be utilized for safely removing stitches around the zipper area, making it easier to replace or repair components without causing further issues.
A basic sewing kit is important, including strong thread matching the color of the material for reinforcements. Scissors will assist not only in cutting the thread but also in trimming any frayed edges or excess fabric.
Additional Supplies
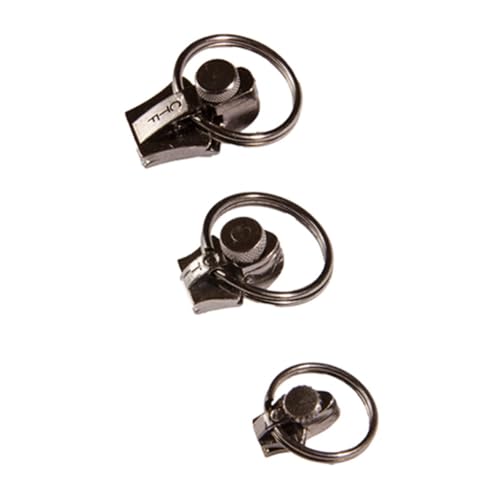
A zipper slider replacement kit offers spare sliders and stops, often available in different sizes to fit various closures. A fabric glue can help temporarily hold pieces together while you work or for minor fixes.
A ruler or tape measure is useful for measuring lengths accurately, particularly if you are adjusting the length of the zipper or checking sizes for replacements.
Step-by-step guide to realign a misaligned zipper
Begin by inspecting the slider to ensure it’s not damaged. If intact, gently pull the teeth apart near the misaligned area. Use a pair of pliers to adjust the slider slightly; aim for a snug fit on the teeth.
Aligning the Teeth
Carefully manipulate the fabric surrounding the track, ensuring no material is caught between the teeth. Align each tooth by hand, making slight adjustments until they interlock correctly. Test the movement by sliding the mechanism up and down to confirm alignment.
Securing the Track
If realignment proves unsuccessful, consider removing the slider. Use scissors to carefully snip the top of the track, then slide the mechanism off. Reposition the slider at the bottom, ensuring teeth align before trimming off any damaged sections of the track. Reattach the slider, ensuring smooth movement during tests.
Replacing a Broken Zipper Pull
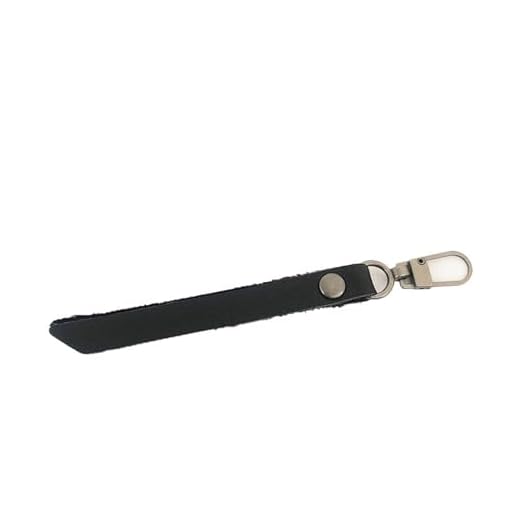
Begin by acquiring a replacement pull. These are available at craft stores or online and can vary in size and style, so choose one that matches the existing pull for the best fit.
Ensure the area around the slider is clear of debris. This will make the replacement easier. Using pliers, gently remove the broken pull by gripping it and pulling it off the slider. Be careful not to damage the slider itself.
Attaching the New Pull
Thread the new pull through the small hole in the slider. Hold it firmly and slide it back down to secure it. If the pull has a loop, you may need to attach it by placing a small ring or keychain that fits snugly around the base of the pull and onto the slider.
Testing the Repair
After installation, test the pull by sliding it up and down to ensure it works properly. If it feels loose or catches, double-check the attachment to ensure it is secured correctly. Adjust as necessary for smooth operation.
Maintaining the zipper mechanism with occasional lubrication can prevent future issues and prolong the life of the repair.
Repairing a Stuck Fastener Without Damaging the Fabric
If the slider is jammed in the track, gently wiggle it side to side while attempting to pull it up or down. Avoid using excessive force, as this may harm the surrounding material.
Materials for Lubrication
Use these items for smoothing out the track:
- Candle wax
- Petroleum jelly
- Graphite powder
- Silicone spray
- Olive oil (as a last resort)
Steps to Release the Slider
- Apply a small amount of the lubricant onto the teeth and the track of the fastening mechanism.
- Gently work the slider up and down, distributing the lubricant evenly.
- If the mechanism remains stuck, check for any debris or fabric caught in the teeth. Remove it carefully to avoid tears.
- Test the slider’s movement after lubrication. Repeat the process if necessary.
Traveling with a properly functioning carrier is essential for convenience. Consider checking out the best foldable backpack for travel for your next trip.
Preventing Future Zipper Issues on Luggage
Regular maintenance significantly reduces the likelihood of encountering problems with your travel essentials. Clean the tracks and teeth frequently to avoid dirt buildup that can cause functionality issues. A simple mixture of warm water and mild soap is effective for this task. After cleaning, ensure everything is thoroughly dried.
Lubrication Techniques
Applying a wax-based lubricant or silicone spray to the slider and teeth can enhance movement and decrease friction. Be sure to follow product instructions for optimal results. Avoid using oil-based products, as they may attract dirt over time.
Proper Storage Tips
When stowing away your travel gear, avoid overpacking to prevent strain on the closure system. Always close sliders fully to minimize exposure to dust and debris. If possible, store your items in a dust bag to shield them from environmental impacts.
If you wish to learn about different vinegar options for cleaning, you can check this link.


