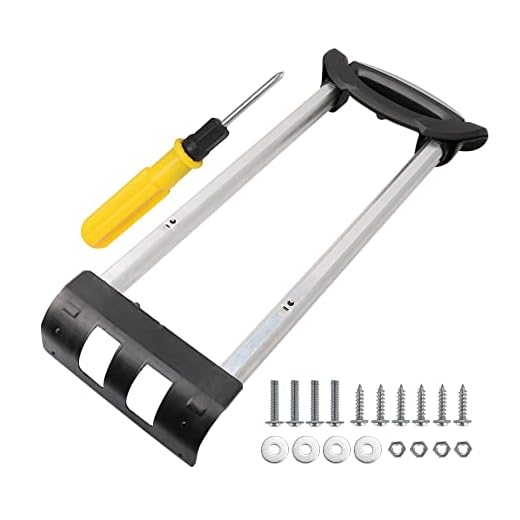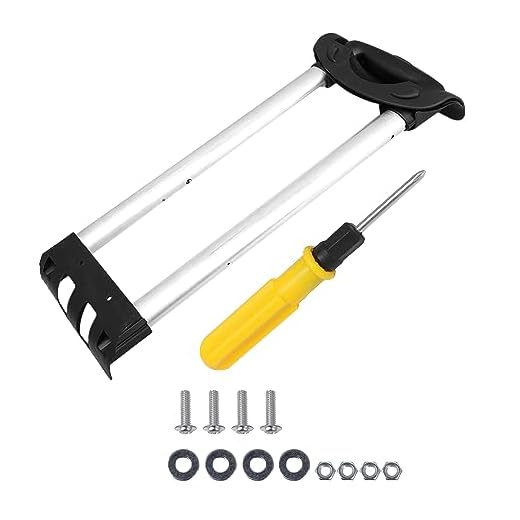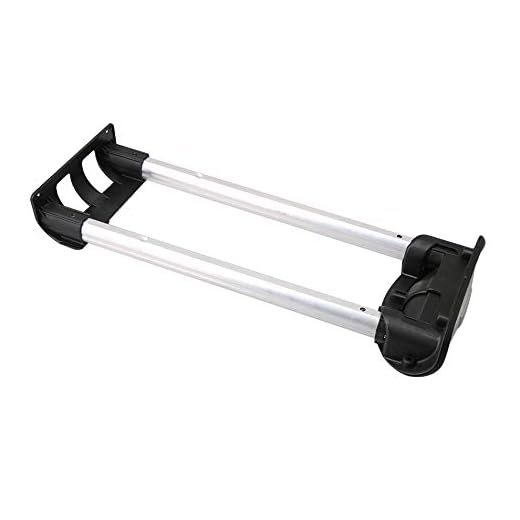

If encountering a situation where your travel bag’s extension mechanism is unresponsive, it’s advisable to first inspect for any visible obstructions. Ensure there are no loose items or debris lodged in the frame that might impede its functionality.
Next, apply a gentle lateral movement to the unit to check if it releases. Often, slight adjustments can realign internal components that may have shifted. If manual attempts yield no results, consider employing a lubricant, such as silicone spray, focusing on the locking mechanisms while avoiding excess that could attract dirt.
In cases where these methods do not resolve the problem, further disassembly of the mechanism might be necessary. Secure the appropriate tools, and carefully dismantle the casing surrounding the mechanism, paying close attention to the assembly process to ensure proper reassembly later. This approach can reveal deeper issues, such as broken parts or worn components that require replacements.
Steps to Restore Your Luggage Handle
Inspect the orientation of the frame. If misaligned, gently adjust the mechanism back into its proper position with mild pressure. Check for any visible blockages; debris can obstruct the retraction process. Clear any physical obstructions found within the shaft.
Lubricate Key Components
Utilize a silicone spray or a lightweight lubricant on the sliding parts. Apply it directly on the exposed sections of the shaft. Avoid over-application to prevent excess residue that could accumulate dust or dirt.
Secure the Mechanism
Tighten any loose screws or bolts around the locking system. A wobbly mechanism can lead to malfunctions. Use a suitable screwdriver to ensure everything is properly secured and functioning smoothly.
Diagnosing the Issue with Your Luggage Handle
Inspect the locking mechanism for debris or misalignment. Examine the area where the handle retracts; any obstruction can prevent proper function. Use a flashlight to check for dirt buildup that might interfere with movement.
Test the Release Button
Press the release button multiple times. If it feels sticky or doesn’t activate smoothly, clean around it gently with a damp cloth. Check if the button itself is damaged or stuck, potentially requiring replacement.
Evaluate the Telescoping Tubes
Examine the telescoping tubes for any dents or bends. A deformation can hinder retraction. If the tubes won’t slide, apply a lubricant such as silicone spray to ease movement. Ensure alignment by pulling the handle straight without twisting.
Steps to Manually Release the Stuck Handle
Begin by inspecting the area around the shaft to identify any visible obstructions or debris. If present, carefully remove them with your fingers or a soft tool.
Next, locate the release mechanism, usually found at the base. Use a small flathead screwdriver or a similar tool to gently push or pry it open if it appears stuck. Be cautious not to apply excessive force to avoid damaging the mechanism.
If the mechanism remains unresponsive, check for any screws or fasteners holding it in place. Tighten any loose screws and remove those that seem to be impeded. This may require a screwdriver suitable for the specific fasteners used.
Examine the groove where the shaft sits. Apply a silicone-based lubricant to this area, as it can minimize friction and create smooth movement. Allow a few minutes for the lubricant to penetrate.
Afterward, try to engage and disengage the mechanism several times to see if it responds. If the problem persists, consider using a pair of pliers to grip the shaft gently, twisting it back and forth to help free it.
Final Checks
Inspect the entire assembly carefully for signs of damage or wear. If you notice any broken components, consider looking for replacement parts. Reassemble everything properly and test its functionality. If difficulties continue, seeking professional assistance or referring to the manufacturer’s guidelines can provide further clarity.
For those interested in capturing your travels, don’t forget to explore the best digital camera features to ensure your adventurous moments are well-documented.
Common Tools Needed for Repairs
Prepare a flathead screwdriver for prying open stuck components and adjusting internal mechanisms. A Phillips screwdriver is crucial for removing screws securing various parts of the apparatus.
Pliers or a wrench are beneficial for gripping and maneuvering small pieces that may be difficult to handle. If applicable, keep a pair of tweezers on hand for retrieving tiny components or springs that may have slipped away.
Depending on the design, a lubricant like silicone spray can assist in easing movement and reducing friction. It’s recommended to have paper towels or a clean cloth nearby to manage any excess lubricant.
A flashlight can provide illumination in tight spaces where visibility is limited. Finally, refer to this best impact umbrella mount as it may offer additional insights into managing similar repair tasks effectively.
Preventive Measures to Avoid Future Problems
Regular maintenance plays a crucial role in preventing future issues with your travel gear. Cleaning and lubricating components regularly can ensure smooth functionality.
Cleaning Recommendations
- Use a damp cloth to wipe down the surface and joints where mechanism parts meet.
- Remove debris from grooves and sliders that could obstruct movement.
Lubrication Tips
- Apply a silicone-based lubricant to joints and moving parts.
- Avoid using oil-based products, as they may attract dust and dirt.
Inspect your travel bag regularly for signs of wear and tear. Address any issues promptly to prolong its lifespan. When selecting a new travel bag, consider durability and functionality, such as the best lululemon gym bag, which offers reliable options.
Store your gear in a cool, dry place to prevent damage from humidity and extreme temperatures.


