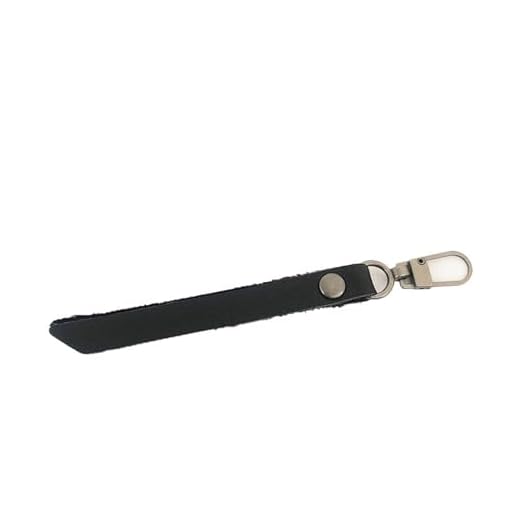


If the fastener on your travel bag has broken, replacing it can breathe new life into your belongings. Finding the right parts is the first step. Visit local fabric stores or online retailers that specialize in sewing supplies. Look for heavy-duty fasteners that match the size and style of your original model to ensure a proper fit.
Gather the necessary tools: a seam ripper, needle and thread or a sewing machine, and a pair of scissors. Carefully remove the damaged fastener using the seam ripper, taking care not to damage the surrounding fabric. It’s advisable to watch online tutorials that provide visual guidance on the process for best results.
Once the old part is removed, align the new fastener with the existing stitching holes or create new ones if needed. Secure it in place with a few stitches before completing the attachment. This ensures it won’t shift during use. Test the new addition thoroughly before packing your items again to guarantee its reliability.
Identifying the Type of Zipper on Your Bag
Examine the slider mechanism carefully. This is where you can find notable differences among zip types. Common options include plastic, metal, and Vislon sliders. Metal sliders offer durability while plastic ones are lighter, often found on softer bags.
Assessing the Teeth
Observe the teeth structure closely. Nylon or coil teeth are typically flexible and common on soft-sided varieties. Metal teeth, in contrast, provide a sturdy option well-suited for hard-shell cases. Evaluate the spacing as well: tight spacing indicates a smoother operation, while wider spacing often suggests a durable design but may snag on fabric.
Measuring the Size
To ensure compatibility with replacement components, measure the length of the slider track. Standard sizes range from #3 to #10, with the number indicating the tooth width. Additionally, knowing the length can help determine the appropriate replacement part.
Gathering Necessary Tools and Materials for Replacement
Collect the following items to ensure a seamless alteration process: a replacement fastener compatible with your item, a sturdy pair of scissors or a seam ripper for removing the old component, needle and thread for securing the new closure, and a pair of pliers for manipulating any metal parts. A measuring tape is also beneficial for accurate length verification of the new fastener.
Consider acquiring a zipper repair kit, which usually includes various types of sliders and teeth, providing flexibility for future repairs. An awl can assist in repositioning fabric if required. A small container for keeping removed pieces and additional supplies organized will streamline the procedure.
For specific repairs, you might find it useful to examine tutorials focused on related disassembly and reassembly techniques, such as how to build a pallet fence for dogs. Such resources offer valuable insights into effective handling of components.
Step-by-Step Instructions for Removing the Old Zipper
Begin with identifying the start and end points of the current fastener on your bag. A seam ripper makes this task straightforward, allowing you to carefully cut the stitches securing the slider in place.
- Position the seam ripper at the crease where the zipper is attached.
- Gently insert the blade and lift the fabric to avoid damaging it.
- Work along the entire length of the zipper, carefully cutting the stitches.
Once the stitches are removed, detach the pull tab, allowing for easier access to the slider. If stubborn threads remain, use tweezers to pull them free.
After removing the slider, inspect the area for any remaining fabric or thread that may hinder the installation of the new mechanism. Clear this debris entirely, ensuring a smooth replacement process.
Upon completion, check the area thoroughly for any signs of wear or damage. If repairs are necessary, address these before proceeding to install the new fastening system.
For more products to enhance your outdoor experiences, consider browsing best watwr tables with umbrellas.
Installing a New Zipper: Tips and Techniques
Align the new fastener with the fabric edges, ensuring that the teeth mesh correctly. Use a fabric marker to mark the position of the slider, allowing for precise installation.
Securing the New Fastener
Begin by pinning the new component in place. This prevents shifts during sewing, resulting in a more accurate fit. Utilize a straight stitch with a reinforced seam for durability, stitching gradually to avoid fabric puckering.
Finishing Touches
After installation, test the mechanism several times to confirm smooth operation. Trim any excess fabric near the seams, making sure not to cut into the newly attached mechanism. For added resilience, apply fray check to the cut edges to prevent unraveling.
Maintaining Your Luggage Zippers for Longevity
Regular care ensures long-lasting functionality of your carry-on closures. Always keep them clean; dirt and debris can inhibit smooth operation. Use a soft cloth or toothbrush to remove particles from the teeth and slider. Avoid pulling or forcing the slider when it meets resistance, which may cause misalignment or damage.
Lubrication is key. Apply a silicone spray or a specialty zipper lubricant to reduce friction. This should be done periodically, especially after extensive use or exposure to moisture. Be cautious not to over-lubricate, as excess can attract dirt.
Inspect for signs of wear such as fraying, bent teeth, or a loose slider. Address these issues promptly to prevent complete malfunction. If you spot any damage, consider replacing the entire slider or repairing teeth if possible.
Store bags properly when not in use. Avoid crushing the closures or leaving them under pressure, which can lead to bending or breaking. Keeping your gear in a cool, dry place also helps prevent deterioration of materials.
Ultimately, consistent attention to these aspects can significantly extend the lifespan of your fastening mechanisms, ensuring they remain reliable throughout your travels.


