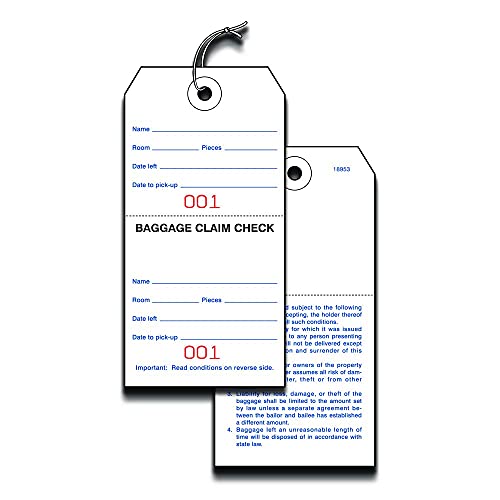


Choose high-quality vegetable-tanned hide for its durability and classic finish. Cut pieces measuring approximately 3 inches by 5 inches for each identifier, ensuring they are easy to attach yet large enough for personalization.
Utilize a sharp knife or rotary cutter to achieve clean edges. A straight edge ruler will aid in maintaining precision. After cutting, smooth the edges using a burnishing tool or sandpaper to prevent wear and give a polished look.
Personalize using leather stamps or by hand with a fine-point marker. Consider adding a protective finish–such as beeswax or a leather conditioner–to enhance longevity. Attach a metal ring or strap for easy fastening, and your custom identifiers will be ready for use!
Selecting the Right Leather Material for Your Attachments
Choose vegetable-tanned leather for its durability and rich patina that develops over time. This type ages beautifully, enhancing the overall aesthetic of your creations.
Chrome-tanned leather offers a more uniform finish and is softer, making it easier to work with. It is available in various colors, providing more design versatility.
Different Types of Leather to Consider
- Full-grain: Retains natural imperfections, showcasing character. Ideal for a rustic, authentic look.
- Top-grain: More refined than full-grain, it is sanded down for a smoother appearance, while still being strong.
- Suede: Made from the underside of the hide, offering a soft texture. Great for more casual designs, but less durable.
- Bonded: Created from leather scraps, mixed with other materials. Cost-effective, but not as durable as higher quality options.
Factors to Consider
- Thickness: Choose a thickness that complements the intricacy of your design while ensuring sturdiness.
- Color: Consider how the hue matches your style and potential usage environments.
- Finish: Select a finish that aligns with your intended aesthetic, whether matte, glossy, or textured.
Testing various samples will help you determine the ideal material for your creations. Evaluate for softness, flexibility, and overall feel to ensure satisfaction in the final product.
Tools and Supplies for Crafting Leather Accessories
Gathering the right utensils is paramount for successful crafting of leather items. Here’s a detailed list of must-have tools and materials:
| Tool/Supply | Description |
|---|---|
| Cutting Tools | Sharp utility knife or rotary cutter for precise leather cutting. |
| Leather Shears | Specialized scissors designed for trimming thick leather without fraying. |
| Cutting Mat | A self-healing mat protects surfaces and maintains blade sharpness. |
| Awl | Pointed tool used for creating holes for stitching or marking positions. |
| Hole Punch | Various sizes for creating holes in leather; essential for attaching fittings. |
| Stitching Needles | Heavy-duty needles designed to pierce through thick leather layers. |
| Thread | Waxed thread for durability; choose appropriate thickness for your project. |
| Ruler and Straight Edge | Metal ruler for straight cuts and measurements; a must for accuracy. |
| Chisels | Used for making evenly spaced holes for stitching; various sizes available. |
| Burnishing Tool | Tool to smooth and finish the edges of the leather for a polished look. |
| Adhesive | Leather-specific glue or contact cement for securing parts before stitching. |
| Finishing Products | Edge dye or finish to protect and enhance the edges of the leather. |
Utilizing these tools effectively will streamline the crafting process and enhance the quality of the final product.
Step-by-Step Process for Cutting Leather Shapes
Prepare your workspace with a clean, flat surface to ensure accurate cutting. Position your chosen hide securely to prevent movement during the process.
Gather Your Templates
Use sturdy paper or cardboard for your templates. Create designs that include seam allowances to ensure proper sizing. Secure the templates to the leather with weights or tape.
Cutting Techniques
Employ a sharp rotary cutter or utility knife for precise cuts. Apply even pressure and maintain a steady hand to achieve clean edges. For intricate designs, a craft knife may be more suitable.
Follow the lines of your template meticulously. If your design is complex, consider cutting from the back side of the hide to enhance visibility and control.
After completing the initial cuts, inspect the edges. Use sandpaper to smooth any rough areas and ensure a polished appearance.
Techniques for Stamping and Branding Your Items
Choose an appropriate stamping method based on your design. For simple shapes or initials, a handheld stamp can provide precise results. For intricate patterns, consider using a swivel knife to carve designs into the surface before applying heat.
Heat Branding
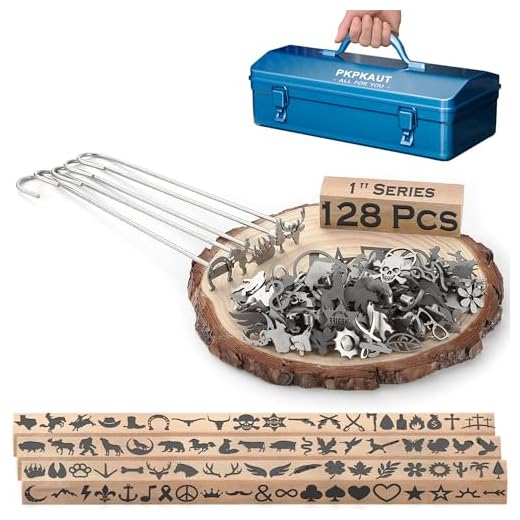
Acquire a branding iron, preferably one with a custom design relevant to your identity. Heat the iron until it reaches the ideal temperature, usually between 400°F to 500°F. Test on a scrap piece to ensure clarity and depth of the branding before applying it to your item.
Foil Stamping
This method involves using metallic foil coupled with heat. Select foil that complements your color scheme. Place the foil over the stamped area and apply heat with a press or an iron. Allow it to cool for a few seconds before carefully peeling it away to reveal a shiny finish.
Always practice your stamping techniques on scrap leather to refine your skills before moving on to your final creation. Proper pressure and heat application will ensure that your designs remain crisp and defined.
Attaching Straps and Fasteners Securely
Choose robust materials for straps, such as heavy-duty leather or nylon, ensuring they can withstand tension and wear. Cut straps to appropriate lengths based on the desired fit for your project. Avoid excessive length to prevent tangling while allowing enough slack for ease of use.
Securing Techniques
For fastening, opt for rivets or snaps. Place a dot of leather cement on the connection points before installing fasteners; this adds extra stability. When applying rivets, use a hole punch to create precise openings, ensuring a snug fit for each rivet, and hammer them in firmly without damaging the leather.
Testing Strength
Once all elements are attached, perform a strength test by gripping and pulling the straps. Ensure all connections hold without signs of wear. Adjust any loose components before concluding your project. To enhance your setup, consider checking how to increase air pressure from your compressor tips and tricks for any potential enhancements in your crafting process.
Finishing Touches: Dyes, Oils, and Waterproofing
To enhance the appearance and durability of your handcrafted items, applying the right dyes can make a significant difference. Use alcohol-based dyes for rich, vibrant colors that penetrate the leather, ensuring long-lasting results. For a subtle finish, oil-based dyes work well, offering a more natural look while preserving the texture of the material.
After dyeing, it’s beneficial to apply a good leather oil. This step nourishes the hide and adds a soft sheen. Opt for a lightweight oil to avoid saturating the leather; flaxseed or neatsfoot oils are ideal. Apply the oil sparingly with a clean cloth, allowing it to soak in thoroughly before proceeding.
Waterproofing is another key element to consider. A quality leather conditioner containing beeswax can provide excellent water resistance, preventing damage from moisture. Apply a thin layer evenly across the surface and allow it to dry completely before using your creations. It helps to maintain the leather’s integrity and keeps the appearance fresh over time.
For those seeking additional protection, consider using a specialized spray designed for leather goods. It forms an invisible barrier against water and stains without altering the aesthetic. Regular reapplication is recommended, especially when items are used in challenging environments.
Finally, integrating your custom pieces with travel essentials like the best travel backpack with shoe compartment can elevate your crafting game and maintain a cohesive, stylish look while on the go.


