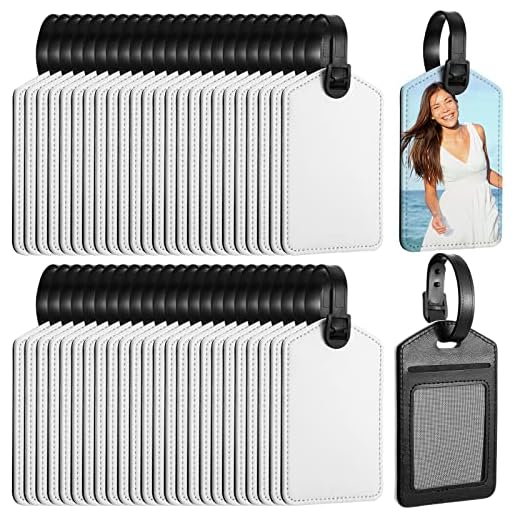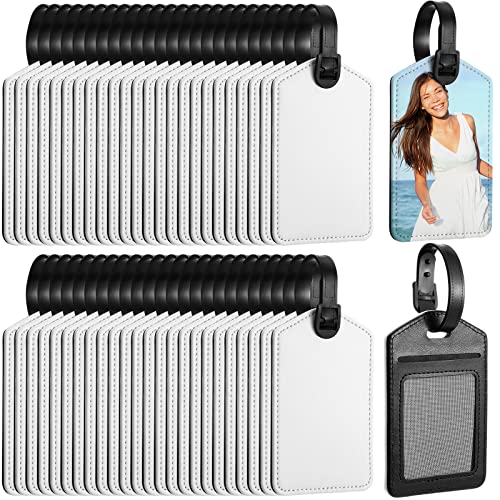


Gather essential supplies: heavy cardstock or thick paper, scissors, a ruler, and a pencil for precision. Choose a color palette inspired by past travels, such as muted tones or faded patterns. Cut the cardstock into the desired shapes–common designs resemble classic rectangles or ornate tags, with dimensions around 3×6 inches.
Next, incorporate distinctive designs. Utilize stencils or freehand illustrations to add motifs such as vintage maps, postcards, or travel-themed icons. Experiment with fonts resembling handwriting or classic typewriter text for personalization. Ensure these elements are appropriately sized to maintain legibility.
To enhance authenticity, consider aging techniques. Lightly distress the edges with sandpaper or a craft knife for a worn appearance. Alternatively, soak the paper in tea or coffee, then let it dry, which produces an authentic antique look. Finish with a clear sealant to protect your creations from wear.
Attach twine or ribbon for functionality, ensuring the final product is practical in addition to being visually appealing. These artistic tags not only serve as identifiers but also carry a story, infusing each piece with a sense of nostalgia. Let your creativity soar and enjoy the process!
Creating Timeless Travel Tags
Utilize high-quality cardstock for durability; choose a texture resembling aged paper for authenticity. Select a color palette inspired by the past, incorporating muted tones like sepia, olive green, or dusty blue.
Incorporate vintage graphics by sourcing public domain images or utilizing design tools. Opt for classic motifs such as old-fashioned airplanes, ornate frames, or travel icons. Ensure any graphics used complement the retro theme.
Utilize fonts that evoke nostalgia; consider serif or script types reminiscent of vintage postcards. Limit text to essential details, laying out the information in a clear hierarchy to enhance readability.
For added authenticity, consider aging techniques such as tea-staining or burning edges to create a weathered look. Store purchased labels in rustic envelopes or tie them with twine to elevate presentation.
Include ornate embellishments like stamps or wax seals to enhance the charm and create a personalized touch. Each embellishment should harmonize with the overall aesthetic.
Choosing the Right Materials for Labels
Opt for natural or recycled paper for an authentic touch. This type of material ages beautifully and offers a classic aesthetic. Look for textured options that resemble old travel documents.
Consider using cardstock for durability when crafting tags that may encounter wear and tear. Thick cardstock provides stability while allowing for clear printing or writing.
Printing Options
Utilize inkjet or laser printers based on the paper type selected. Ensure that the printer can handle the thickness of your chosen material without causing jams or misalignments.
Finishing Touches
Incorporate a waterproof sealant if you expect exposure to moisture or humidity. A matte or satin finish can enhance the tactile experience and provide an elegant look.
| Material | Properties |
|---|---|
| Natural Paper | Authentic look, great for aging |
| Cardstock | Durable, stable, and easy to print on |
| Waterproof Sealant | Protects from moisture, enhances longevity |
Designing Vintage-Style Graphics
Select a color palette inspired by classic designs, such as muted tones or earthy hues, to capture that antique charm. Limit your selection to three or four complementary colors to maintain a cohesive look.
Utilize typography reminiscent of earlier eras. Look for serif fonts with ornate details or bold sans-serif choices that reflect the period. Custom lettering can add a unique touch, making your creation stand out.
Incorporate decorative elements like borders, flourishes, and embellishments. These can enhance the overall appeal and evoke nostalgia while bringing depth to the design.
Consider textures that mimic aged materials, such as distressed finishes or subtle patterns that suggest wear. This detail can give a sense of authenticity to the final product.
When arranging your graphics, think about balance and hierarchy. Ensure that essential elements are prominent and easy to read, while decorative features provide context without overwhelming the main message.
Explore using illustrations or imagery that resonate with historical travel themes. Vintage maps, classic transportation icons, or period motifs can create an evocative backdrop.
Test different layouts for an ideal configuration; asymmetrical designs can create interest, while symmetrical arrangements exude elegance. Mock-up several variations to determine what best captures your intent.
Lastly, after finalizing your design, print test samples to ensure the colors and details translate well onto your chosen materials. This final check is crucial for achieving the desired aesthetic in physical form.
Printing Techniques for Authentic Appearance
Utilizing specific printing methods significantly enhances the realism of your crafted identification tags. Consider the following techniques for optimal results:
- Letterpress: This traditional technique uses raised metal or wooden type. It creates an embossed effect, adding texture that mimics authentic vintage designs.
- Screen Printing: Ideal for bold colors and designs, this method applies layers of ink through a mesh. It works well on various substrates, offering strong durability and vibrancy.
- Offset Printing: Suitable for high-volume production, this technique ensures precise color matching. It allows intricate designs while maintaining a sharp finish.
- Thermal Transfer: A great option for adding barcodes or text, using heat to bond ink onto the surface. It withstands handling and storage conditions effectively.
Selecting the right printer is vital. For home projects, an inkjet printer with high-resolution capabilities can suffice for short runs. For larger batches, partnering with a local print shop that specializes in vintage styles can yield professional quality.
Incorporate aged paper types, such as kraft or textured cardstock, to enhance the overall visual appeal. This choice complements the printing technique, making the final product more convincing.
Finally, consider finishing touches like applying distressed edges with sandpaper or using tea staining to give the finished pieces a genuine worn look. These small details can elevate the authenticity of your creations.
For your travel needs, check out the best luggage bags cases and the best utility backpack to pair with your unique tags.
Adding Personalization to Your Labels
Incorporate initials or monograms to customize your tags. Choose a vintage font that reflects the style you desire. This personal touch elevates the aesthetics and adds uniqueness.
Utilizing Color and Patterns
Select colors that align with your theme–muted tones can evoke nostalgia while bolder choices can add flair. Experiment with patterns such as stripes or polka dots to enhance visual interest. Combining solid backgrounds with intricate designs creates a balanced look.
Incorporating Travel Details
Including personal travel information can make these items even more special. Consider adding locations you have visited or dates significant to your journey. Handwritten notes or printed details can enhance the authenticity and charm of each piece.
Weatherproofing Your Luggage Labels
Apply a waterproof sealant to your creations to safeguard against moisture damage. Consider using clear acrylic spray or epoxy resin for a durable finish. Follow manufacturer instructions for application and drying times.
Choose synthetic materials, such as vinyl or polyester, which are naturally resistant to water and fading. Ensure these materials are thick enough to withstand various environmental conditions.
Utilize a laser printer for printing your designs. Laser inks are more water-resistant compared to inkjet inks, making them ideal for items exposed to the elements.
After printing, cover the surface with laminate sheets. Opt for self-adhesive laminating sheets for easy application; this adds an extra barrier against liquid damage.
- Ensure all edges are sealed to prevent water from seeping in.
- Consider adding reinforced grommets if the tags will be tied to a bag; this adds strength and longevity.
Store your gear in a dry environment when not in use to reduce the risk of mold or mildew affecting your creations.
Regularly inspect and refresh the sealants or coatings as needed to maintain protection against the elements.
Creative Ways to Attach Tags to Travel Bags
For a secure and stylish attachment of identifiers to your travel gear, consider using twine or string. This natural material adds a rustic touch while ensuring strength. Simply create a loop around the handle or a sturdy strap, securing it with a knot. This method is also easy to adjust or replace if needed.
Metal clips or carabiners offer another practical solution for fastening identifiers. Choose a decorative clip that complements your design; they are not only functional but also add a unique flair. These can be easily connected to zippers, rings, or straps, making them versatile for different styles of gear.
Adhesive Options for a Seamless Look
Double-sided tape can be used for a more streamlined appearance. Apply a robust adhesive tape on the back of your identification mark and press it firmly against the bag as a temporary option. Ensure that the surface is clean and dry to optimize the bond.
Utilizing Pockets or Sleeves
Consider incorporating small pockets or sleeves on your bags to hold identifiers. Sew or attach a fabric pocket where you can slide in a customized card. This method offers protection from wear and tear while making it easy to swap out identifiers as you travel.
Lastly, for those planning a visit to the best aquarium in orlando, a bright tag can attract attention and help in quickly identifying your bags amidst a busy environment. Choose designs or colors that contrast with your luggage for instant visibility.


