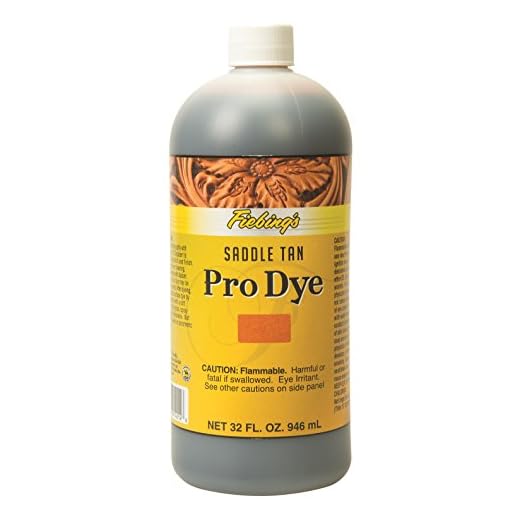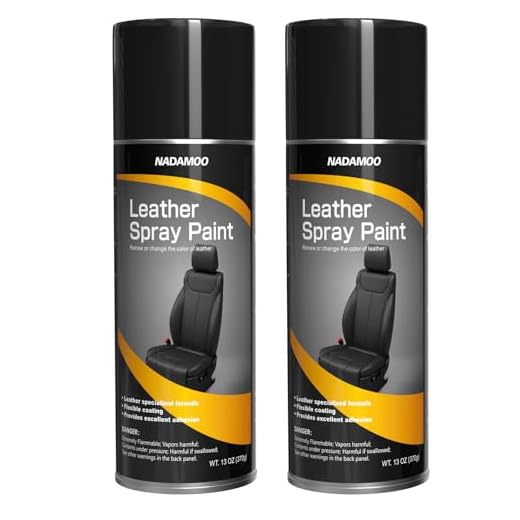


Choosing the right type of dye is paramount. Use a high-quality, flexible color formulated specifically for fabric surfaces. Ensure compatibility with the material of your travel bag, checking the label for specifics. Water-based dyes are often easier to work with and clean up.
Before applying any product, thoroughly clean the surface to remove dirt and oils. This preparation will ensure a high-quality finish. Use a soft cloth and a gentle cleaner; avoid harsh chemicals that may damage the material. Once clean, allow the surface to dry completely.
Apply the dye in even strokes, starting with small areas and gradually expanding coverage. Using a sponge or brush can help achieve smooth application. Layering can enhance color saturation but allow adequate drying time between applications to prevent smudging.
Always finish with a protective sealer. This step provides durability and helps preserve the look. Look for a sealant compatible with the dye used, and apply it as instructed by the manufacturer for best results.
Following these steps can breathe new life into your travel essentials, giving them a personalized touch and extending their functionality.
Steps for Customizing Your Bag
Choose high-quality acrylic or specialty dyes specifically designed for animal hide. Ensure that the surface is clean and free of oils by wiping it down with rubbing alcohol.
Apply a primer suitable for your chosen medium. This ensures better adhesion and longevity of the hue. Use a foam brush for even distribution and allow it to dry fully before proceeding.
For a smooth application, opt for fine-tipped brushes or sponges. These tools help in achieving detailed designs or patterns. Start with the lighter colors and move to darker shades to avoid muddying the tones.
Incorporate stencils or tape to create sharp lines and geometric shapes, enhancing the visual appeal. Avoid over-saturating the material to prevent peeling or cracking over time.
Once the coloring process is complete, seal the work with a protective finish, like a spray sealant or leather-specific coating, to guard against stains and wear. Allow the protective layer to cure according to manufacturer instructions.
Regularly maintain the surface with appropriate cleaners and conditioners to preserve the appearance. This will prolong the life of the custom finish and keep the appearance fresh.
Choosing the Right Paint for Leather
Select acrylic-based options for a flexible finish, ensuring they adhere well to surfaces. Check for formulations specifically designed for coated fibers to enhance durability and prevent cracking. Prioritize products that claim water resistance for added longevity.
Consider using spray versions for even coverage and to avoid brush strokes, which can compromise the outcome. Look for paints that include a primer, as this can improve adherence and provide a uniform base layer.
Verify color fastness to ensure hues remain vibrant even after exposure to sunlight. Opt for non-toxic varieties if safety during application is a priority.
Always test a small area before committing to the entire project, allowing you to gauge the finish and adhesion. Acquire a sealer to protect the painted finish once it has dried out to maintain its appearance over time.
Research reviews and test samples to find products that best match your specific project needs and desired aesthetics.
Preparing the Surface Before Application
Thoroughly clean the item using a gentle cleanser specifically formulated for animal hides. Avoid harsh chemicals that can damage the material. Use a soft cloth to remove dust and dirt, ensuring the surface is completely dry before proceeding.
Once clean, lightly sand the area with fine-grit sandpaper. This step helps to create a texture that improves adhesion for the coating. Be careful not to over-sand, as it may lead to visible scratches.
After sanding, apply a preparation solution or conditioner that enhances the surface for better color retention. Let it absorb completely, allowing the hide to remain supple throughout the process.
Prior to coating, test a small, inconspicuous area to check for any adverse reactions. This ensures that the selected formulation is compatible with the material.
If the item has deep scratches or scuff marks, consider filling them with a specialized filler designed for animal hide. Once cured, sand it down to achieve an even surface, then clean again to remove any residues.
Refer to additional resources for advice on maintaining tools and equipment; for example, the best pressure washer for pressure washing business can offer insights into proper cleaning methods.
Protecting the Workspace
Ensure your work area is well-ventilated and protected from dust or debris. Lay down a drop cloth to prevent any accidental spills or stains on the surrounding surfaces. Gather all necessary tools beforehand to maintain a smooth workflow.
Final Preparations
After completing the cleaning, sanding, and conditioning processes, double-check the surface for any imperfections. A clean, well-prepared area lays the groundwork for a successful transformation.
Applying Primer for Better Paint Adhesion
Utilize a high-quality primer designed for synthetic surfaces to achieve optimal bonding. This step significantly enhances the durability of the finish.
Before application, ensure the surface is perfectly clean and dry. Use a lint-free cloth with a suitable cleaner to eliminate dust and oils, which can hinder adhesion.
Apply a thin, even layer of primer using a foam brush or spray method. It’s essential to cover the entire area without excess buildup, as this may cause peeling later.
Allow the primer to cure completely according to the manufacturer’s instructions. Typically, this takes around 30 minutes to an hour, but be sure to check the specific product guidelines.
After drying, lightly sand the primer layer with fine-grit sandpaper. This creates a texture that helps the subsequent coating bond more effectively.
Finally, clean the surface again with a soft cloth to remove any dust particles resulting from the sanding process. This ensures a smooth foundation for applying your chosen coloration.
| Step | Action | Duration |
|---|---|---|
| 1 | Clean surface | 5-10 minutes |
| 2 | Apply primer | 30 minutes |
| 3 | Drying time | 30-60 minutes |
| 4 | Sanding | 5 minutes |
| 5 | Final cleaning | 5 minutes |
Selecting Tools for a Smooth Application
Use high-quality brushes with synthetic bristles for a controlled application. Flat and angled brushes can help navigate contours and seams effectively.
Consider foam applicators for an even coat, particularly in larger areas.
Additional Equipment
- Use a spray gun for a smooth finish over extensive surfaces.
- Choose a palette or a mixing tray for blending colors before application.
- Keep a few lint-free cloths on hand for quick clean-ups.
- Have a sponge or soft cloth ready for blending edges seamlessly.
Maintenance of Tools
Clean brushes promptly with warm, soapy water to maintain their shape and effectiveness. Proper upkeep ensures longevity and consistent results for future projects.
Techniques for Evenly Applying Coating
Use a spray method for a fine, uniform finish. Hold the sprayer about 6-12 inches away from the surface and apply in light layers, allowing each coat to dry completely before the next. This prevents drips and ensures an even coat.
Brush Application
When using a brush, select one with soft bristles to minimize streaks. Apply in the direction of the grain, using gentle strokes. Work in small sections to maintain control and consistency.
Roller Technique
For larger areas, a foam roller can distribute the product evenly. Choose a small roller to avoid too much excess. Use a light touch to avoid bubbles and achieve a smooth layer.
- Avoid overloading the brush or roller to prevent unevenness.
- Blend wet edges to avoid lines or marks.
- Inspect the surface from different angles for missed spots.
Experiment with each method on a test piece to find the best fit for your project. The key is to remain patient and apply thin layers consistently for a flawless result.
Finishing Touches and Sealing the Paint
After the color application has dried thoroughly, the next step is sealing the surface to protect it from wear and tear. Apply a clear, leather-specific sealant to achieve a durable and long-lasting finish. Select a product that is non-toxic and designed for flexibility to ensure it adheres well without cracking.
Application Method
Use a clean brush or spray applicator to evenly distribute the sealant. Hold the tool at a slight angle for a smooth finish, and make sure to work in thin layers to avoid any pooling. Allow each layer to dry fully before applying the next one, typically between 1 to 2 hours, depending on humidity and temperature.
Final Considerations
Once the final coat is applied, let the item rest for at least 24 hours before putting it to use. Regular maintenance will prolong the life of the color, so clean the surface with a damp cloth and reapply the sealant every few months. For those seeking functional and stylish alternatives for outdoor adventures, consider exploring the best moto backpack or the best camping chair with umbrella for your next outing.


