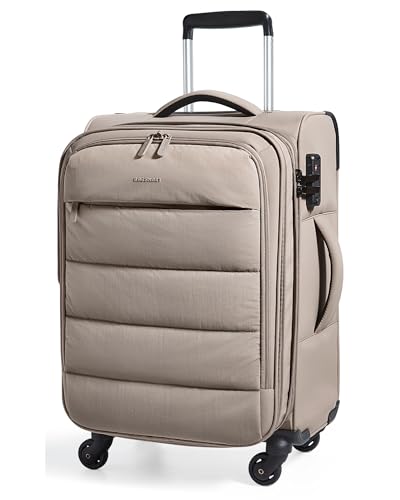


Choose a sturdy acrylic paint formulated for plastics when refreshing your travel bag. Most luggage is made of durable synthetic materials, which require specific paints to ensure adhesion and longevity. It’s essential to test a small, inconspicuous area to confirm compatibility.
Prep the surface thoroughly: clean it with a mild detergent and water solution, then dry it completely. Any dirt or oils can negatively impact paint adherence. If the bag has any existing scuffs or scratches, consider lightly sanding those areas with fine-grit sandpaper to create a smoother surface.
Apply a primer designed for plastic; this step is often overlooked but can significantly enhance the durability of your paint job. After the primer is dry, proceed to apply the acrylic paint in thin, even coats. Allow adequate drying time between layers to achieve an even finish, usually around 30 minutes to an hour.
For added protection, finish with a clear acrylic sealer. This step helps to safeguard your artwork from scratches and UV damage during travel. After completing the entire process, let your redesigned gear cure for 24-48 hours before using it again, ensuring maximum durability for your newly personalized accessory.
Revamping Your Travel Case
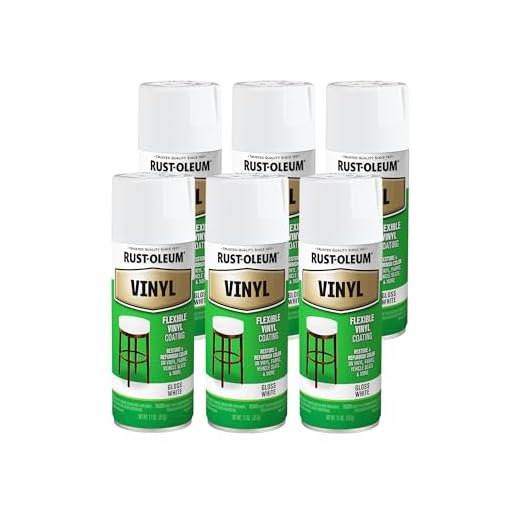
Choose high-quality spray paint specifically designed for hard surfaces. This ensures adherence and durability during the painting process.
Materials Needed
- Masking tape
- Sandpaper (fine-grit)
- Primer
- Spray paint
- Clear coat sealer
- Drop cloth or newspaper
- Protective gloves and mask
Step-by-Step Guide
- Clean the exterior thoroughly to remove dirt and grease.
- Lightly sand the surface to create a rough texture for better paint adhesion.
- Use masking tape to cover zippers, wheels, and any areas you don’t want to paint.
- Apply primer in even coats. Allow to dry completely.
- Spray paint in multiple thin layers, keeping the can at a consistent distance.
- After the desired coverage is achieved, let the paint dry completely.
- Finish with a clear coat to protect the artwork and add shine.
Allow the case to cure for at least 24 hours before using it again. This will enhance the longevity of the newly applied color.
Choosing the Right Paint for Your Luggage Material
Select acrylic paint for synthetic materials like polycarbonate or ABS plastic. It adheres well and maintains flexibility, preventing cracking. Apply a clear sealant post-painting for enhanced durability and weather resistance.
For Fabric Suitcases
Utilize fabric paint or spray dye specifically designed for textiles. Ensure the chosen product is washable and UV resistant to avoid fading. Pre-wash the fabric to remove any coatings that could interfere with adhesion.
For Hard Shell Options
For hard cases made of fiberglass or aluminum, opt for enamel spray paint. This type provides a robust finish that resists scratches and impacts. Use a primer designed for metal or hard plastics to ensure proper adherence and coverage.
Preparing Your Luggage for the Repainting Process
Thoroughly clean the exterior and interior surfaces of your case using a mixture of mild soap and water. Ensure all dirt, grease, and prior coatings are removed to achieve optimal adhesion for the new finish.
Steps for Effective Preparation
Follow these specific steps:
| Step | Description |
|---|---|
| 1. Remove Hardware | Take off any handles, locks, or wheels to prevent paint damage. |
| 2. Sanding | Lightly sand the surface with fine-grit sandpaper to create a rough texture for better paint adherence. |
| 3. Wipe Down | Use a tack cloth or a damp cloth to remove sanding dust and ensure the surface is clean. |
Masking Areas
Apply painter’s tape around edges, zippers, and any areas that should remain uncoated. This will ensure sharp lines and a neat finish post-application. If your case frequently accompanies you on trips, like a sailing adventure, choosing a durable paint after proper preparation is crucial. For options on durable travel gear, visit best luggage for sailing trip.
Finally, consider the environment when preparing your gear. Ventilation is critical; work in a space with good airflow to avoid inhaling fumes, especially if your chosen paint is solvent-based. For further inspiration on creating an appealing and functional space, check out the best aquarium in Michigan.
Step-by-Step Guide to Applying Paint Evenly
Use light and consistent strokes with a high-quality brush or spray nozzle to maintain an even layer of color. Begin at the top and work your way down to prevent drips. Apply multiple thin coats instead of one thick application. Allow each coat to dry completely before adding the next; this helps to avoid runs and uneven surfaces.
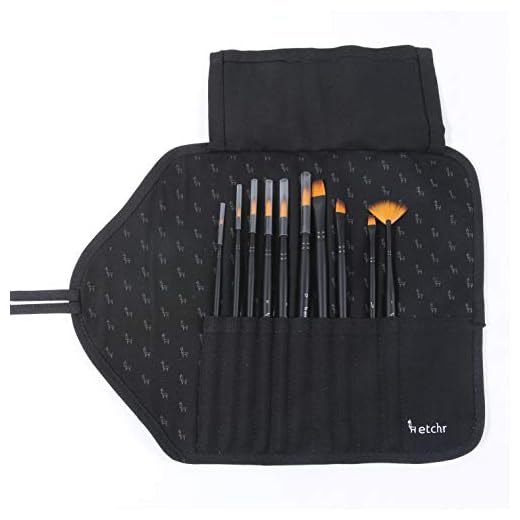
For areas with intricate designs or textures, use a smaller brush for detailed work, ensuring that the edges are well-defined. Maintain a wet edge by overlapping each stroke slightly with the previous one. This technique minimizes the appearance of brush marks and helps blend the layers seamlessly.
Test the paint on a small, inconspicuous area to ensure compatibility with the surface. Adjust your technique based on the results of the test. If using spray paint, hold the can about 6-12 inches away from the surface and use sweeping motions to cover evenly. Avoid concentrating too long in one spot to prevent pooling.
Inspect the work after each layer dries. Sand lightly between coats with fine-grit sandpaper if imperfections are found. This will smooth out the surface and improve adhesion for subsequent layers. Once the final coat has dried, consider applying a clear sealant to protect the finish and enhance durability.
Sealing and Protecting the New Paint Finish
For optimal protection of the newly applied surface color, consider using a clear sealant designed for your particular material. This creates a barrier against scratches, scuffs, and environmental factors.
Types of Sealants
- Acrylic Clear Coat: Excellent for plastic or hard-shell materials; it provides a glossy finish and adds durability.
- Polyurethane Sealant: Offers superior protection against UV rays and is suitable for various substrates.
- Spray Sealants: Quick application and even coverage are advantageous but ensure compatibility with the paint type used.
Application Tips
- Ensure the paint is completely dry before applying the sealant, typically allowing 24 hours.
- Use a clean, soft cloth or a spray can to apply a thin, even layer of the sealant.
- Allow the first coat to dry thoroughly before applying a second layer for enhanced protection.
- Keep the coated item in a dust-free environment during the drying process to avoid contamination.
Regularly inspect the surface for any wear and reapply sealant as needed to maintain the integrity of the finish.
Maintenance Tips for Long-Lasting Luggage Color
Regular cleaning is key. Use a damp cloth and mild soap to wipe down surfaces, removing dirt and grime that can dull the finish.
Avoid Harsh Chemicals
Refrain from using products containing bleach or ammonia, as these can damage paint and lead to fading over time.
Store Properly
Keep your case in a cool, dry place, away from direct sunlight. Prolonged exposure can cause colors to fade and surfaces to crack. Consider using a protective cover during storage.
Handle with care to prevent scratches. When placing the bag down, do so gently and avoid abrasive surfaces to maintain an unblemished appearance.
For optimal protection, apply a clear sealant after the coloring process. This creates a barrier against environmental elements and daily wear.
Make it a habit to inspect your gear periodically. Address any signs of wear promptly to keep it looking fresh and vibrant.
Using a soft brush to dust off debris and lint can also help maintain clarity and shine.


