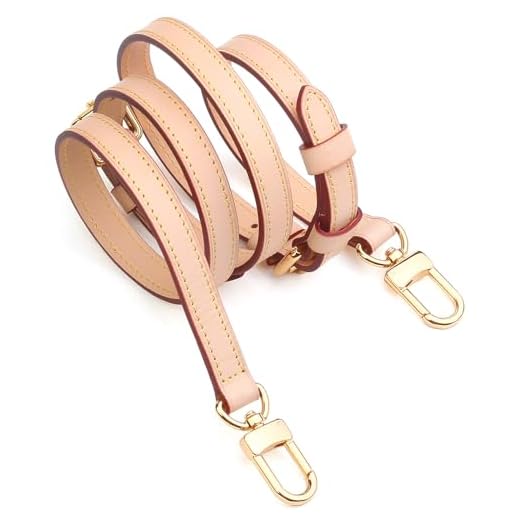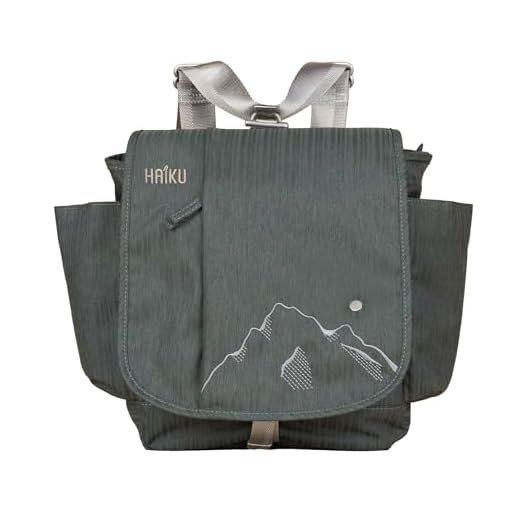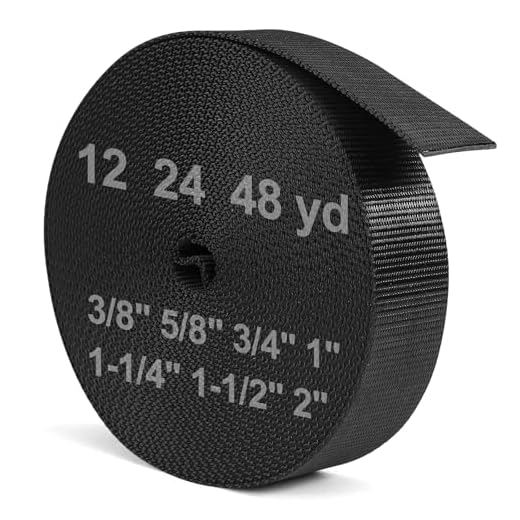


Utilize a set of sturdy D-rings and a length of adjustable webbing to create a harness that allows for dual-shoulder wear. Attach these rings securely to the sides of your satchel, ensuring they can withstand weight and movement.
Select a padded strap that is both comfortable and wide enough to distribute weight evenly across your shoulders. Consider using materials like nylon or canvas for durability. Fix the strap to the D-rings, adjusting the length to ensure a snug fit against your back.
To enhance functionality, add exterior pockets which can be repurposed from an old rucksack. These can provide easy access to essential items while increasing the versatility of your transformed carrier. Ensure all additions blend seamlessly with the existing design.
Finally, test the new setup by loading it with gear. Adjust as necessary until comfort and balance are achieved. Regular checks on the integrity of attachments will ensure long-lasting use.
Transforming a Messenger Style to a Rucksack
Prioritize adjustable straps. Detachable and adjustable components serve as the foundation for transitioning to a rucksack style. Incorporate padded straps to ensure comfort during extended usage.
Reinforce the structure with stiffer materials if flexibility hinders support. Consider adding a panel or structure at the back to maintain a rigid shape when carried on both shoulders.
Recommended Features
Focus on integrating additional pockets for organization. Secure stash areas enhance functionality and convenience, aiding easy access to smaller items.
| Feature | Description |
|---|---|
| Adjustable Straps | Allows for customizing the fit to personal comfort and load distribution. |
| Padded Back | Enhances comfort and provides structure during prolonged wear. |
| Multiple Compartments | Ensures better organization of gear, making items easier to find. |
Attach a chest strap or hip belt for added stability. This will help distribute weight more evenly and reduce strain during movement.
Final Touches
Consider the inclusion of a weather-resistant cover. This addition safeguards belongings from environmental elements during outdoor activities.
Lastly, test various configurations. Adjust and personalize as needed to achieve an optimal fit and enhance wearability for different activities.
Assessing Your Messenger for Conversion
Inspect the current structure of your satchel to identify features suitable for transformation. Check the straps; they should be adjustable and sturdy enough to support the weight when worn as an alternative carrier. Consider whether the existing materials can endure the added strain; if not, replacing them may be necessary.
Evaluate the compartments and pockets. A versatile layout can be advantageous for a rucksack style, allowing easy access to essentials. If the organization isn’t adequate, look into adding or modifying elements to enhance functionality.
Consider the closure system of your article. Zippers or magnetic clasps must be reliable, ensuring security for belongings during movement. If the current system is subpar, think about upgrading it.
Plan for comfort. The back panel should ideally have padding or ergonomic support. Verify if the lining can handle longer wear. If discomfort arises, additional cushioning might be required.
Lastly, think about aesthetics. The design should resonate with your personal style. Adjust the color or add patches as needed to create a fresh, appealing look for this new configuration. Accessorize with practical yet stylish items, such as the best beach umbrella anchors for outdoor use or select best led light bulbs for portrait photography with umbrella for creative endeavors.
Identifying Necessary Materials for Conversion
Gather the following supplies before you begin the transformation:
- Straps: Look for sturdy, adjustable straps. Nylon or polyester options work well for durability.
- Clips: Use durable clips or carabiners that can withstand weight. Consider quick-release types for convenience.
- Padded Panels: Obtain padding for comfort and support. Foam or soft mesh padding is ideal for shoulder and back areas.
- Sewing Kit: Ensure you have thread, needles, and scissors. Heavy-duty thread can provide additional strength.
- Fabric or Material: If needed, select a durable fabric for creating additional compartments or reinforcements.
- Measuring Tape: A tape measure helps to ensure accurate dimensions for any alterations or additions.
- Strong Adhesive: Consider fabric glue or a similar adhesive for non-sewn parts.
- Marker: Use a fabric marker for marking measurements and cutting lines clearly.
Assemble these materials to facilitate a seamless transformation process and enhance the functionality of your newly designed carrier.
Step-by-Step Guide to Detaching Existing Straps
Begin by laying the item flat on a clean surface to access the straps easily. Check for attachment points where the current straps connect, which may be via clips, loops, or sewn ends. Identify the type of fasteners used, such as snap hooks or D-rings.
If clips are present, pinch and pull to release them from their anchor points. For sewn straps, use a seam ripper or sharp scissors to carefully cut the thread holding them in place. Take care not to damage surrounding fabric during this process.
In cases of adjustable straps, locate any sliders or buckles that may allow for easier removal. Slide them off the strap to detach it effectively while maintaining the integrity of the rest of the design.
Store the detached straps and hardware in a safe location; they may be repurposed for other projects or adjustments later. Examine the attachment sites for any remaining threads or residue, clearing them off to prepare for new fittings.
Attaching New Backpack Straps Securely
Utilize heavy-duty webbing for the straps, ensuring they can support your gear’s weight effectively. Select materials that match the durability of the original components.
Reinforcing Connection Points
To strengthen points where the straps attach to the main compartment, use a cross-stitching technique. This adds extra support and decreases the chance of accidental disconnection.
- Position the strap’s end at the desired attachment point.
- Secure it in place with strong fabric glue before stitching.
- Make several passes with a needle and thread, creating an X pattern for reinforcement.
Adjustability and Comfort
Include adjustable sliders on the straps to cater to different carrying preferences. This not only enhances comfort but also allows for personal customization.
- Attach a slider to each strap before securing to the main body.
- Ensure ample length in the straps for movement adjustments.
Test the setup by placing the load inside, making necessary tweaks to the strap placement. A well-fitted carrier improves both utility and experience during use.
Modifying Bag Structure for Improved Comfort
Redesign the internal structure to enhance support. Start by reinforcing the base with a sturdy material, like foam or reinforced fabric. This change ensures better weight distribution and minimizes strain on your shoulders.
Incorporate a padded back panel for additional comfort. Use breathable mesh fabric to allow ventilation while reducing sweat buildup. Attach this panel securely to the back of the pouch for a snug fit.
Add adjustable lumbar support that allows customization based on user preference. Utilize adjustable straps on the lower back area, ensuring stability during movement.
Include compartments that help organize items effectively. Position pockets strategically to keep heavier items close to the back, improving balance and reducing discomfort.
Consider integrating side panels for added stability. These can be made of lightweight material, helping to maintain shape without adding unnecessary bulk.
Lastly, test the modified design in different scenarios. Carry the revised item for extended periods and assess comfort levels, making further adjustments as necessary. Ensuring an ergonomic fit will enhance the overall experience significantly.
Testing the Converted Carrier for Usability
Carry the modified item for a few hours during real-world activities. This practical test will highlight its comfort, balance, and ease of use. Pay attention to how the weight distributes across your shoulders and back. Straps should sit securely without slipping or digging into skin.
Evaluating Comfort and Fit
Check the padding of the shoulder supports. Sufficient padding prevents discomfort during prolonged use. If any part feels abrasive or tight, adjustments may be necessary. Adjust strap lengths to achieve optimal positioning. When standing, the lower part of the item should rest comfortably at your lower back.
Assessing Functionality
During the usability test, evaluate the accessibility of compartments. Ensure that pockets are easy to reach, allowing quick access to essentials. Test the closure mechanisms for reliability; zippers and clasps should function smoothly without snagging. Also, observe whether the modified design accommodates your carrying needs, whether it’s for work, leisure, or travel.
For further insights on practical innovations, check out this resource: how can a crayon save your life.


