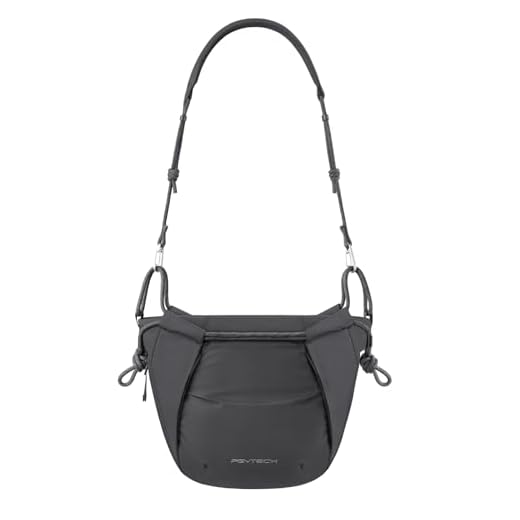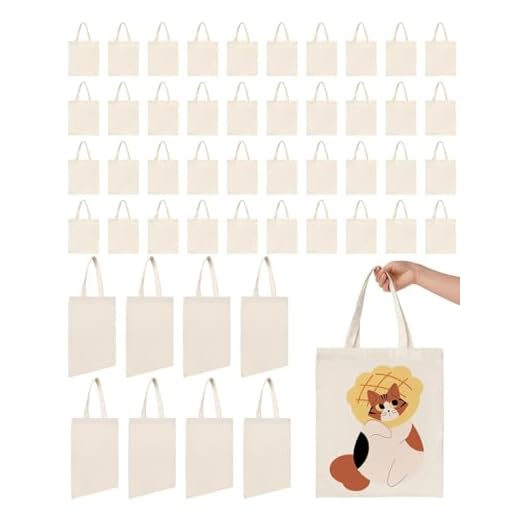


To craft a functional carryall, gather materials that suit your style and needs. Choose a sturdy fabric like canvas or denim, which provides durability, and consider inner lining for added flair and protection. Pay attention to dimensions, as a balanced size facilitates everyday use.
Opt for an adjustable strap to enhance comfort during transport. You can attach D-rings or use sturdy clips for easy adjustments. Incorporating pockets can help organize your essentials, allowing for quick access to items like your phone or wallet.
Employ simple sewing techniques such as straight stitching or zigzagging for edges to ensure durability. A sewing machine greatly speeds up the process, but hand stitching can work well too, adding a personalized touch. Follow a clear pattern or template to guide your construction, ensuring precision and alignment.
Finish the piece with an attractive closure–snaps, zippers, or magnetic clasps provide security and style. With creativity and attention to detail, your unique carryall will not only serve its purpose but also reflect your personal style.
Crafting Your Own Carrying Solution
Choose durable fabric like canvas or denim for longevity. While selecting materials, pick a lining that provides a nice contrast and a touch of elegance.
Gather necessary tools: scissors, sewing machine, ruler, and pins. A fabric marker will aid in marking measurements and cutting lines.
Follow these steps:
- Decide dimensions: Common size is around 15” x 10” for the main section.
- Cut two identical pieces from your main fabric and lining, adhering to your chosen measurements.
- For an adjustable strap, cut a long strip, approximately 55” x 3”.
- Sew the main fabric pieces right sides together, leaving an opening for turning.
- Turn the fabric right side out and press the edges for a neat finish.
- Sew the lining in a similar manner and insert it into the main piece, ensuring the edges align.
- Stitch securely around the opening to hold the lining in place.
- Attach the strap: Fold the strip lengthwise, sew along the edges, and then attach securely to the main section.
Consider adding pockets for organization. Cut additional pieces and stitch them inside the main compartment or on the exterior for accessibility.
Personalize your design with embellishments like patches or embroidery to reflect your style.
Choosing the Right Materials for Your Messenger
Opt for durable fabrics like canvas or nylon for longevity and resistance to wear and tear. These materials withstand daily use and provide a good balance between weight and strength.
Water-Resistant Options
Consider water-resistant materials if exposure to elements is a concern. Look for coated fabrics or those with a water-repellent finish to protect contents from moisture.
Complementary Linings and Accessories
Select a lining fabric that enhances organization and protects items. Lightweight polyester or cotton works well. Reinforcements at stress points should use sturdy materials like leather or thick synthetic alternatives for added durability.
Measuring and Cutting Fabric Accurately
Use a quality measuring tape for precise dimensions. For a structured look, always measure twice before cutting. Lay your fabric flat, ensuring it’s wrinkle-free, to avoid any inaccuracies. Utilize weights or pins to keep the material in place during the process.
To cut smoothly, opt for sharp fabric shears rather than regular scissors. This prevents fraying and provides a clean edge. Follow straight lines carefully and consider using a rotary cutter with a cutting mat for long, straight cuts.
When marking, use tailor’s chalk or fabric markers that can easily wash out for visibility without permanent damage. Avoid permanent markers that could spoil your project.
Incorporate seam allowance into your measurements–typically about ½ inch to 1 inch, depending on the design. This provides room for sewing and adjustments. For specific details on seasonal projects, check resources such as best active winter sweaters for small breed dogs.
Regularly press your fabric while working; this will help in achieving crisp edges and accurate folds, making assembly much easier.
Step-by-Step Instructions for Assembling the Item
Align the cut pieces of fabric with the right sides facing each other. Pin along the edges, leaving openings for turning later. Start sewing from one end, maintaining a consistent seam allowance of 1/4 inch. Ensure the stitching is secure by backstitching at the beginning and end.
Attaching Straps and Final Assembly
Once the main body is stitched, prepare the straps. Fold the strap fabric in half lengthwise, then fold the edges toward the center and sew down both long sides for a clean finish. Attach straps to the main structure by pinning them in the desired position and sewing securely.
Finishing Touches
After assembling the body and attaching straps, turn the item right side out through the openings. Push out corners for a neat finish. Iron the bag carefully to smooth any creases. Finally, add any embellishments or closures as desired to personalize the creation.
Adding Compartments and Pockets for Organization
Incorporating compartments and pockets boosts functionality and keeps items organized. Begin by measuring the internal dimensions of your creation to determine optimal sizes for additional storage spaces.
Types of Compartments
Consider the following types for effective organization:
- Zip Pockets: Secure small items like keys or cards.
- Flat Pockets: Great for easily accessible items such as a notebook or magazines.
- Elasticized Pockets: Perfect for holding pens or chargers that need flexibility.
Sample Layout Table
| Compartment Type | Dimensions (Width x Height) | Purpose |
|---|---|---|
| Zip Pocket | 8″ x 6″ | For cards and cash |
| Flat Pocket | 10″ x 5″ | Ideal for documents |
| Elasticized Pocket | 4″ x 4″ | For pens and small tools |
Make sure to secure each pocket well, using strong stitching to enhance durability. When positioning, ensure easy access without overcrowding the main compartment. For those looking for alternatives, consider the best smart backpack or the best backpack for lots of books for inspiration.
Choosing the Right Closure Mechanism for Your Design
Select a closure that complements your style and offers functionality. Common options include zippers, magnetic snaps, toggles, and buckles. Each type provides different levels of security and ease of access.
Zippers provide a secure seal and are ideal for protecting contents from the elements. Opt for weather-resistant zippers if exposure to moisture is a concern. Choose a heavy-duty zipper for durability, especially if you anticipate frequent use.
<p Magnetic snaps offer a quick and easy way to access items while ensuring they stay in place. They are less secure than zippers but can enhance the overall aesthetic. Consider using them in conjunction with additional closures for added security.
Toggles create a stylish yet practical fastening method, perfect for an informal look. They allow for easy adjustment, making them a versatile choice. Accent them with decorative ropes or fabric for added flair.
Buckles provide a robust alternative, suitable for heavier loads. They can add a rugged appeal but may require two hands to operate, which could affect accessibility. Ensure they are securely stitched to avoid any failures during use.
Evaluate your needs carefully. Think about the frequency of use, the level of security required, and your design preferences. A well-chosen closure enhances functionality while elevating the overall design.
Finishing Touches: Straps and Stitching Techniques
Select sturdy webbing for straps, ensuring it can bear weight without stretching. Typically, a nylon or cotton blend works best, offering both durability and comfort. For a professional finish, consider using fusible interfacing to add structure before attaching your straps.
When stitching, opt for a straight stitch combined with a zigzag for added reinforcement. Focus on using a strong thread, like polyester, to withstand wear. Adjust your sewing machine tension for heavier materials to achieve a clean line, and always test on scrap fabric first.
Add extra stitching at stress points, such as where the strap connects to the body. A box stitch or an “X” pattern enhances strength and offers visual interest. Pay attention to the stitch length; shorter stitches provide durability, while longer stitches create a decorative effect.
For a clean look, finish raw edges with a serger or a zigzag stitch to prevent fraying. If you prefer a decorative touch, consider using bias tape to encase the edges, which can also add color contrast.
Lastly, experiment with decorative topstitching along strap edges. This not only secures the layers but also adds a stylish flair to your creation.


