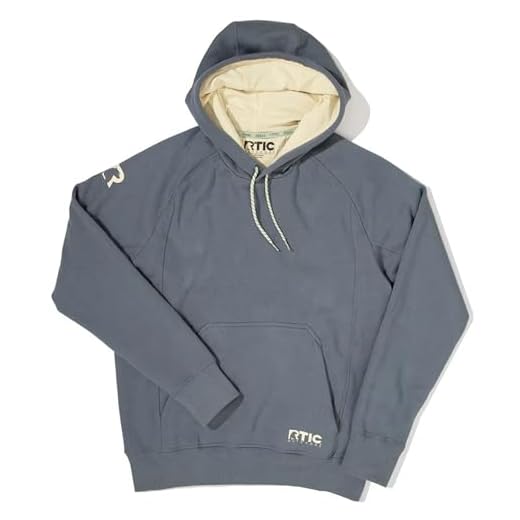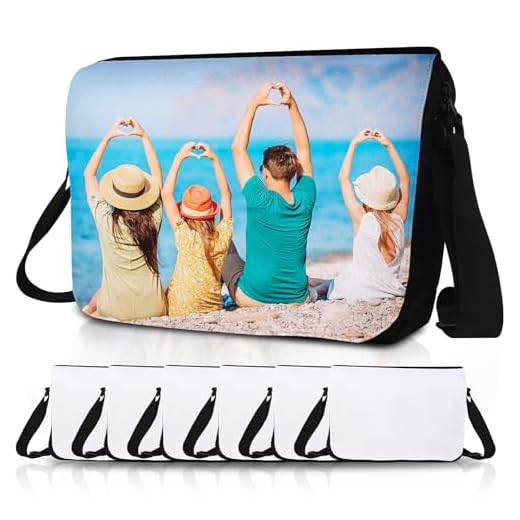

Transform that unused sweatshirt into a practical accessory. Lay the garment flat on a clean surface. Cut along the side seams, removing the sleeves entirely. Ensure the remaining body is in good shape, as it will serve as the main section of your creation.
To create the strap, take the cut-off sleeves and fold them in half lengthwise. Stitch them together along the open edge for added strength, forming a durable shoulder strap. Attach one end of the strap to the newly formed opening of the clothing piece, securing it well with strong stitches. Ensure that both ends are equal in length for comfort during use.
Tidy up the bottom portion by folding the hem inward and sewing it shut, creating a defined base. Consider adding extra pockets by utilizing leftover fabric from the sleeves or other sections, enhancing storage efficiency. This approach not only reinvents your old attire but also provides a sustainable alternative to traditional options.
Creating a Functional Carrier from a Sweatshirt
Choose a sweatshirt with a sturdy fabric. Check for any existing damage to ensure longevity.
Cut the garment just below the armholes, removing the sleeves but preserving the body. This forms the main compartment for your new carrier.
To add structure, fold the bottom hem inward and sew it securely. This helps in keeping the shape while carrying items.
Transform the sleeves into straps. Cut each sleeve to your desired length and sew the edges to avoid fraying. Attach these straps to the sides of the main compartment, ensuring they are firmly stitched for durability.
Consider adding a closure method. A button or snap can secure the top opening, preventing items from falling out during transport.
Personalize the design with patches or fabric paint to reflect your style, giving your creation a unique touch.
Test the weight capacity before regular use to confirm the seams hold firmly under various loads.
Choosing the Right Hoodie for Your Creation
Select a garment made from heavyweight cotton or a cotton-polyester blend for durability and structure. A thicker fabric provides support and shape, while lighter materials may not hold up well under the load of daily use.
Consider the fit; oversized or relaxed styles offer more fabric to work with, allowing for greater customization. Look for a hoodie with a front pocket, as this can be repurposed for added functionality in your new accessory.
Pay attention to color and design. Bold patterns or vibrant colors enhance visual appeal, but neutral tones can be versatile for various outfits. Evaluate any logos or graphics that may clash with personal style and overall aesthetic.
Check the stitching quality and seams. A well-constructed garment reduces the risk of fraying and maintains integrity during usage. If possible, opt for a hoodie with reinforced stitching at stress points for added longevity.
Lastly, consider your lifestyle needs. For outdoor activities, a water-resistant fabric is beneficial; for traveling, a roomy option enables easy packing alongside the best luggage storage in San Francisco or blending with the best hiking waist pack with water bottle holder.
Step-by-Step Cutting and Assembly Process
Select an optimal location for cutting; a large, flat surface ensures precision and comfort. Utilize sharp scissors or a rotary cutter for clean edges. Begin by laying the chosen garment flat, smoothing out any wrinkles.
Cutting Instructions
- Remove the sleeves: Cut along the seam where the sleeve attaches to the body.
- Shape the main compartment: Trim the bottom hem to create an opening. Aim for about 10-12 inches in length.
- Shorten the length: Depending on your desired dimensions, trim the body above the waistline if necessary.
- Create a flap: From the remaining fabric, cut a rectangular panel for the closure at the top. This should extend over the opening.
Assembly Process
After cutting, it’s time to join the pieces. Follow these steps:
- Lay the main section with the cut opening facing upwards.
- Attach the flap by aligning it at the top edge, pinning it in place.
- Sew along the top edge of the flap, ensuring a sturdy connection.
- For added support, sew the sides of the flap down to the body, creating a secure closure.
- Reinforce the bottom edges of the main compartment for durability.
Optional: Add a strap by cutting a long strip from the remaining fabric, folding it lengthwise, and sewing along the edge. Attach the strap to the body of your creation for functionality.
Inspect all seams for strength and finish any raw edges to prevent fraying. Your upcycled creation is now ready for use!
Add Functional Features: Pockets and Straps
Incorporating additional compartments and securing features is key for usability. Start by assessing the dimensions of the fabric to determine where side pockets can be added. These can be created from leftover material, ensuring they blend seamlessly with the overall structure.
For pockets, consider using zippers or Velcro for closure to keep essentials secure. Pockets positioned at a comfortable height on the sides allow for easy access to items like phones or wallets. Use a reinforced stitch to secure the pockets firmly to prevent tearing.
Straps play a crucial role in creating a functional carrier. Choose a sturdy fabric or repurpose the drawstrings from the garment. Measure the desired length for crossbody or shoulder straps. When attaching, ensure the stitching is robust to handle weight. Consider adding padding for comfort during use.
For added versatility, you might want to attach D-rings or clips that allow for detachable straps. This feature enables the option to adjust the style or fit as needed. Ensure these attachments are made from durable materials to withstand regular wear.
| Feature | Material Options | Attachment Method |
|---|---|---|
| Pockets | Hoodie fabric, old jeans, or canvas | Zipper, Velcro, or button |
| Straps | Hoodie drawstrings, webbing, or fabric strips | Stitching, D-rings, or clips |
Functionality is enhanced by ensuring that all features are easily accessible yet securely attached. A well-structured exterior not only provides practicality but also elevates the aesthetic of your upcycled design. Interested in marketing creativity? Check out this link: how can advertising influence your food choices.
Finishing Touches: Customizing Your Messenger Bag
Consider adding personalized patches or embroidery to enhance the uniqueness of your creation. Choose designs that reflect your personality or interests, attaching them securely with fabric glue or by stitching.
Incorporate adjustable straps for comfort and style. Use webbing or fabric from the original garment, ensuring they are comfortable and easy to manipulate.
Add hardware elements like rivets or buckles to enhance durability and provide a fashionable flair. Be sure to reinforce areas where the hardware attaches to prevent wear over time.
Enhance organization by including additional storage compartments. Use leftover fabric to create smaller sections inside for holding essentials, ensuring easy access to frequently used items.
Consider waterproofing the exterior for added practicality. A spray-on fabric protector can provide resistance against spills, keeping the contents safe during unexpected weather conditions.
Complete the look with stylish zippers or snap closures, merging functionality with aesthetics. Choose colors that contrast or complement your main material for a polished finish.


