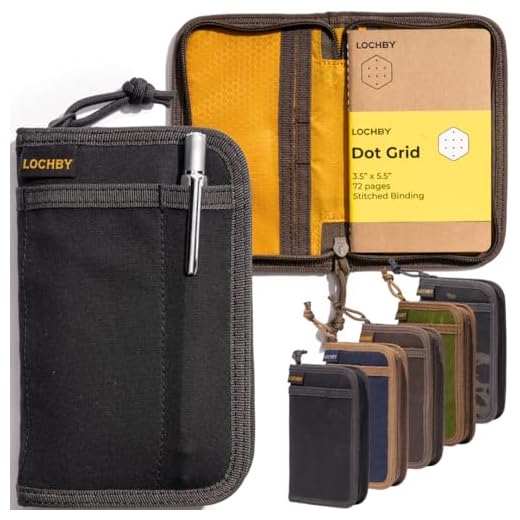

Gather a pair of worn-out trousers to initiate this innovative project. Carefully cut the fabric along the seams, ensuring ample material for your design. The pockets can serve as functional elements, adding a unique touch to the finished product.
Next, prepare the pieces by removing any excess stitching and fraying edges. This step will enhance the overall appearance, lending a polished look to your creation. Select a sturdy lining–canvas works well–then cut it to match the denim dimensions, creating a robust interior.
Once the fabric is prepped, it’s time to assemble. Stitch the chosen sections together, considering a secure closure method such as a button or zipper. Adding a strap is essential; repurpose a belt or create one from remaining fabric, ensuring comfort and durability for regular use.
Upon completion, inspect your work for any adjustments needed to enhance functionality and style. A personalized embellishment, like patches or embroidery, can further distinguish your unique piece. Remember, each detail reflects your creativity.
Choosing the Right Pair of Denim for Your Project
Selecting an appropriate pair of denim is critical for creating a sturdy and stylish accessory. Look for fabric with a weight between 12 and 14 ounces per square yard; this range signifies durability while still being manageable for crafting.
Assessing Condition
- Examine seams for any signs of fraying or damage; intact stitching ensures longevity.
- Check for stains, large holes, or excessive wear; minor imperfections can be incorporated creatively, but significant damage may compromise the final product.
- Consider the overall color and texture; darker shades provide a more polished look, while faded options lend a casual vibe.
Consideration of Style
- Choose straight or relaxed fits for added ease during the transformation process.
- Avoid extreme styles like skinny or baggy cuts unless seeking a specific aesthetic.
- Incorporate various denim washes to add visual interest if combining multiple pieces.
Ultimately, the ideal fabric serves as a foundation for a functional and fashionable accessory, ensuring both style and usability meet your requirements.
Step-by-step instructions for cutting and sewing
First, gather the materials: a pair of jeans, fabric scissors, a sewing machine, thread, and pins. Lay the denim flat on a cutting surface to ensure accuracy.
Cutting the Fabric
Begin by cutting the legs off the pants at the desired length, typically around 15-20 inches for a compact style. Then, decide on the main panel shape–a rectangle is most common. Cut two pieces from the fabric for the front and back, each approximately 14×12 inches.
For added functionality, consider using the pockets. Carefully cut them out from the rear section. Ensure to leave some fabric around the edges for sewing. The remaining fabric can be used for a flap or interior pockets.
Sewing the Components
Start by positioning the front and back panels together with the right sides facing each other. Pin them in place along the sides and bottom. Sew a straight seam with a ½ inch seam allowance, reinforcing the edges for durability.
To attach the flap, fold the top edge of the back piece down to form a flap. Sew the sides, leaving the top open. This creates the closure for the tote. Finally, attach the pockets by sewing around the edges onto the front panel for easy access.
Finish by sewing a strap using the leftover fabric from the legs or a sturdy webbing. Attach it securely at the sides, ensuring the stitches are reinforced to support weight.
Adding Functional Pockets and Closures
Incorporate practical storage solutions by attaching pockets from the original fabric. Use the back pockets for a secure, easily accessible location for essentials like a phone or wallet. Cut around the pockets, ensuring to leave enough fabric for attachment. Reinforce the corners while stitching to maintain durability.
Types of Pockets
Consider adding a flap pocket for added security and style. A zipper pocket is also a great option for items that need safeguarding. Ensure that closures align with the aesthetic; buttons and snaps made from upcycled materials will blend seamlessly with the design.
Closure Options
A magnetic snap is user-friendly and provides quick access, while magnetic clasps offer a sleek look. Alternatively, Velcro helps in creating an adjustable fit. Secure these closures properly to withstand regular use, ensuring they are firmly stitched to the fabric.
For additional insights on different topics, visit how can a daca recipient get a green card.
Personalizing Your Carryall with Decorations and Finishes
To enhance your creation, consider integrating patches for texture and character. Choose embroidered designs or fabric patches that reflect personal interests or favorite themes. Sew them firmly onto the exterior or interior to add a unique flair.
Another approach is utilizing fabric paint or markers. Create custom designs, quotes, or illustrations directly on the fabric. Ensure the paint is fabric-specific to withstand wear and washing without fading.
Adding embellishments such as buttons, beads, or studs can transform the visual appeal. Attach them along the edges or on pockets, providing both decorative and functional elements.
For a rustic touch, explore various stitching techniques, like visible seams or contrasting thread colors. This not only reinforces durability but also introduces an artistic edge to your accessory.
Consider lining the interior with contrasting fabric or adding pockets in a vibrant color. This can enrich functionality while providing a surprising visual element each time the accessory is opened.
Finally, if you’re traveling, consult resources for the best carry on tote for international travel womens for further inspiration on practical styles and designs that can enhance your daily experiences.


