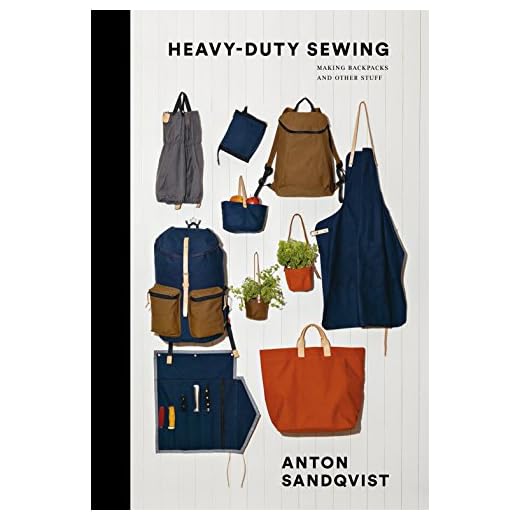


Begin with the choice of sturdy fabric, such as canvas or denim, to ensure durability. Cut pieces according to your design, typically a base, two side panels, a flap, and a strap. Precision in cutting will facilitate seamless assembly.
Utilize a sewing machine for stitching the parts together. Reinforce the seams for added strength, focusing particularly on stress points like corners and strap attachments. Opt for contrasting thread for a stylish finish.
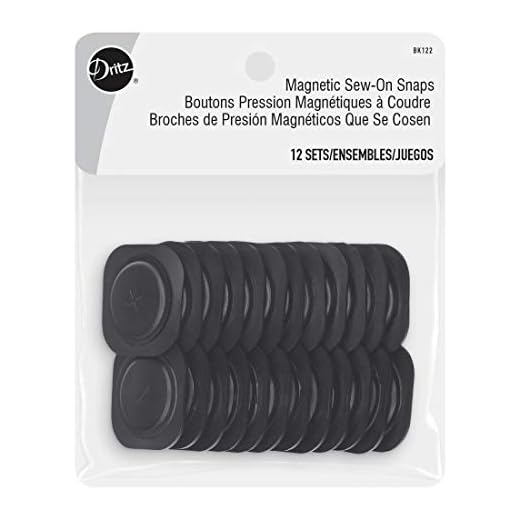
Integrate pockets for functionality; a zippered compartment can add security to your essentials. Consider adding closures like magnetic snaps or Velcro for easy access while keeping contents secure.
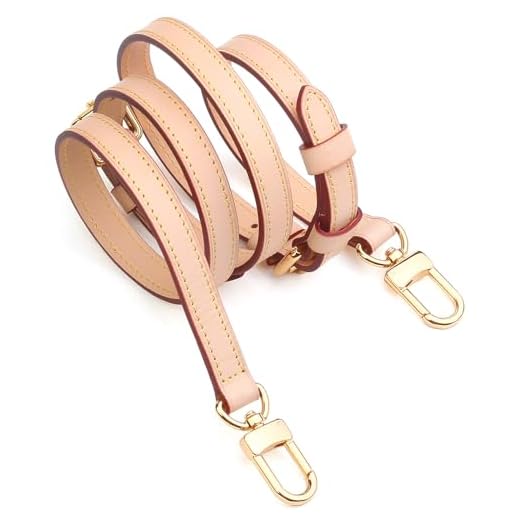
Finish with quality hardware for the strap–adjustable buckles can enhance comfort. After assembling, inspect the piece for any loose threads or weak spots, ensuring it meets your standards for both form and function.
Selecting the Right Materials for Your Messenger Bag
For optimal durability and style, consider using heavy-duty cotton canvas or nylon. These materials can withstand wear and tear, ensuring longevity for daily use.
Incorporate water-resistant fabric for added protection against the elements. This can be particularly useful for daily commutes.
For the inner lining, lightweight ripstop nylon offers strength while keeping the overall weight minimal. It also prevents contents from shifting, maintaining organization.
Utilize strong, reliable hardware such as metal or durable plastic buckles and zippers. Choose high-quality components to ensure functionality and enhance the bag’s aesthetics.
By pairing contrasting textures, such as smooth leather straps with a rugged canvas body, you can create visual interest while maintaining a cohesive look.
When selecting padding for shoulder straps, opt for foam or gel to enhance comfort and reduce strain during extended wear. This detail makes a significant difference in usability.
Finally, don’t forget about eco-friendly options. Recycled materials can provide a sustainable choice while still delivering robustness and style.
Choosing a Suitable Pattern for the Bag Design
Select a design that aligns with your functional needs. Consider the dimensions required to accommodate daily essentials such as a tablet, wallet, and keys. A basic rectangular silhouette may provide ample space, while curved styles can enhance aesthetics without sacrificing utility.
Assess pocket configurations that can enhance organization. Opt for an external pocket for quick access to frequently used items. Interior pockets can separate smaller belongings to prevent clutter.
Incorporate adjustable straps for versatility in carrying options. Design that allows shifting between shoulder and crossbody styles caters to various user preferences.
Research patterns that incorporate reinforced seams for durability, especially in stress areas. This ensures longevity, even with everyday use.
Refer to online resources for pattern templates that cater to specific requirements. They can guide you through various design elements, including flap styles and closure options, which impact both security and accessibility.
If durability during travel matters, consider looking into the best luggage dolly to assist with transport of heavier loads alongside your creation.
Once a suitable pattern is selected, prototype it to evaluate the overall functionality and storage capacity. This step reveals potential improvements before finalizing the design.
Incorporating a patterned fabric can add visual interest and personality, making your creation stand out. For outdoor enthusiasts, designs that mimic those found in the best kids hiking backpack may offer engaging style while remaining practical.
Step-by-Step Cutting Instructions for Fabric Pieces
Begin with the exterior fabric and cut a rectangle measuring 14 inches by 10 inches for the main compartment. Next, for the flap, prepare a piece measuring 14 inches by 8 inches. For the lining, cut two pieces of fabric identical to the main compartment measurements and two additional flap pieces to match the exterior.
Transition to the interfacing needed for added structure. Cut two pieces of interfacing that align with the exterior fabric’s main compartment and flap dimensions. Make sure to position the interfacing on the fabric’s wrong side, adhering it carefully.
Straps and Additional Components
Create the shoulder strap by cutting a strip of fabric measuring 2 inches by 40 inches. For any additional pockets, measure the desired sizes and cut your fabric accordingly. Reinforce any pocket edges with interfacing for durability.
Final Preparations
Double-check all measurements before cutting. It’s beneficial to label each piece as you go to facilitate assembly later. This technique keeps everything organized and helps prevent confusion during the stitching phase. For maintaining efficiency in the workspace, consider also reviewing related tools, such as the best cordless lawn mower for battery life, for other creative projects.
Sewing Techniques for Assembling the Bag
Utilize a straight stitch with a needle size appropriate for your fabric; for heavier materials, a size 16 or 18 needle is recommended. This ensures durability and prevents fabric damage.
Employ a zigzag stitch along the raw edges of each piece to prevent fraying, particularly on woven textiles. This technique reinforces seams and extends the lifespan of your creation.
Utilize French seams for a clean interior finish, perfect for lightweight fabrics. This involves sewing a seam, trimming the edges, and then enclosing the raw edges with a second seam.
Incorporate topstitching along seams for added strength and visual appeal. Use a contrasting thread color for an attractive detail that enhances the overall design.
Engage in basting to hold layers together prior to final stitching. This is especially helpful for securing pockets and linings, preventing shifting during the sewing process.
For added structure, consider interfacing your fabric pieces. Fusible interfacing works seamlessly, adhering to fabric with heat and providing stability without bulk.
During assembly, pin or clip pieces together to maintain alignment. Use fabric clips for thicker materials, as they can hold layers securely without damaging the fabric.
When attaching straps, reinforce these areas with an extra row of stitching to withstand daily wear. Boxes or “X” shapes can be used to secure the junctions between the strap and the body.
Finish edges with a serger for a professional touch, minimizing bulk while achieving a neat finish. This tool can also be used to join layers together swiftly.
After assembly, press seams open with an iron to achieve a polished look. Steam can help in shaping the fabric, ensuring that all components lie flat and presentably.
Adding Functional Elements: Pockets and Straps
Incorporating pockets and straps into your design enhances usability. Begin by determining the pocket types: exterior, interior, or both. Choose the placement that offers convenience while maintaining aesthetics. For instance, add a slip pocket on the front for easy access, while an interior zippered pocket can secure valuable items.
Types of Pockets
| Type | Description | Placement |
|---|---|---|
| Front Slip Pocket | Quick access for essentials | On the front panel |
| Interior Zippered Pocket | Secure storage for valuables | Inside the main compartment |
| Side Pocket | Ideal for a water bottle or umbrella | On either side |
| Back Pocket | Great for easy-to-reach items | On the rear panel |
Ensure pockets match the dimensions of the overall design. For example, if the total measurements are compact, opt for smaller pockets that do not bulge out. Implement secure closures such as zippers or snaps to prevent items from falling out.
Straps for Functionality and Comfort
Straps play a significant role in both functionality and style. Choose from materials like nylon or leather for durability. Adjustable straps offer versatility, allowing the user to customize length according to their preference.
Consider the width of the strap; wider options distribute weight better, enhancing comfort during extended wear. Attaching D-rings or clips allows for easy removal or replacements if needed. Test the attachment points to ensure stability and strength during use.
Prioritize reinforcement at strap junctions with additional stitching or rivets to prevent fraying over time.
Finishing Touches: Closure Options and Personalization
Consider using magnetic snaps for a seamless look and quick access. They provide a modern touch while ensuring your items stay secure.
For added security and style, try using a zipper closure. Choose a contrasting color for the zipper to create a striking visual element or opt for an exposed zipper for a trendy finish.
Buckles can add an industrial feel. Explore different materials like metal or plastic, and make sure they are easy to operate to maintain functionality.
Incorporate Velcro as a simple and lightweight alternative. It allows for easy adjustments and can be placed discreetly for a clean appearance.
To personalize your creation, consider adding patches or embroidery to reflect your unique taste. This can involve simple monograms or decorative appliqués that resonate with your style.
Explore fabric paints or stencils for a custom design. This method enables you to create patterns or messages that stand out, making your item one-of-a-kind.
Adding key chains or charms is another way to enhance personalization. These can be attached to the strap or closure for a playful touch.
- Magnetic snaps
- Zipper closures
- Buckles
- Velcro
Utilizing these closure options and personalization techniques can elevate your project, ensuring it is both functional and reflective of your individual style.


