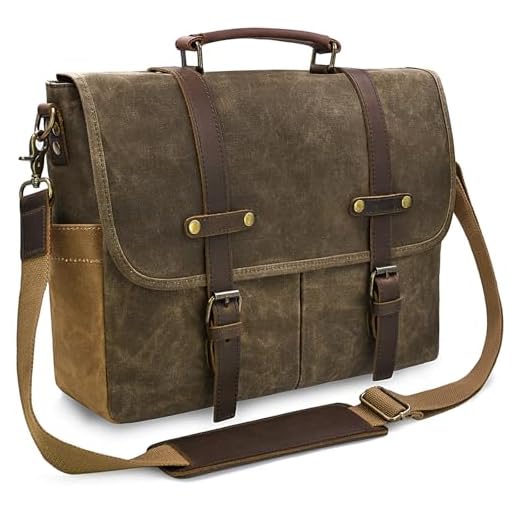


Choose high-quality fabric that offers water resistance and a rugged appearance. Look for cotton or linen materials treated for additional durability. A heavier weight will ensure both strength and longevity, suitable for various daily tasks.
Gather essential tools including a sharp rotary cutter, cutting mat, and strong sewing machine with a walking foot attachment. Strong thread designed for heavy-duty use is essential for creating seams that withstand wear and tear.
Plan dimensions based on intended usage, considering compartments for organization. A flexible design allows for adjustments, accommodating items like laptops or books. Make precise measurements to ensure a tailored fit, reinforcing edges with additional fabric for added support.
Utilize strategic stitching techniques to enhance aesthetics and functionality. Consider double-stitching for durability and incorporating visual elements such as contrasting stitching colors or decorative patches. Remember to install adjustable straps for comfort and adaptability during wear.
Choosing the Right Waxed Material
Select a durable, high-quality fabric with appropriate weight for your creation. A weight between 10 to 12 ounces per square yard offers a solid balance between sturdiness and flexibility.
Seek options that feature a blend of cotton with paraffin or beeswax for optimal water resistance and longevity. The ideal choice should maintain a rugged aesthetic while providing practical functionality.
Types of Fabrics
Review the following common types:
| Fabric Type | Weight | Water Resistance | Usage |
|---|---|---|---|
| Medium Weight | 10 oz | Moderate | Everyday carry items |
| Heavyweight | 12 oz | High | Outdoor applications |
| Lightweight | 8 oz | Low | Interior linings |
Finish Treatments
Consider the finishing process for the material. A well-coated surface ensures resistance to water and dirt, prolonging durability. Look for products that showcase a uniform application of wax, preventing uneven wear over time.
Conduct a touch test to assess the feel; a smooth and slightly tacky texture indicates an effective wax application. This quality aids in maintaining the integrity of the fabric while allowing for ease of maintenance.
Tools and Supplies for Bag Construction
Gather the following items for efficient assembly:
Cutting Tools
A rotary cutter, mat, and a straight edge will ensure precise cuts. Utilize sharp fabric scissors for detailed trimming, and a durable cutting board to protect surfaces.
Sewing Supplies
Invest in heavy-duty thread suitable for outdoor products. A sewing machine with a walking foot or heavy-duty needle is ideal for tackling thick materials. Scissors, pins, and clips will aid in securing pieces during stitching.
Hardware Components: Acquire rivets, D-rings, and buckles that complement your design. A sturdy, reliable strap or webbing is necessary for comfortable carrying.
Adhesives: Use fabric glue or double-sided tape for initial positioning before sewing, which prevents shifting during the process.
Finishing Touches: Consider wax applicators or a heat gun if additional finishing is required for weatherproofing.
The right combination of these tools and materials promotes a smoother crafting experience, enhancing durability and functionality.
Step-by-Step Sewing Instructions for the Bag
Begin by cutting two rectangular panels from your selected fabric, ensuring they are of equal size for the front and back. The dimensions can vary based on desired size, but a common measurement is 15 inches wide by 12 inches tall.
Next, measure and cut a suitable strip for the strap, typically 3 inches wide and 50 inches long for a comfortable crossbody fit. This strip should also be cut from the same material for uniformity.
To reinforce the structure, create two smaller rectangles (about 4 inches by 4 inches) for the corners. These will provide additional support at the base.
With right sides facing each other, sew the top edges of the front and back panels together, keeping a ¼ inch seam allowance. Iron the seam open for a flat finish.
Attach the sides by sewing each corner rectangle to the base of the panels. This will give your project a three-dimensional shape. Secure with a straight stitch and backstitch at the beginning and end for durability.
Next, turn the bag inside out to conceal all seams. Position the strap along the top edge, making sure the ends are evenly distributed. Sew in place, reinforcing with an additional stitch to ensure it holds under weight.
Add any additional features like pockets or closures. A magnetic snap or zipper can enhance functionality. Cut an opening for the zipper and sew in place, ensuring it aligns correctly.
Finally, give the entire piece a good press. For added protection against the elements, consider applying a waterproofing spray. This small step can greatly enhance durability.
While you’re crafting, don’t forget to choose practical items for your outdoor adventures. For example, check out the best beach umbrella that wont fly away for your next outing.
Additions: Pockets, Straps, and Closures
Integrating pockets is essential for functionality. Consider adding exterior and interior compartments to hold small items securely. Use a contrasting fabric for the pocket lining to enhance visibility and accessibility. Common pocket styles include:
- Patch Pockets: Sew these onto the exterior for easy access.
- Zippered Pockets: Ideal for securing valuables; incorporate a zipper that complements the overall design.
- Slip Pockets: Great for items like notebooks or phones, positioned on the inside.
Straps play a critical role in comfort and usability. Opt for adjustable options, allowing customization for different users. Materials to consider include:
- Webbing: Durable and can handle heavy loads; suitable for outdoor use.
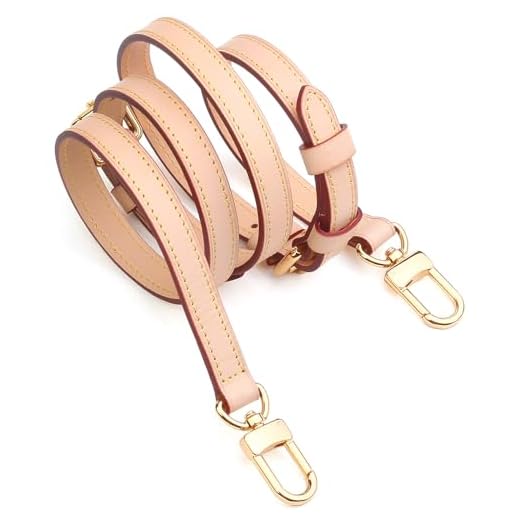
- Leather Straps: Offer a classic look and comfortable wear, especially when padded.
- Fabric Straps: Ideal for a softer feel; reinforce with extra stitching or interfacing for added strength.
Closing mechanisms should enhance security while being easy to operate. Various options include:
- Magnetic Snap Closures: Quick to open and close, perfect for frequent access.
- Button and Loop: Traditional yet reliable; customize button size and material for aesthetics.
- Zippers: Offer full protection and are available in various styles, such as exposed or hidden zippers.
Balance utility with style in every addition. Each choice contributes to the final product’s functionality and visual appeal. Test various configurations to determine what best suits individual needs.
Finishing Touches and Care for Your Messenger Bag
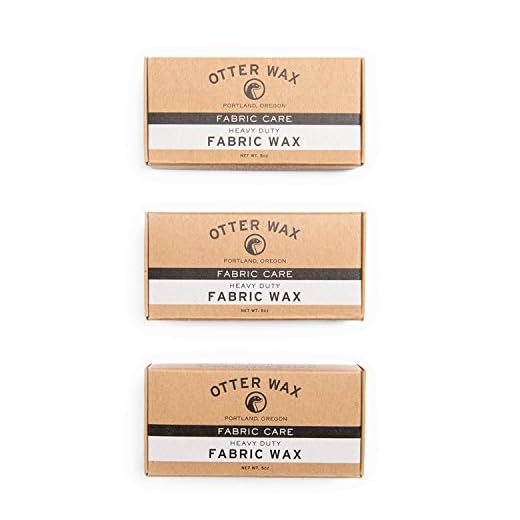
Apply a quality water-resistant treatment to enhance durability. This can be done through spray-on or wax-based options. Ensure to cover all seams thoroughly for maximum protection.
After construction, check for loose threads and trim them. A neatly finished piece not only looks good but also prevents further fraying. Use a little fray check liquid for added security on vulnerable edges.
To maintain the fabric’s appearance, regularly clean it using a damp cloth for light stains. For tougher marks, consider using a mild soap solution and a soft-bristled brush. Rinse with a clean cloth, avoiding excessive water which can weaken the material.
Store your item in a cool, dry place when not in use. Avoid direct sunlight which can fade colors over time. A breathable cotton bag can offer additional protection.
If you’re curious about accessories, check out the best umbrella ever made, which pairs well for outdoor activities. Also, for healthy snack ideas, learn which of the following does not digest proteins for a balanced diet while on the go.
FAQ:
What materials do I need to make a waxed canvas messenger bag?
To create a waxed canvas messenger bag, you will need several key materials. First, you’ll need waxed canvas fabric, which provides durability and water resistance. Choose the weight based on the desired sturdiness of the bag. Additionally, you will require webbing or leather for the straps, a sewing machine with a heavy-duty needle, thread suitable for heavy fabrics, and any closure mechanism like buckles or magnetic snaps. Optional items include lining fabric, additional pockets, and hardware like D-rings to attach the straps.


