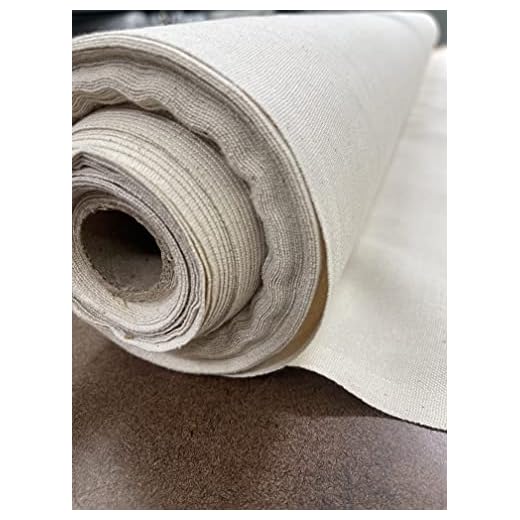


Choose sturdy fabric such as canvas or denim for durability, while additional materials like interfacing can enhance structure. Begin with cutting two equal rectangular pieces for the main body, ideally measuring around 15 by 12 inches for a practical size. Consider using a rotary cutter and mat for precision in your measurements.
To construct the strap, opt for a length of approximately 50-60 inches, wide enough for comfort, around 2 inches works well. Attach the straps securely to the top edges of the body pieces; this can be achieved with simple straight stitches, ensuring strength for daily use.
Add pockets to increase functionality; either exterior or interior designs can offer easy access and organization. A simple patch pocket sewn on the front can add a touch of style while serving a practical purpose.
Finish edges with a zigzag stitch or serger to prevent fraying, and remember to reinforce any stress points, especially where the strap connects. This simple yet versatile carrier not only serves as a personal accessory but also showcases creativity and practical skills.
Steps for Crafting a Simple Carrier
Choose durable fabric like canvas or denim to ensure longevity. Cut two identical rectangles for the body measuring approximately 14″x16″. For the flap, cut another piece sized 14″x8″.
Assembling the Structure
Pin the rectangles, right sides together. Stitch along the sides and bottom, leaving the top open. For added strength, use a zigzag stitch along the raw edges.
Creating the Flap
Fold the flap piece in half, right sides together, and stitch along the sides, turning it inside out afterward. Press flat, then attach it to the top of the main compartment with even spacing.
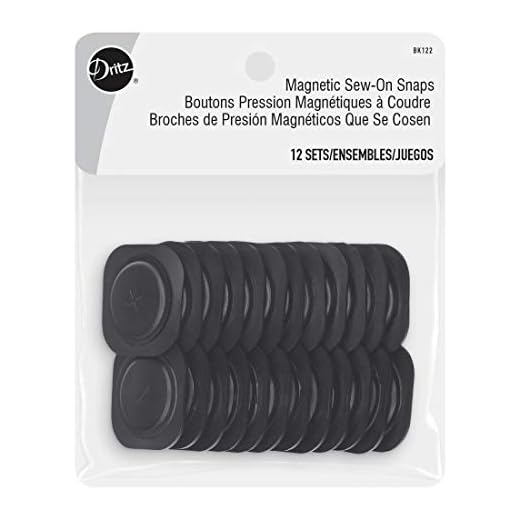
- Use a magnetic snap or Velcro for closure.
- Cut a long strip for the strap, 3″x50″, and fold it in half, stitching along the long edge.
- Attach both ends of the strap to the sides of the purse.
Finish by top-stitching around the flap for a polished look. Trim any excess threads, and your stylish holder is ready for use!
Selecting the Right Fabric and Materials
Choose durable fabrics like canvas or denim for longevity and protection against wear. If lightweight is a priority, consider cotton twill or nylon. For a stylish finish, opt for patterned or textured materials that align with your aesthetic.
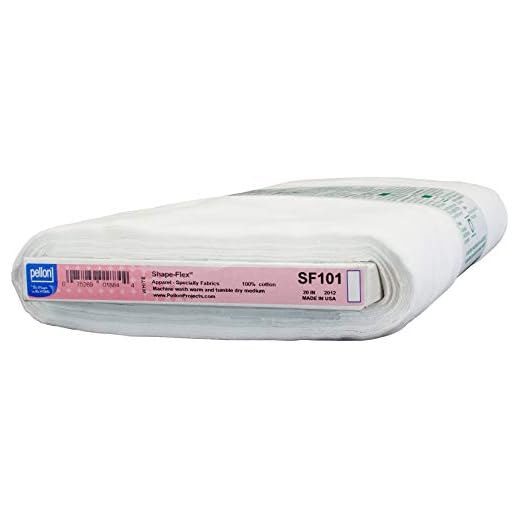
Incorporate interfacing to add structure, especially in areas requiring stability, such as the flap and base. Use fusible interfacing for ease of application. Make sure to pre-wash your fabrics to prevent shrinkage after assembly.
For straps, select strong materials like polypropylene webbing or fabric that matches the bag’s main material for uniformity. Ensure the width of the strap is comfortable for carrying.
Consider hardware components, such as buckles, snaps, or zippers. Pick functional yet stylish options that complement the design without compromising practicality. Secure stitching for these elements is crucial to maintain durability.
Finally, if waterproofing is desired, treat your fabric with a suitable spray or coating to enhance resilience against moisture. This step is particularly important for outdoor use or unpredictable weather conditions.
Measuring and Cutting Fabric Pieces
Begin with accurate measurements for the material segments. Use a measuring tape to determine the dimensions based on your design. Typically, a simple design would require the following measurements:
| Component | Measurement (inches) |
|---|---|
| Main body | 15 x 12 |
| Flap | 15 x 6 |
| Strap | 40 x 2 |
After measuring, use fabric scissors for clean edges. Ensure your cuts are straight and precise, using a ruler or a cutting mat to guide your scissors. Avoid stretching the fabric while cutting to prevent any distortion of shape.
It’s beneficial to create a paper pattern of the components first. This step enables better visualization and ensures you are cutting correctly. After confirming the pattern, pin it onto the fabric before cutting to maintain accuracy.
Consider choosing a patterned fabric; it may help hide minor cutting inaccuracies. For additional inspiration and ideas, explore various products such as the best promotional folding umbrellas.
Tips for Accurate Cutting
Always double-check your measurements before cutting. Consider adding a seam allowance of approximately 1/4 to 1/2 inch around each piece to accommodate stitching. This will also facilitate any adjustments needed during assembly.
Creating the Bag’s Body and Flap
Cut the main fabric pieces according to the measurements established earlier. For a standard design, typically, you will need two rectangles for the body and one flap cut from the same material. If adding a lining, cut identical pieces from the lining fabric as well. Ensure all edges are cut straight for a polished finish.
Take one body piece and place it right side up. The second piece should be laid on top, right sides facing each other. Pin around the edges to secure them in place, leaving an opening at the bottom for later turning the creation inside out. Use a straight stitch to seam around the sides and bottom, reinforcing corners for durability.
For the flap, fold it in half lengthwise and press with an iron to create a center crease. Open it back up; then fold the outer edges toward the center fold and press again. This method creates a clean edge, ready for attaching to the upper part of the bag’s body.
Position the flap on the top edge of the main body piece, aligning the raw edges. Pin in place, ensuring the center crease of the flap is aligned with the center of the body. Stitch along the top edge to secure, backstitching at the start and finish for added strength.
Once stitched, trim the seam allowance for a neater finish. Turn the bag right side out through the opening in the bottom seam. Push out the corners gently for a sharper silhouette. Finally, press the entire piece with an iron to smooth out any wrinkles and set the shape.
Attaching the Strap for Comfort and Durability
Choose a strong, adjustable strap to enhance comfort and longevity. A strap made from durable materials, like nylon or cotton webbing, resists wear and tear effectively.
Attachment Methods
- Box Stitching: This technique ensures a robust connection. Sew a square or an “X” pattern at each attachment point for reinforced security.
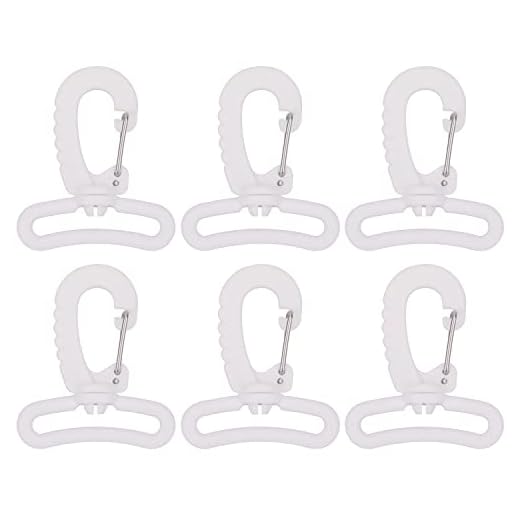
- Swivel Clips: Use swivel clips to enable easy removal and adjustment. Secure them to the bag’s body for convenience.
Length Adjustment
Incorporate adjustable sliders to customize the strap’s length. This feature allows wearers to find their ideal fit, enhancing overall comfort during use.
To maintain strap quality, inspect it regularly for signs of damage. A well-maintained strap prolongs the life of your creation.
Consider using materials like best market umbrella sunbrella for weather resistance, particularly if the finished product will be exposed to elements. This choice enhances durability while offering style.
Adding Pockets for Organization
Incorporate pockets into your project for enhanced utility and organization. Begin by deciding on the type and size based on items you intend to carry. For instance, small inside pockets work well for phones and wallets, while larger outer pockets are suitable for books or water bottles.
When cutting fabric, ensure your pieces are slightly larger than the planned pocket dimensions to allow for seams. Use a contrasting or matching fabric to add visual interest. For a clean finish, consider folding the edges of the pocket inwards and pressing them before attaching to the main structure.
To secure the pockets, align them where desired on either the interior or exterior, employing pins to hold them in place. Stitch along the sides and bottom, leaving the top open. Reinforce corners for added durability.
For added functionality, add flap closures, zippers, or velcro to secure pocket contents. Test your configurations to ensure accessibility and ease of use. This attention to organizational detail transforms a basic design into a tailored solution for your transportation needs.
Finishing Edges and Adding Personal Touches
To achieve clean edges, consider using a zigzag stitch or an overlocking technique to prevent fraying. If you prefer a more decorative finish, try a bias tape or a serger. These methods not only enhance durability but also elevate the overall aesthetic.
Adding pockets can personalize your creation. Stitch various styles such as patch, flat, or zippered pockets based on your functional needs. Choose fabric remnants for these elements to minimize waste and add character.
For an artistic flair, apply fabric paint or iron-on patches. Monograms or motifs can transform a simple creation into a unique accessory. Remember to secure any embellishments thoroughly to withstand everyday use.
Consider incorporating contrasting lining for added visual interest. This technique can create a surprise element that enhances appeal. If you use lightweight material, ensure it’s sturdy enough to support the bag’s structure.
Finally, maintain your masterpiece easily. For fabric maintenance, researching options like the best fully automatic washing machine for hard water can help keep colors vibrant and prolong the lifespan of your creation.


