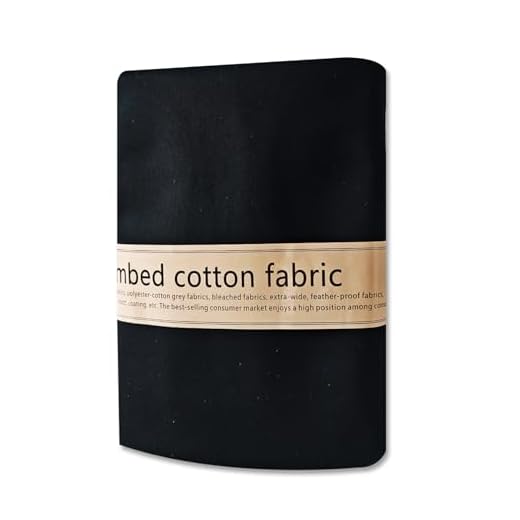

Begin with a durable fabric, such as canvas or denim, for long-lasting use. Choose colors or patterns that reflect the child’s personality, ensuring it remains appealing over time. Measurements should be approximately 10 inches in height and 8 inches in width, providing just the right dimensions for small hands and essential items.
Utilize a simple rectangular approach for the main compartment, cutting two pieces of fabric according to the specified dimensions. Adding a layer of interfacing will enhance the structure, making it sturdy enough to withstand daily adventures. For the flap, a slightly larger piece will provide coverage and style, while keeping contents secure.
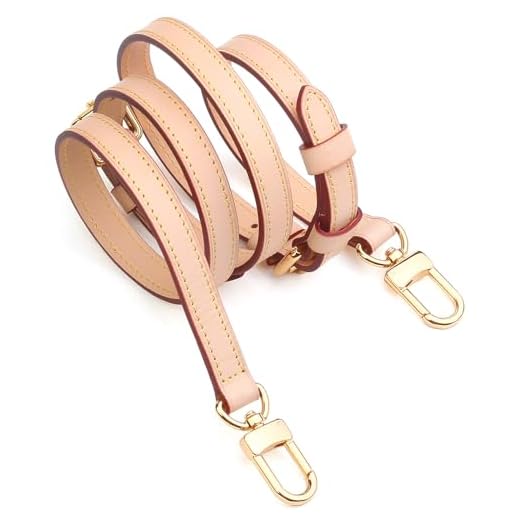
Craft a comfortable strap from webbing or matching fabric, making it adjustable to fit as the child grows. A length of about 40 inches is a good starting point, allowing the bag to sit at a comfortable hip height. Attach this strap to the sides using either D-rings or by sewing directly onto the main body for a seamless look.
Complete the design with a few finishing touches such as secure closures like Velcro, snaps, or magnetic fasteners. These elements not only add functionality but also enhance the overall charm of the accessory. Personalizing with embroidered initials or patches can make the piece uniquely theirs, turning a practical item into a cherished companion.
Creating a Small Carrier for Little Ones
Select sturdy fabric such as canvas or denim to ensure durability. For the dimensions, aim for a size around 10 inches wide and 8 inches tall to accommodate essentials without overwhelming a small child.
Begin by cutting two pieces of your chosen material according to these dimensions. Don’t forget to leave an extra half-inch on each side for stitching. For added flair, consider using contrasting fabric for the inner lining.
To construct the strap, cut a long strip about 2 inches wide and 30 inches long. Fold the edges inward and press, then fold it in half lengthwise and stitch along the open edge to create a neat strap.
Assemble the external panel by placing the two pieces right-sides together. Stitch along the sides and bottom, leaving the top open. For added aesthetics and a secure finish, sew across the top edge with a decorative stitch.
Attach the strap securely to both sides of the opening with reinforced stitches. This will enhance the strength needed for everyday use. Make sure to double-stitch for extra security.
Optionally, add a pocket on the front for organizing small items. Cut an additional rectangle, fold and stitch the edges, then attach it to the front panel before sewing the sides together.
Finish by turning the bag inside out and giving it a good press to flatten any seams. Your little one’s new carrier is ready to use. For fun outings, consider taking them to the best aquarium in utah.
Selecting the Right Fabric for a Toddler Carrier
Opt for durable, machine-washable materials. Popular choices include cotton canvas, denim, and poly-cotton blends, as they withstand wear and tear while being easy to care for.
Considerations for Fabric Selection
Focus on weight and texture. Lightweight fabrics make carrying easier, while textured options can help grip and reduce slippage.
| Fabric Type | Pros | Cons |
|---|---|---|
| Cotton Canvas | Sturdy, breathable, easy to clean | May fade over time |
| Denim | Strong, stylish, available in various weights | Can be heavy |
| Poly-Cotton Blend | Wrinkle-resistant, colorfast, comfortable | Less breathable than pure cotton |
Safety and Comfort
Ensure the chosen fabric is non-toxic and free from harmful chemicals. Soft, natural fibers enhance comfort, preventing irritation against the skin.
Measuring and Cutting Fabric Pieces for the Carrier
Utilize a measuring tape to determine the dimensions needed for the project’s components. Common sizes for the main piece typically range from 12 to 15 inches in width and 10 to 12 inches in height. Ensure to include a seam allowance of at least 0.5 inches on all sides.
Main Material
- Cut one main fabric piece according to your chosen dimensions.
- For added durability, consider a lining piece cut identically.
<h3.Straps and Additional Features
- Prepare two straps, each about 20-24 inches long and 2-3 inches wide.
- If adding pockets, fabricate them around 6-8 inches in height and 4-6 inches in width.
Before making cuts, double-check all measurements to prevent any potential waste of material. Additionally, utilize a rotary cutter for straight edges, ensuring clean lines. This precision mirrors the way one would select the best luggage organizer bags for practicality. Each piece must align for cohesive assembly. For outdoor excursions, consider incorporating weather-resistant fabrics like those found in the best mens luxury umbrella.
Once all pieces are cut, smoothly lay them out to visualize the assembly process before proceeding.
Stitching Techniques for Durable Construction
Choose a straight stitch with a medium length for primary seams, ensuring strength while allowing fabric flexibility. Use a zigzag stitch or an overlock finish along edges to prevent fraying, especially with woven materials.
For attaching straps, consider the box and X-stitch reinforcement technique. This involves sewing a box shape around the strap attachment area, followed by an X across it, ensuring the strap is securely anchored.
Incorporate double stitching on high-stress areas, such as corners or where the flap meets the body. This added layer enhances durability against wear and tear.
If pockets are included, use reinforced stitching at the top edges and corners for extra stability. Tacking can also be applied to secure these components.
If using heavier fabric, adjust the needle size appropriately. A thicker needle can handle robust textiles better, preventing needle breaks and ensuring smooth piercing through multiple layers.
Experiment with a quilting foot for added stability when stitching through multiple layers or padding. This technique allows for even feeding, reducing puckering on the surface.
Adding Functional Features Like Pockets and Straps
Incorporate exterior pockets to maximize storage. A patch pocket with a topstitched opening can secure small items like snacks or toys. Cut the piece 1.5 times larger than the intended pocket size to allow for seam allowances. Press the edges inward, stitch sides, then attach it to the main piece.
For an interior pocket, consider a zippered option to keep belongings safe. Choose a zipper about 8 inches long, and cut a square fabric piece to the size of your needs. Create a rectangle from the main fabric, ensuring the pocket is lined for durability. Sew the zipper in place before attaching the pocket to the lining.
Straps should be adjustable for comfort. Use webbing or fabric cut to 3 inches wide and at least twice the length of your desired strap. Fold the fabric in half lengthwise, press, then fold in edges toward the center. Stitch along both sides for a finished look. Attach the strap with D-rings on either side, ensuring they are secure for heavy use.
Add padding for extra comfort. Use foam or batting under the fabric, particularly where the strap touches the shoulder. This feature can significantly enhance the overall usability, making carrying easier for little ones.
Consider magnetic snaps or Velcro closures for easy access. These are particularly useful for younger users who may have difficulty with traditional buttons or zippers.
Personalizing the Bag with Embellishments and Designs
Utilize fabric paints to add unique patterns or characters. Use non-toxic, washable options for durability and safety. Stencils can help create precise designs, while freehand painting allows for creativity.
Applications and Patches
Apply decorative patches or appliqués for a textured look. Choose themes that resonate with the little one’s interests, such as animals, superheroes, or favorite cartoons. Secure them with fabric glue or stitching for longevity.
Customized Stenciling and Embroidery
Consider stenciling names or initials for a personal touch. For a more traditional approach, embroider these details by hand or with a sewing machine. Select contrasting thread colors to make the personalization stand out.

