Begin by identifying the correct orientation of the fastener before installation. It’s essential to ensure that the adjustable end aligns with the designated loop. Secure the strap through the first opening of the mount, ensuring it lays flat against the surface.
Next, guide the strap through the second slot carefully, avoiding any twists. Pull the webbing firmly but not excessively, to maintain enough slack for fine adjustments later. Once the strap is through, double-check the alignment to avoid misconfiguration.
Finally, finish by inserting the tail end back through the remaining slot, securing it to prevent slippage. This method guarantees a snug, supportive fit for optimal comfort during use. Always inspect adjustments periodically to maintain functionality.
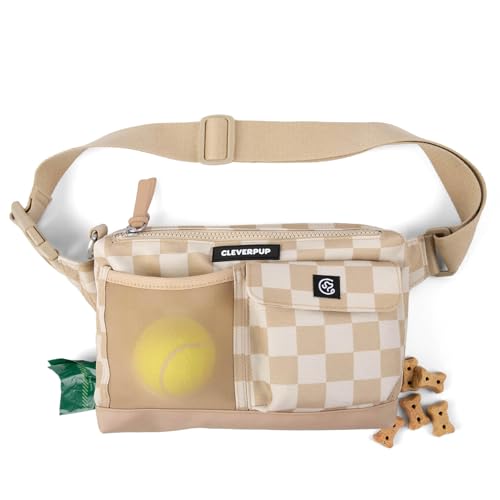
Instructions for Securing the Clip on a Waistband
Ensure a secure attachment by following these steps:
- Identify the entry point on the strap where the clip is designed to be inserted.
- Guide the webbing through the designated path of the clip, ensuring that the smooth side faces outward for optimal comfort.
- Adjust the length of the strap to your preferred fit before finalizing the insertion.
- Feed the end of the strap back through the adjustment slot to lock it in place securely.
- Double-check the tension by pulling gently on the strap to guarantee it won’t slip during use.
Final Adjustments
After fastening, make any necessary changes to ensure a snug yet comfortable fit. Test the system by simulating movement to assess stability. If slippage occurs, loosen the strap and re-tighten it, ensuring that the clip is securely locked.
For optimal performance in related setups, consider the best aquarium co2 system to complement your outdoor adventures.
Required Tools and Materials for Buckle Threading
Prepare the following items to ensure a successful process:
- Quality webbing: Select durable material that suits your application for optimum performance.
- Matching hardware: Use compatible components to secure reliable connections.
- Scissors or a cutting tool: Ensure clean cuts for neat edges, preventing fraying.
- Lighter or heat sealing tool: Utilize to seal webbing ends to avoid unraveling.
- Measuring tape: Aid in determining precision lengths necessary for effective assembly.
- Pliers or a small tool: Assist in tightening and securing hardware effectively.
- Marker: Mark specific points for alignment and precision throughout the process.
- Work surface: Choose a flat, stable area to facilitate ease of assembly.
Gather these essentials to streamline your project and achieve optimal results. Each tool plays a vital role in maintaining efficiency and quality.
Step-by-Step Guide to Prepare the Buckle
Begin with setting the necessary components on a flat surface for easy accessibility. Ensure the strap and clasp are free from debris or damage before commencing the assembly.
First, take the loose end of the strap. If applicable, burn the edge slightly to prevent fraying. This step is critical for maintaining the longevity of the strap.
Next, through the designated slot of the fixture, insert the strap. Pull it through until the desired length is achieved. It’s advisable to leave enough length for securing the components effectively.
After pulling the strap through, loop it back around to form a tight fit. Utilize a flat surface to press the strap into place, ensuring it doesn’t slip out during use.
Complete the setup by fastening the adjustable component to secure the assembly tightly. This ensures that all elements are held in place during activities.
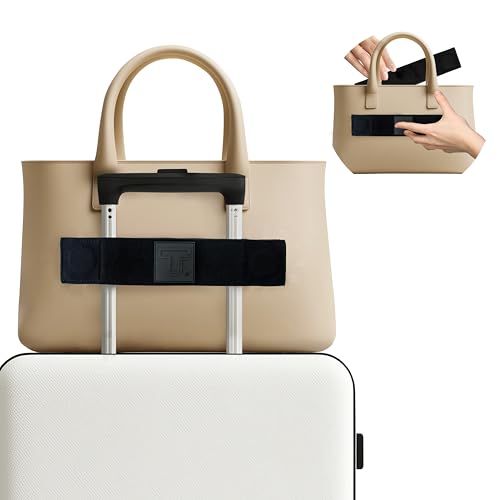
For an ideal travel experience, consider investing in the best travel tote that attaches to carry on handle. This will enhance your organization while on the move.
Finally, check the entire setup for any movements or loose sections. A secure assembly will contribute to a more reliable performance. If you encounter any issues, reassess the placements and make adjustments as necessary.
For added utility in different weather conditions, explore options like the best choice products umbrella with lights. This can complement your overall travel gear effectively.
Techniques for Properly Aligning the Webbing
Ensure that the strap is oriented with the correct side facing outward. This determination can affect both comfort and functionality. Adjust the length of the material evenly on both sides; any asymmetry will lead to discomfort during use.
Utilize tensioning techniques to maintain the alignment of the webbing. Pull on each side while checking for equal distribution across the buckle. This tension aids in preventing slippage and ensures a secure fit.
Take advantage of guide points if available. Many designs incorporate markers or notches for alignment, which assist in creating a consistent thread pattern. These aids enhance the accuracy of positioning the fabric.
Periodically check alignment during the process; slight adjustments may be necessary as you secure the straps. Regular monitoring will save time and effort in ensuring the final result is optimal.
Consider employing a helper to hold one end steady while you position the other; this collaboration can lead to better control and symmetry.
Narrow down the alignment process to specific actions: first, lay the strap flat without twists, then feed it through the intended slots or attachments with gradual pressure. This guarantees a more professional finish.
Common Mistakes to Avoid While Threading
Incorrect orientation of components can lead to functionality issues. Ensure that all parts are aligned properly before proceeding. Misalignment may cause the strap to slip or become ineffective.
Over-tightening
Excessive force during adjustments can damage materials. Tighten only until secure; avoiding over-tension preserves the integrity of the straps.
Neglecting to Inspect Components
Skipping the inspection of the hardware can result in using damaged parts. Always check for wear, fraying, or bending in the clips and straps. A compromised piece could lead to failure during use.
Using the wrong length of webbing increases the risk of malfunction. Measure accurately before cutting to ensure optimal performance and comfort.
Focusing only on one side of the mechanism can limit functionality. Always maintain an even balance across all parts to enhance usability and durability.
Ignoring user comfort while securing can lead to an unpleasant experience. Adjust the fit patiently to suit individual needs before finalizing the setup.
Tips for Securing the Fastener After Threading
Ensure a tight grip by pulling the webbing firmly after it has been inserted through the components. This will prevent any loosening during use.
Check for Frayed Edges
Inspect the ends of the webbing. Trim any frayed edges to maintain a clean finish and avoid further unraveling.
Double-Check Alignment
After securing, verify that the webbing aligns straight through each loop. Misalignment can lead to unintended stress on the connectors.
| Tip | Description |
|---|---|
| Firm Pull | Always pull the strap tightly to secure it properly. |
| Frayed Edges | Trim any damaged areas for a secure fit. |
| Alignment Check | Ensure the strap runs straight through every loop to avoid strain. |
| Test the Fastening | After securing, test the fastening by pulling on it to ensure stability. |
| Periodic Maintenance | Regularly inspect the area for any wear and tear after use. |
After confirming that everything is secure, consider applying a small amount of fabric adhesive to areas where the webbing meets the clip to further reinforce stability.
Maintenance Advice for Buckle and Waist Pad Longevity
Regular cleaning is essential. Use a damp cloth to wipe off dirt and debris, ensuring that the components remain functional. Avoid using harsh chemicals that can degrade materials over time.
Inspect the assembly frequently for signs of wear, such as fraying or cracks. Early detection allows for timely repairs or replacements, preventing further damage.
Moisture can lead to mold or mildew. Store the equipment in a dry area, and consider using silica gel packs to absorb excess humidity in storage.
Avoid exposing the gear to extreme temperatures. High heat can warp or damage plastic elements, while extreme cold can make materials brittle.
Use lubrication on sliding parts occasionally to maintain smooth operation. A silicone-based lubricant works well without attracting dirt.
Reinforce attachment points periodically. Check stitching and connectors to ensure they remain secure and replace worn-out parts promptly to maintain safety.
Keep everything organized and know where each part is stored. This practice enhances usability and prolongs life by preventing unnecessary handling of individual components.