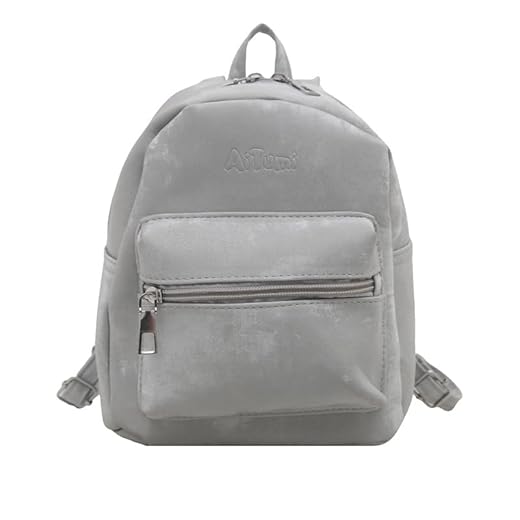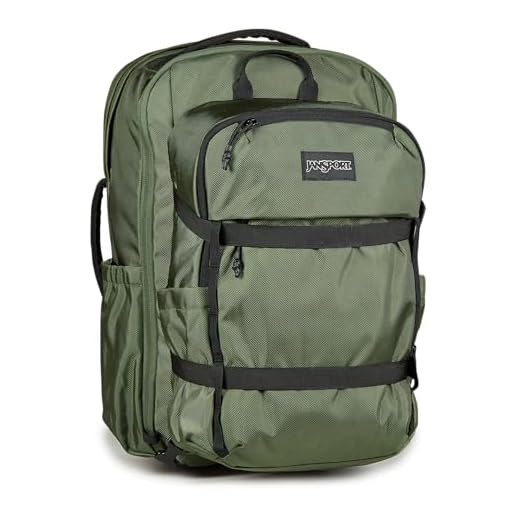

Choose a 20–25 L pack measuring about 40 x 28 x 15 cm (15.7 x 11 x 5.9 in) for city commuting; fits 13–15 inch laptop, slim charger, one-liter bottle, compact umbrella.
Typical measurements and volumes by use: daypack 20–25 L ~40 x 28 x 15 cm (15.7 x 11 x 5.9 in); school/commute 25–35 L ~45 x 30 x 20 cm (17.7 x 11.8 x 7.9 in); travel/weekender 30–45 L ~50 x 33 x 22 cm (19.7 x 13 x 8.6 in); multi-day pack 50–70 L ~65 x 40 x 30 cm (25.6 x 15.7 x 11.8 in).
Match torso length and load capacity: measure from C7 vertebra to iliac crest. Recommended torso sizes: short 38–43 cm, medium 43–48 cm, long 48–53 cm. For heavy loads pick a pack with hip belt and hip belt width 10–15 cm, load lifters and padded shoulder straps.
Packing examples by volume: 20–25 L holds laptop + charger + 1–2 notebooks + water bottle + light jacket; 30–45 L fits extra clothes for 2–3 days plus toiletries; 50–70 L for multi-day trips with sleeping bag, shelter, cooking kit. For airline carry-on personal item aim for ≤45 x 35 x 20 cm (17.7 x 13.8 x 7.9 in) to meet most carrier limits.
External measurements for typical 20–30 L daypacks
Target external measurements 45×28×18 cm (17.7×11×7 in) for a 20–30 L daypack; acceptable range 40–50×25–32×15–22 cm depending on design.
- 20 L – 40×25×15 cm (15.7×9.8×5.9 in): fits 13″ laptop sleeve, compact rain shell, lunchbox, 0.5–1 L bottle.
- 25 L – 44×28×18 cm (17.3×11×7 in): fits 14″ laptop, light fleece, 1 L bottle, small camera, packing cube.
- 30 L – 48×30×20 cm (18.9×11.8×7.9 in): fits 15″ laptop, extra layer, toiletry kit, compact tripod or umbrella.
- Measurement method: measure height from base to top of main compartment while pack sits empty; include external pockets and gear loops when comparing with storage limits.
- Profile control: front-panel taper reduces width impact; compression straps reduce depth by up to 4–5 cm, so listed depth may compress from 20 cm down to ~15–16 cm under load.
- Carry rules: packs under 45×35×20 cm generally qualify as personal item on many carriers; always verify carrier specs before travel.
- Packing tip: keep bulky items low and close to spine for stable carry; place frequently accessed items in top pocket or side pocket.
- Weather gear: reserve side pocket or external lash point for compact umbrella such as best travel golf umbrella to avoid wetting main compartment.
- Fit check: test with loaded weight ~60–70% of intended daily carry to confirm comfort and that external measurements still meet storage or airline limits.
How pack liters relate to measurements: quick conversion method
Measure main-compartment height × width × depth in centimeters, multiply values, divide by 1,000 to obtain liters; subtract 10–20% for fabric, internal pockets, padding to estimate usable capacity, then round to nearest whole liter.
Formula: L = (H × W × D) / 1000, with H, W, D given in cm. Example: 50 × 30 × 17 = 25,500 cm³ → 25.5 L external volume. Apply 10% loss → ~23 L usable.
For tapered or curved silhouettes use average depth: measure depth at widest point and at narrowest point, calculate average depth = (max + min) / 2, then plug into formula. For tubular rucksacks approximate volume as a cylinder: V ≈ π × (W/2)² × H / 1000.
Top-loaders with roll closures: add roughly 1 L per 5 cm of extra roll height. External pockets and hip-belt pockets contribute irregular volume; estimate pocket contribution as 5–20% of main-compartment volume depending on size and number.
Quick checklist: 1) Measure H, W, D of main compartment in cm; 2) Compute (H×W×D)/1000; 3) Subtract 10–20% for internal losses; 4) Add pocket and roll allowances. For cleaning tips related to pet gear stored inside a pack see how to clean cat eye boogers.
Carry-on and under-seat size limits: will a standard daypack fit?
Recommendation: Choose a pack with external measures at or below 22 × 14 × 9 in (56 × 36 × 23 cm) for overhead-bin acceptance on most U.S. carriers; for guaranteed under-seat placement, keep external size under about 18 × 14 × 8 in (45 × 35 × 20 cm).
Typical carrier limits (examples): Major U.S. airlines generally use 22 × 14 × 9 in (56 × 36 × 23 cm) for carry-on. Personal-item/under-seat allowances commonly sit in a range near 16–18 × 12–14 × 6–9 in (40–45 × 30–35 × 15–23 cm). European legacy carriers often permit cabin bags around 55 × 40 × 23 cm (21.5 × 15.7 × 9 in). Low-cost European operators frequently limit free small items to about 40 × 20 × 25 cm and charge for larger 55 × 40 × 20–23 cm carry-ons.
Measure correctly: Use external measures that include shoulder straps, top handles and external pockets; measure with pack fully loaded and straps flattened so elastic and compression features are accounted for. Mark any pockets or attachments that protrude beyond recorded values.
Packing tactics: Prefer soft-sided construction and use compression straps to reduce depth by 1–3 cm. Place bulky items against the back panel so profile is slimmer for under-seat storage. If laptop or tablet must sit under seat, remove it from sleeve for easier fit and put liquids in a front pocket for quick inspection.
Gate enforcement notes: Soft packs a few centimetres over listed limits are often allowed when cabin space is ample; rigid cases or overages of 5+ cm are more likely to be gate-checked. If carrier policy differs from confirmation page, follow that carrier policy at gate and have a backup plan (secondary small tote or willingness to gate-check).
Quick checklist: 1) Check carrier allowance on booking/boarding pass; 2) Measure external size with straps fastened; 3) Test fit under a chair or small box roughly matching carrier under-seat size; 4) Pack critical items for quick hand removal if gate-check becomes necessary.
Measuring at home: where to measure and acceptable tolerances
Measure packed to intended carry weight, with shoulder straps and hip belt adjusted as when worn; include top carry handle and lowest point of base for final external measurements.
Lay pack flat on firm surface. Use rigid tape measure or metal rule. Height: measure from topmost point (handle, lid or roll-top closed) straight down to base. Width: measure across widest point with side pockets zipped and compression straps tightened. Depth: measure from front face to rear panel at deepest section, including any protruding pockets or frames.
For curved lids or contoured rear panels, take two height readings: centerline and 5 cm inside each side seam; record largest value. For asymmetrical pockets, measure depth at pocket midpoint and at base seam; use larger value for compliance checks.
Measure twice: empty and packed to typical fill. Soft shells compress under straps; when assessing fit for size-restricted compartments, measure while compressed using intended strap tension. For rigid-panel or framed packs, measure without compressing frame; frames resist compression and set true external profile.
Acceptable tolerances: factory variance typically ±10 mm for structured packs, ±15–25 mm for soft-sided designs with large external pockets. Allow additional ±5–10 mm when measuring while packed due to bulge variability. For liters printed on labeling, expect ±5% volume variance from calculated value.
Compliance margin recommendation: keep measured values at least 10–20 mm below any strict limit (carry-on, locker, compartment) to accommodate measurement error and compressions during handling. Include hip-belt when buckled in width measurement if it projects beyond 15 mm from pack body. For roll-top closures, measure with roll secured at intended travel height; for removable lids, measure both fitted and removed, then use larger result for official checks.
Choosing pack size using torso length and strap adjustability
Recommendation: select a pack with adjustable backpanel matching measured torso length within ±2 cm; hip belt must transfer 60–80% of loaded weight to iliac crest; shoulder straps should offer 5–10 cm vertical adjustment for fine tuning.
Measuring torso length
Locate C7 vertebra by tilting head forward until a prominent bone appears at base of neck. Place tape at C7, run down spine to top of iliac crest (highest point of hip bones). Record distance in centimeters; repeat twice and use average. Measure with light clothing or bare skin, standing relaxed with shoulders neutral. Typical torso ranges: 35–40 cm (XS), 40–45 cm (S), 45–50 cm (M), 50–55 cm (L), 55–60 cm (XL).
Strap adjustment targets when trying on pack
Backpanel: select setting that places shoulder strap anchors directly above deltoid curve and matches measured torso within ±2 cm. Hip belt: pad should encircle iliac crest center without gap; buckle tension must feel firm while allowing comfortable breathing. Waist sizing guideline: internal belt range should cover waist measurement plus 8–12 cm to permit clothing layers (example: waist 80 cm → belt range ~72–92 cm). Shoulder straps: aim for even pressure across upper trapezius with no digging; strap width of 5–7 cm improves comfort under loads. Load lifters: set at roughly 30–45° to pull load onto upper back; adjust until pack feels close to back while hips carry main weight. Sternum strap: vertical adjustment span ~10–12 cm so buckle rests slightly below collarbone without restricting breathing.
On-trial checklist: load pack with typical gear; confirm hip belt sits on iliac crest and transfers weight off shoulders; verify shoulder straps allow 5–10 cm fine tuning; check load lifters produce a snug, close-to-back fit at 30–45°; ensure sternum strap position is comfortable. If torso falls between sizes, prefer shorter harness with adjustable backpanel or visit a fit specialist for backpanel trim (typical modification 1–3 cm) or harness swap.


